Hello there, my name is Ana! Welcome to Little crochet farm!
Changing colors can be a challenge for many of us, and depending on how you learned to crochet or where you are from, your way of changing color could be different from mine! Also, what I consider the best way, may not be the best way for you!
For this reason, I separated four ways of changing colors and my thoughts on them.
We start with step-by-step pictures and descriptions. After, we have a comparison of them all. And, at the end of this post, there is a complete video showing all of the four ways.
My goal is to have you decide which is the best type for you!
Let’s start!
If you want more posts for crochet toys beginners and amigurumi beginners, check this part of the blog where you will find all the crochet basics you should know to start your crochet toy today!
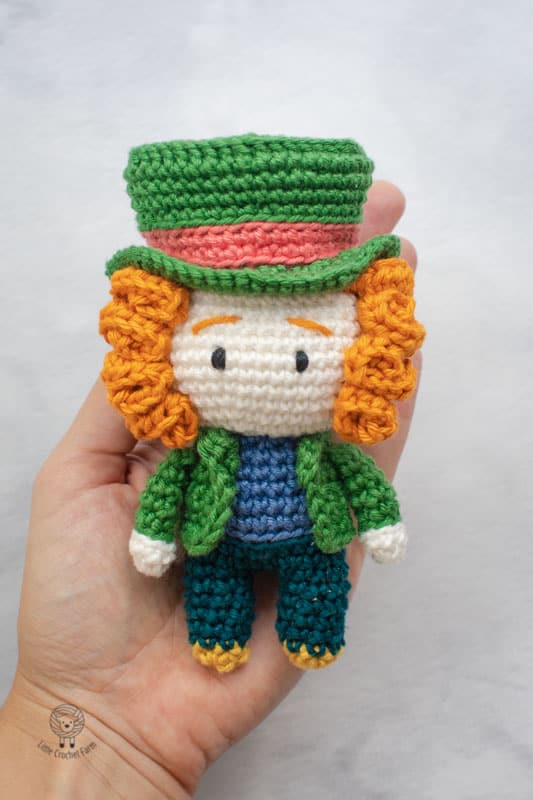
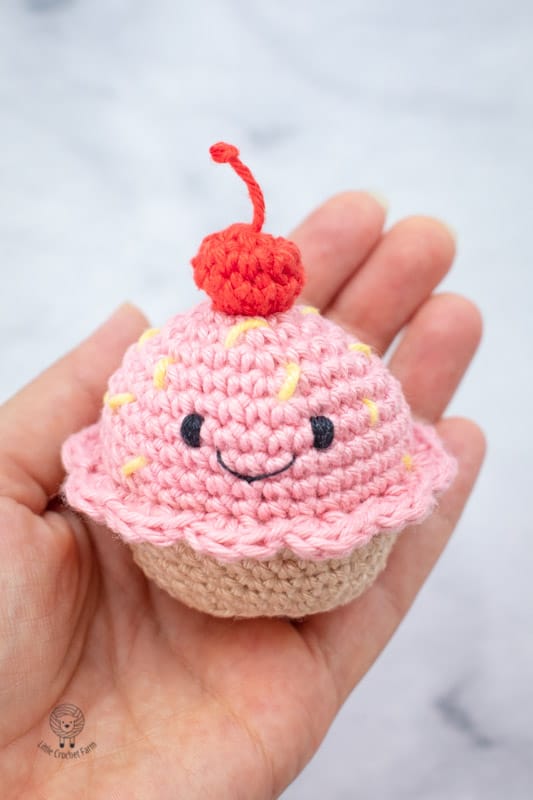
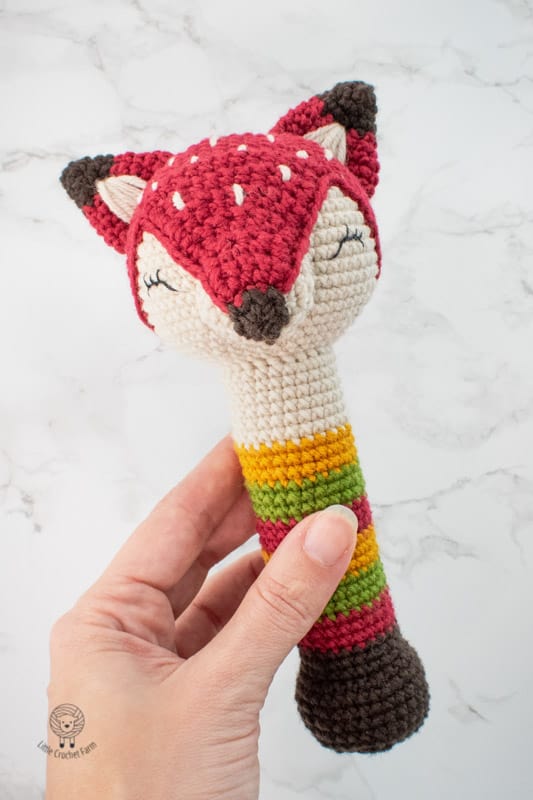
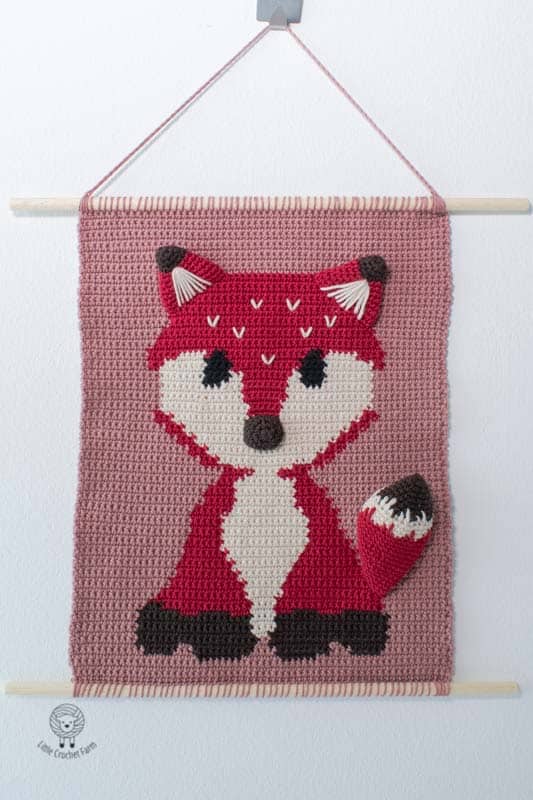
Here I leave you with a list with other tutorials that might help you
Pin it for later!!!
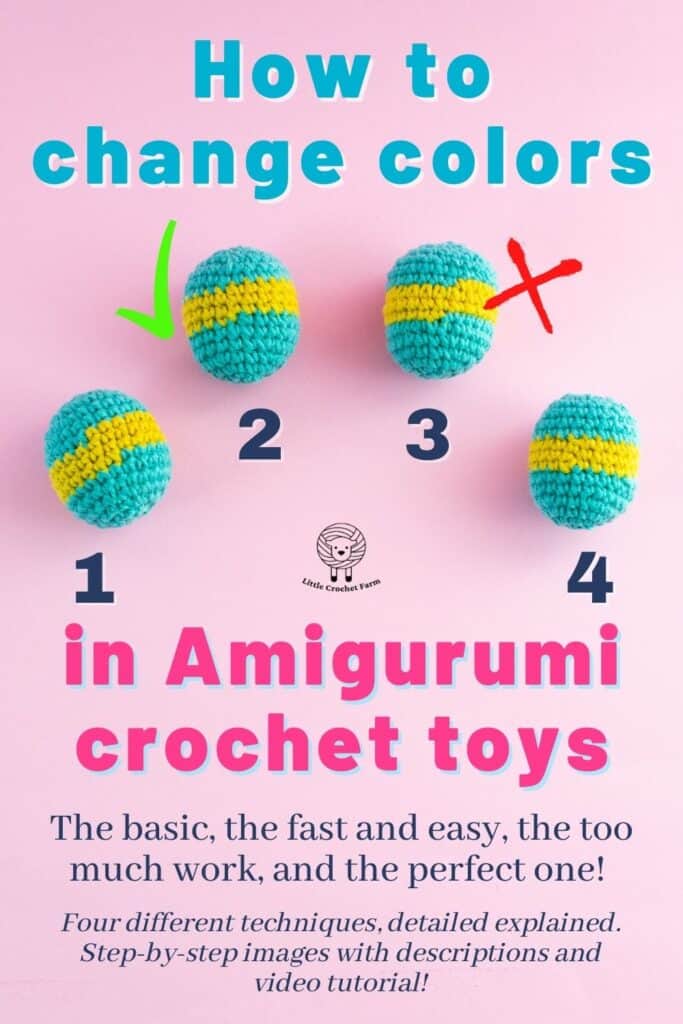
How to change colors in amigurumi
1- The most simple way of color change in crochet toys! But not perfect…
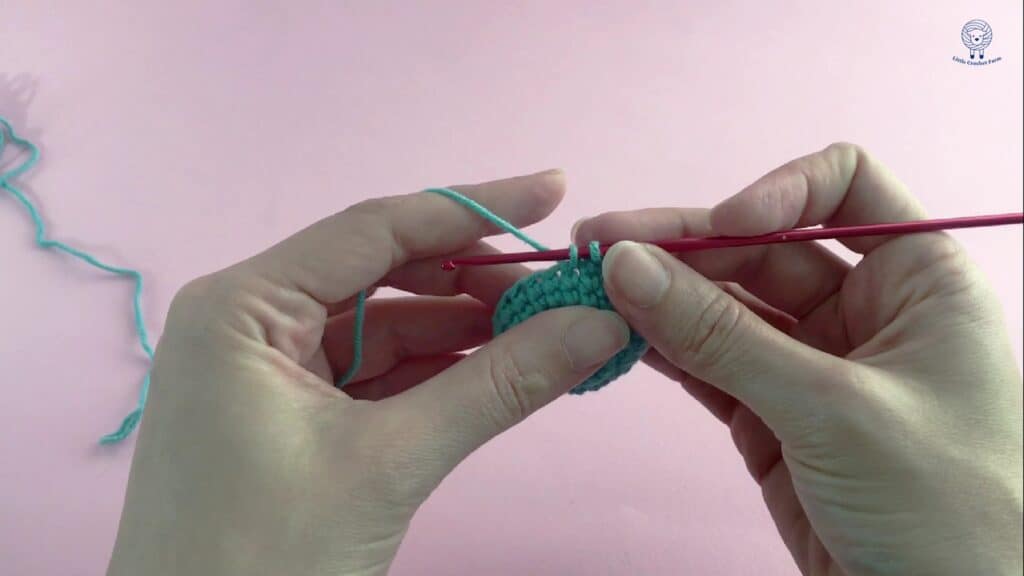
I start with the basics! If you are a complete beginner, maybe you don’t know this yet. And if you are more advanced in crochet toys, maybe you don’t even use them anymore! I have to say that I do use it from time to time. I am not bothered with the uneven stripes.
This is the detail, and I am right now at the last single crochet.
Before finishing the last single crochet, I add my new color, hold it behind with my fingers and finish the single crochet with this new color
This will leave the loop on my needle with the new color.
Then, you just start single crochet in the row normally, like you would if there weren’t color changes.
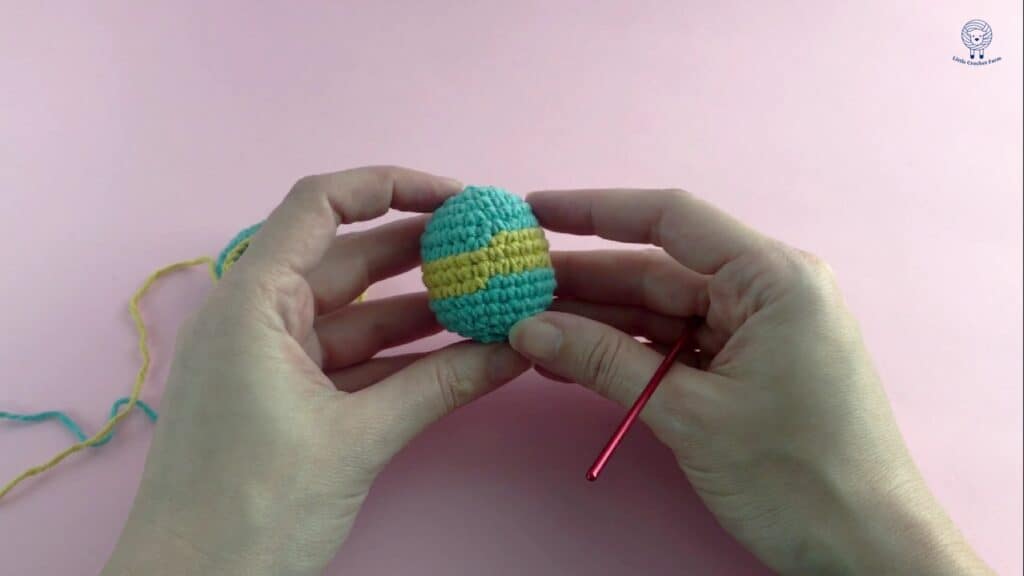
The final result of this is, the color changes are obvious! It shows where one-row finishes and where the other one begins.
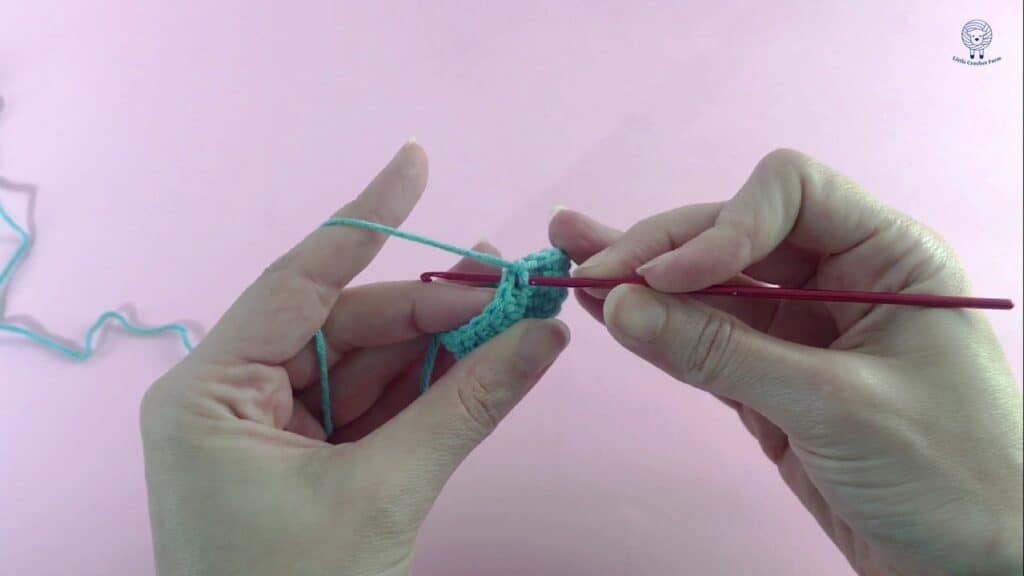
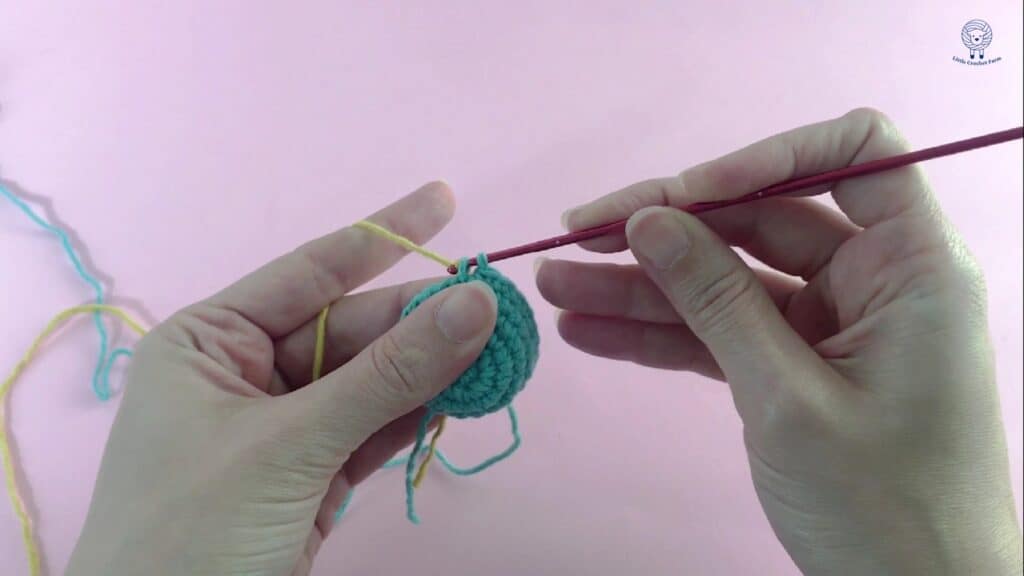
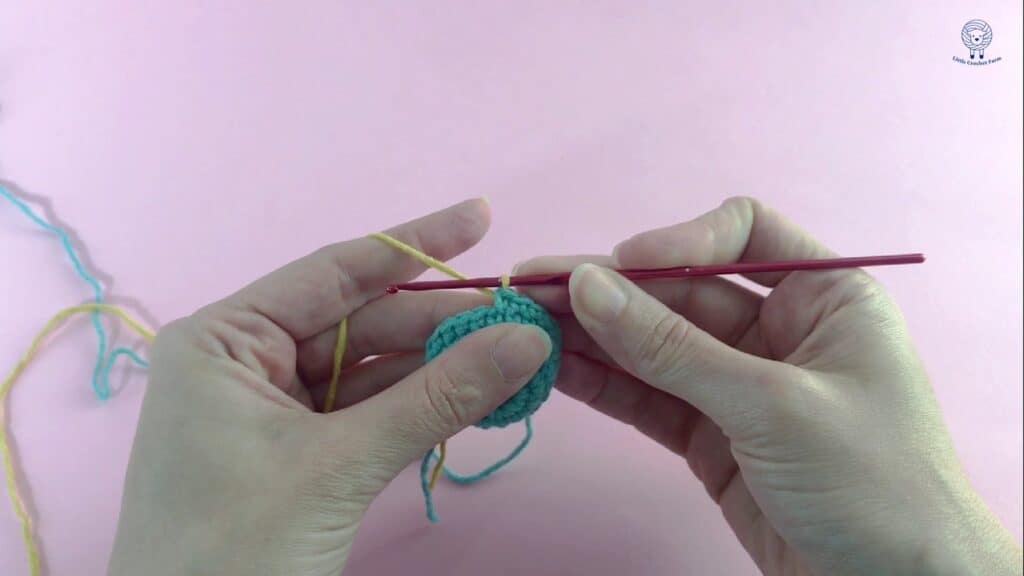
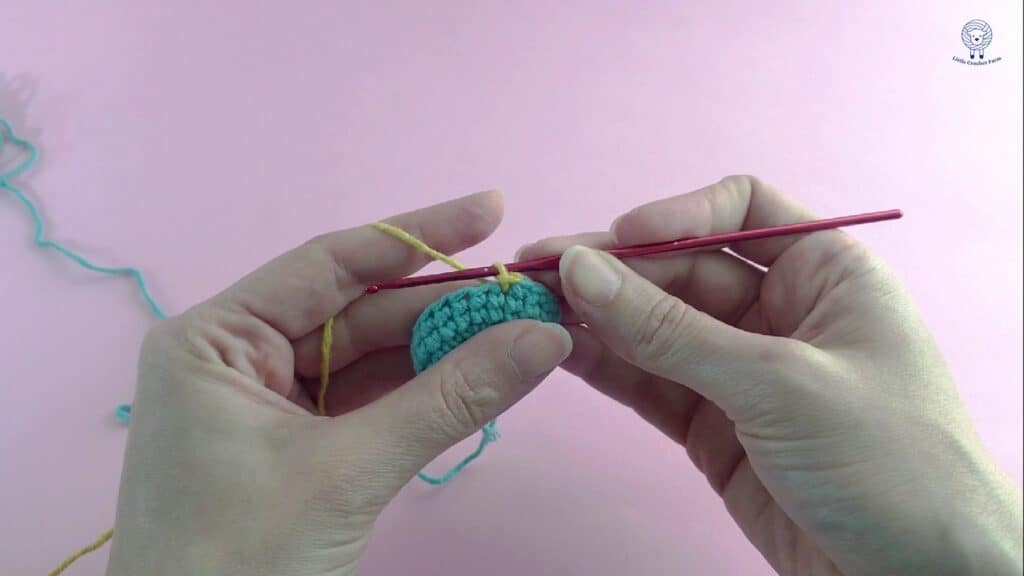
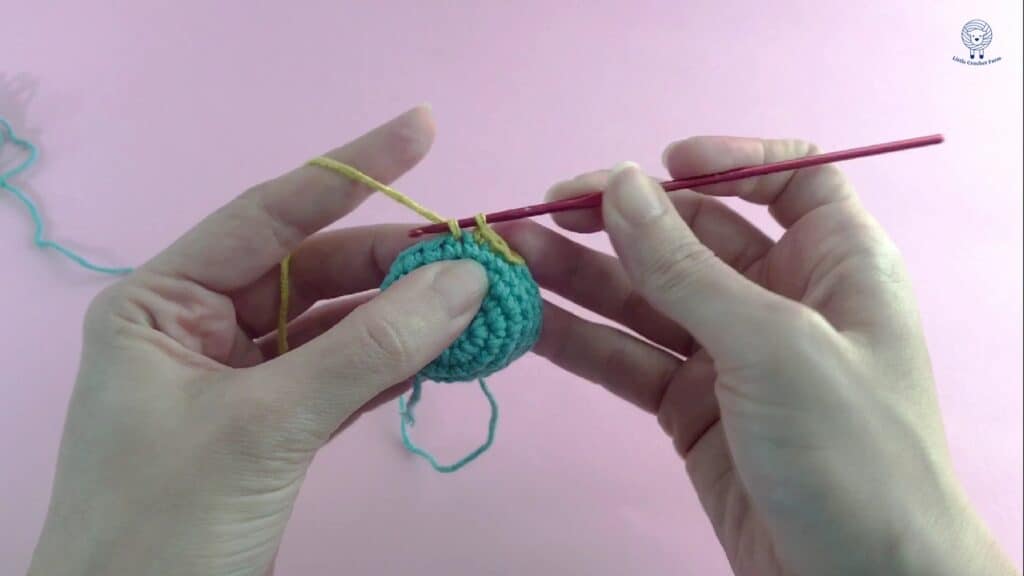
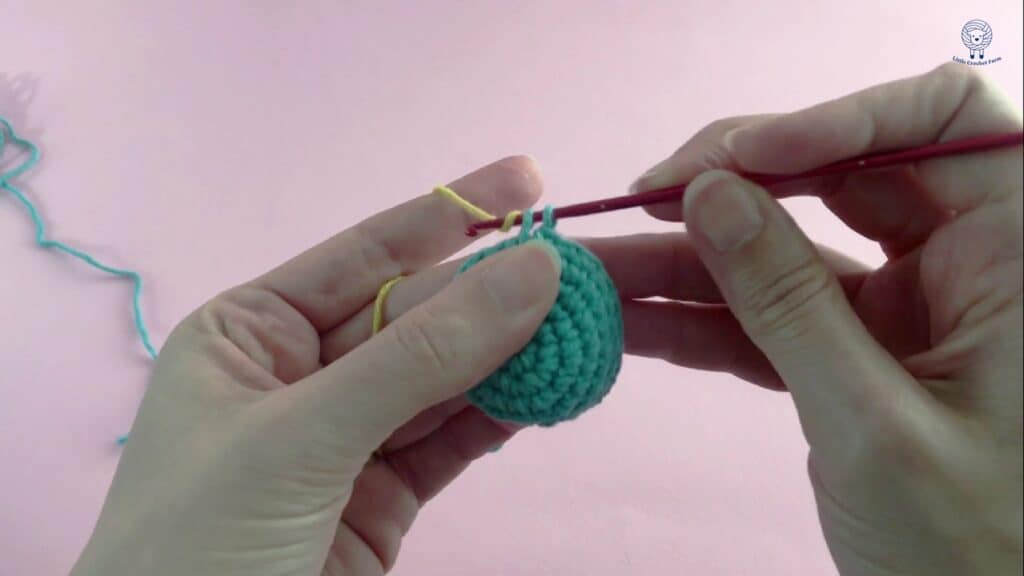
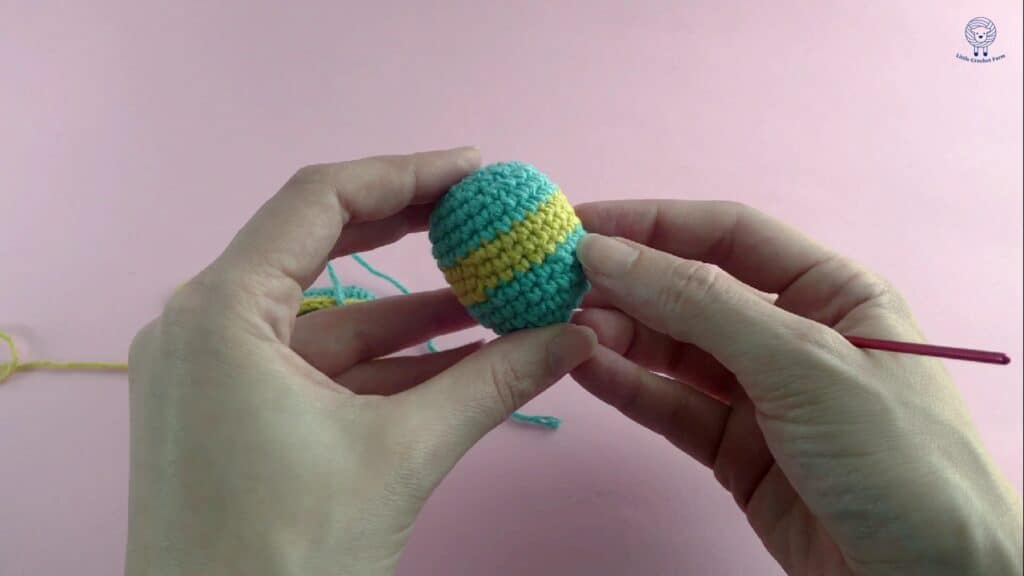
2- The BEST way to change colors in amigurumi! Plus, is SUPER easy!
Now we are moving to the color change that I LOVE! It’s easy, fast, simple and, in my opinion, perfect enough!
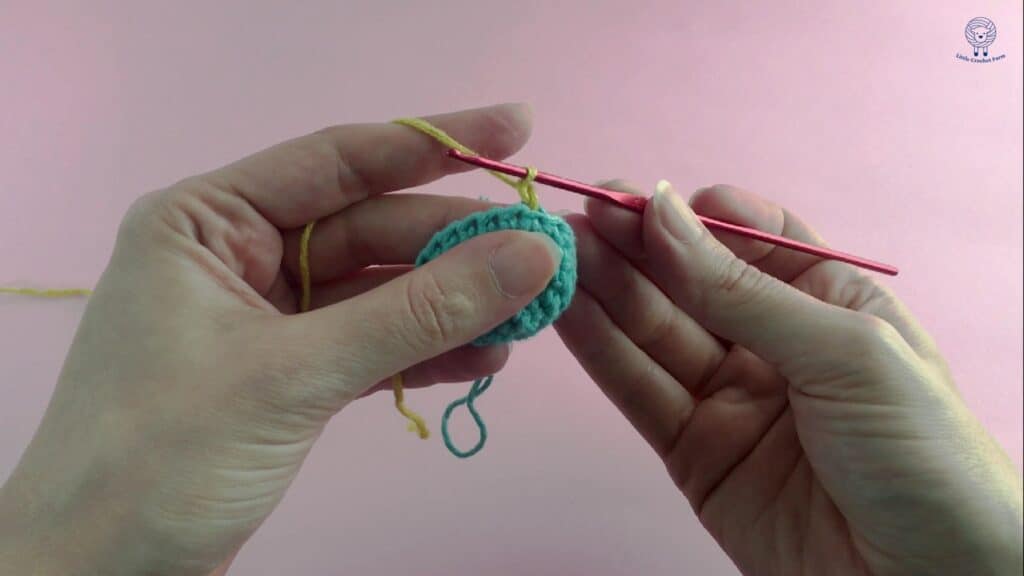
This is the detail, and I am right now at the last single crochet.
Before finishing the last single crochet, I add my new color, hold it behind with my fingers and finish the single crochet with this new color
This will leave the loop on my needle with the new color.
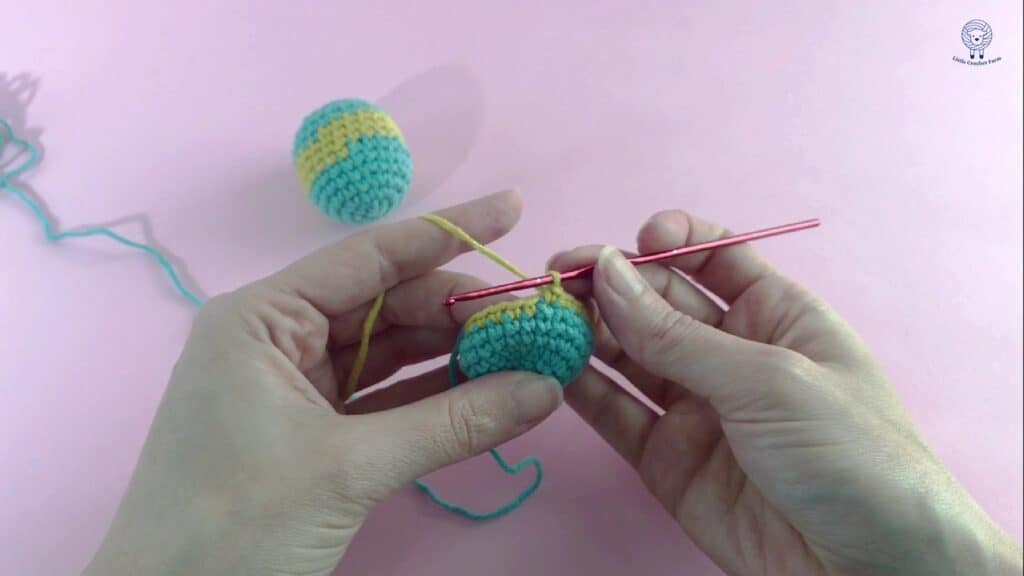
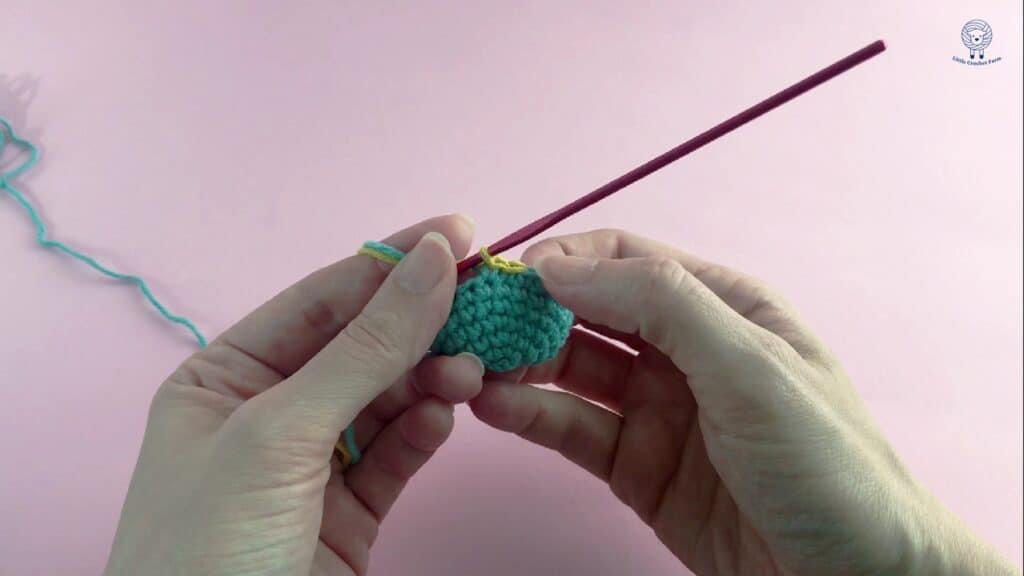
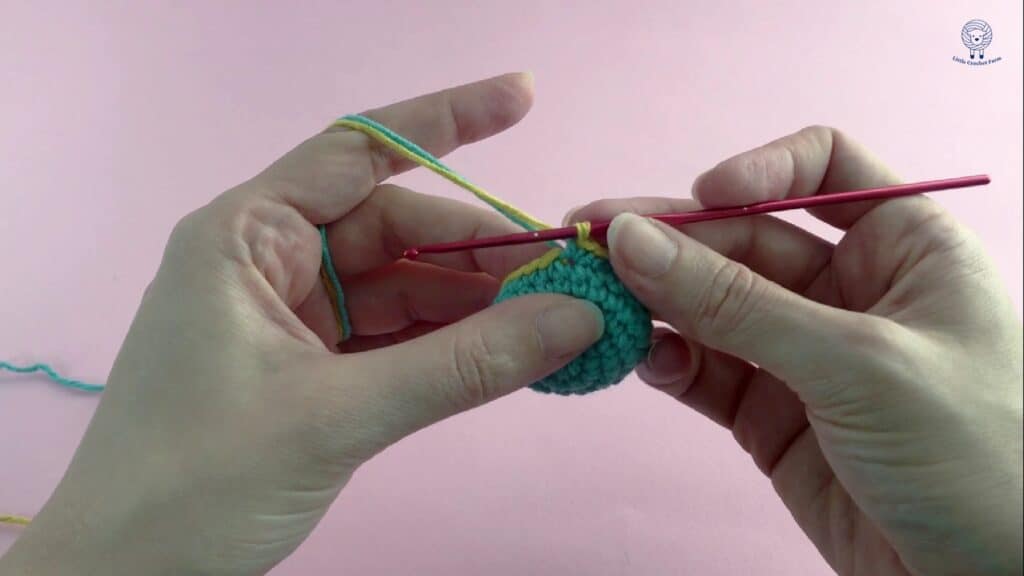
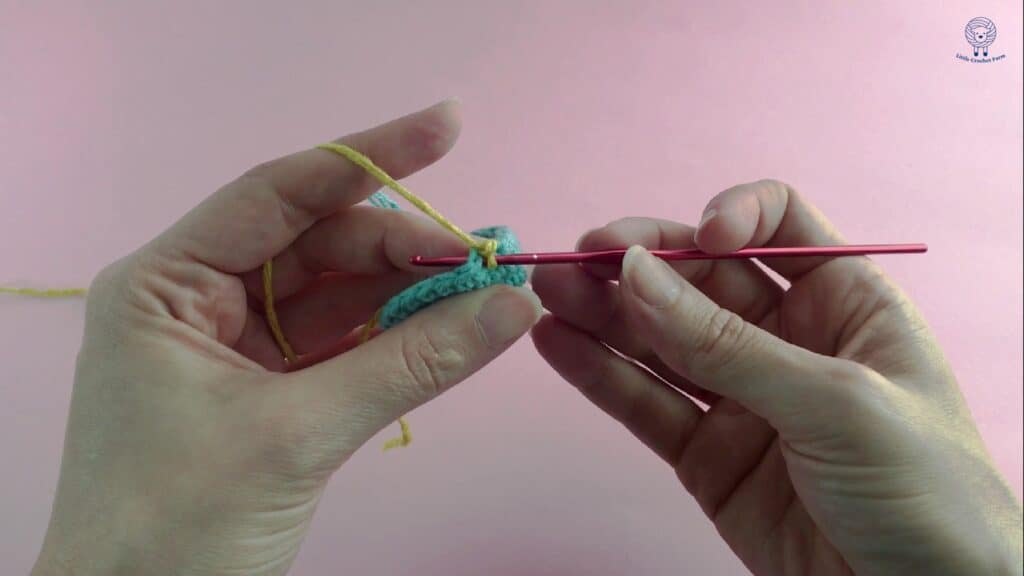
And here is the secret, you make a Slip Stitch in the first stitch of the row, instead of starting with single crochet,
Then, in the other stitches, you work single crochet like you normally would.
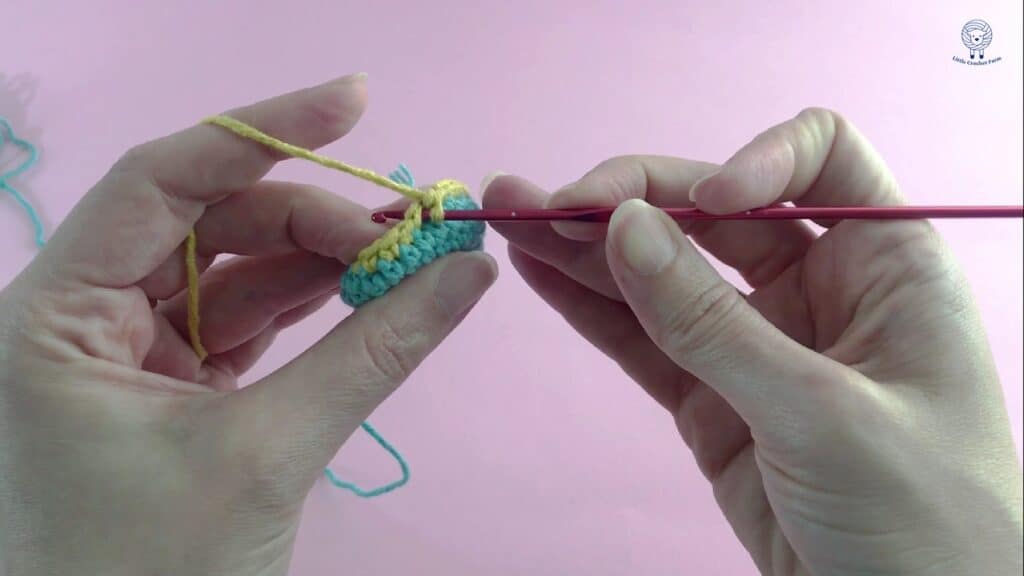
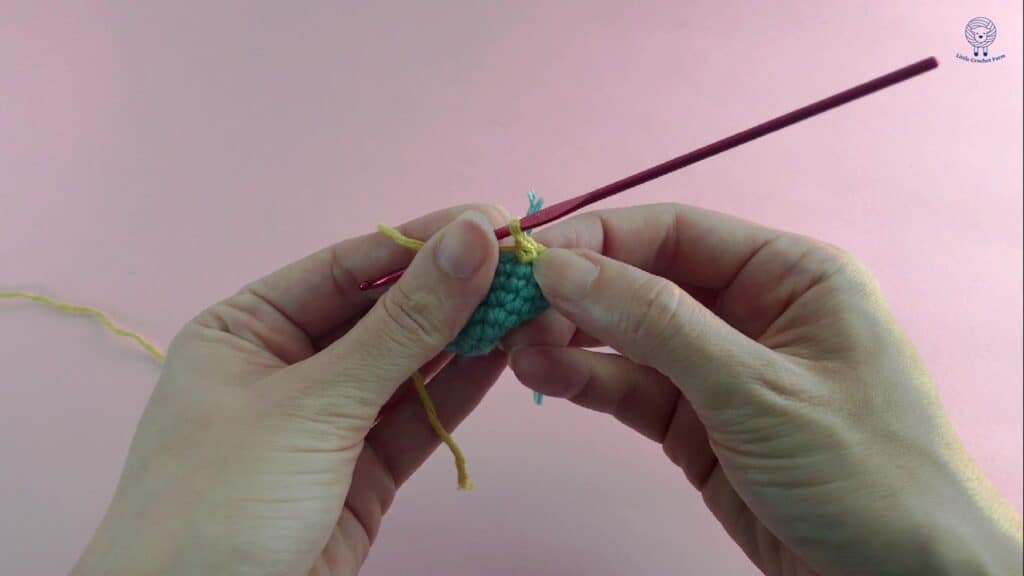
When you arrive at the end of the row and start a new one, continue working in single crochet starting from the slip stitch you made previously!
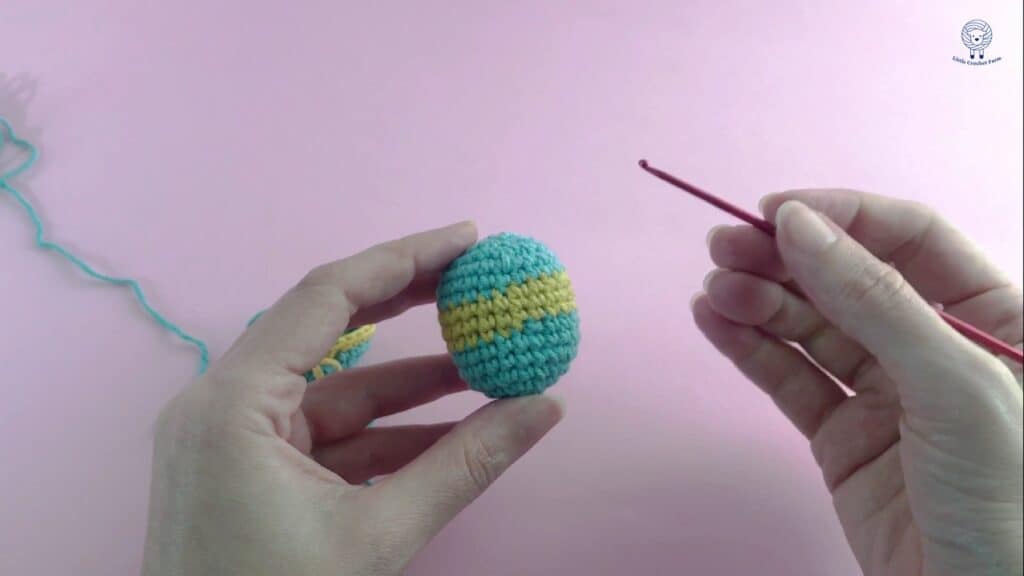
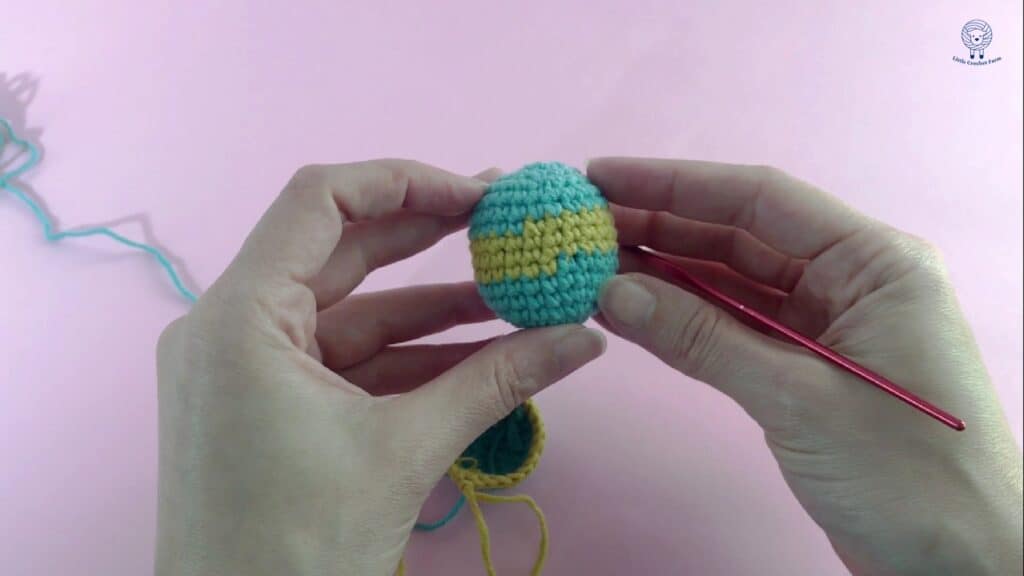
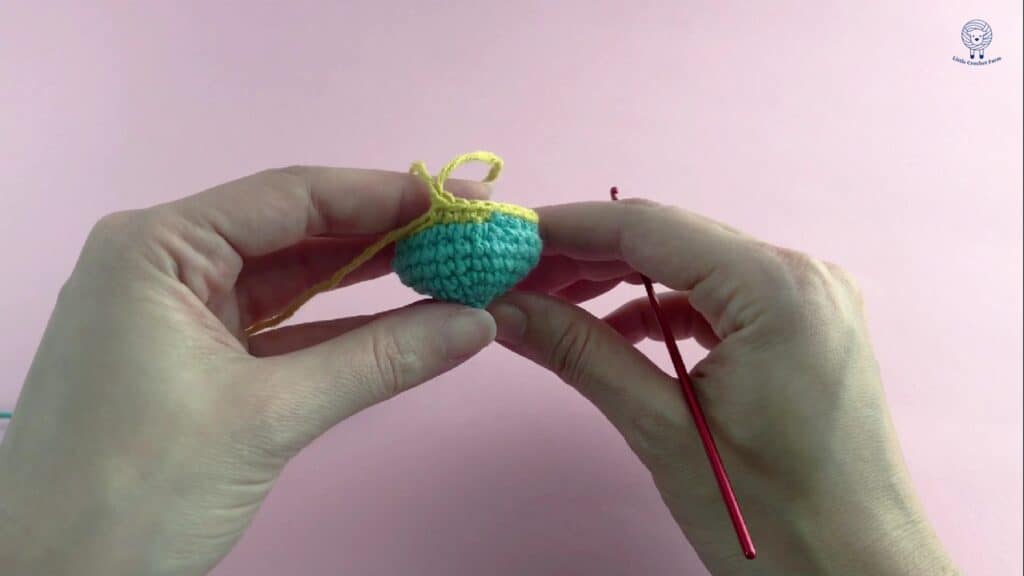
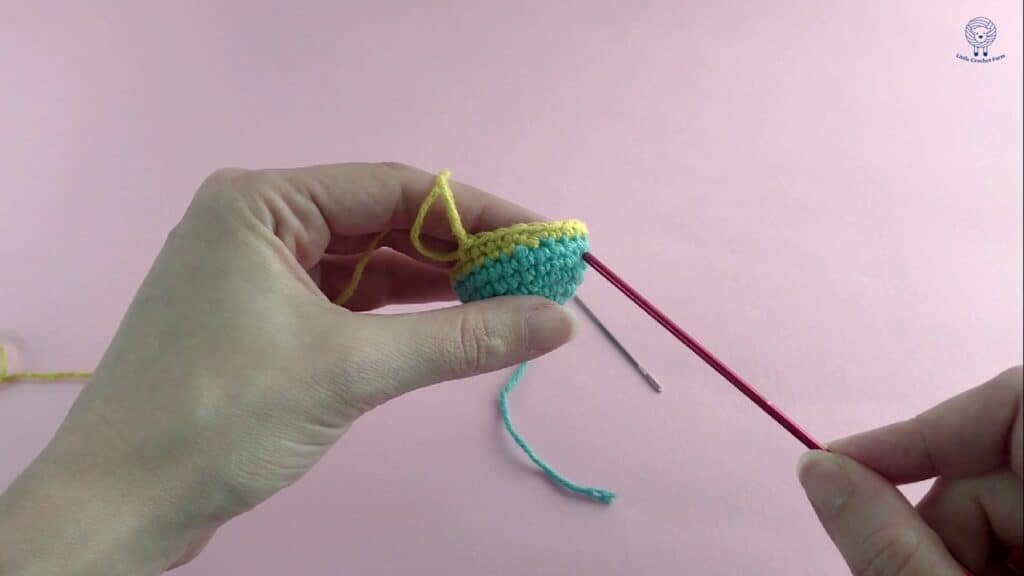
This is the final result! AMAZING and zero effort. You just need to start the row with a slip stitch instead of single crochet!
3- The popular, but not so good, color change in crochet toys
I decided to include this one in this guide because I had some people approaching me saying that this is one of their best choices to change colors in amigurumi. I think it’s too much effort. But for you, I decided to show how it’s done. So we make a comparison with other ways and then, you will decide what is the best for you!
This color change starts at the previous row that requires a new color. For example, in the two ways above, we started changing colors in row 8. In this one, we add the new color in row 7, the main colors will be the current color you are working on, and the top of the stitch color will be the new color.
Which means, half color change. You insert the needle in the stitch,
Yarn over with current color, and inside the stitch.
And now, yarn over the new color.
Inside the two loops. And you continue working in the round making single crochet with half color change.
After finishing, your row should be looking like this.
Now, you stop using the first color and continue working only with the new one.
The final result will be looking like this.
4- The PERFECT color change in crochet toys!
This one is invisible! You almost can’t find the color changes. But perfectionism comes with a price! It requires more effort to make it. In this case, you will cut the yarn and make the invisible fasten it off the stitch in all color changes.
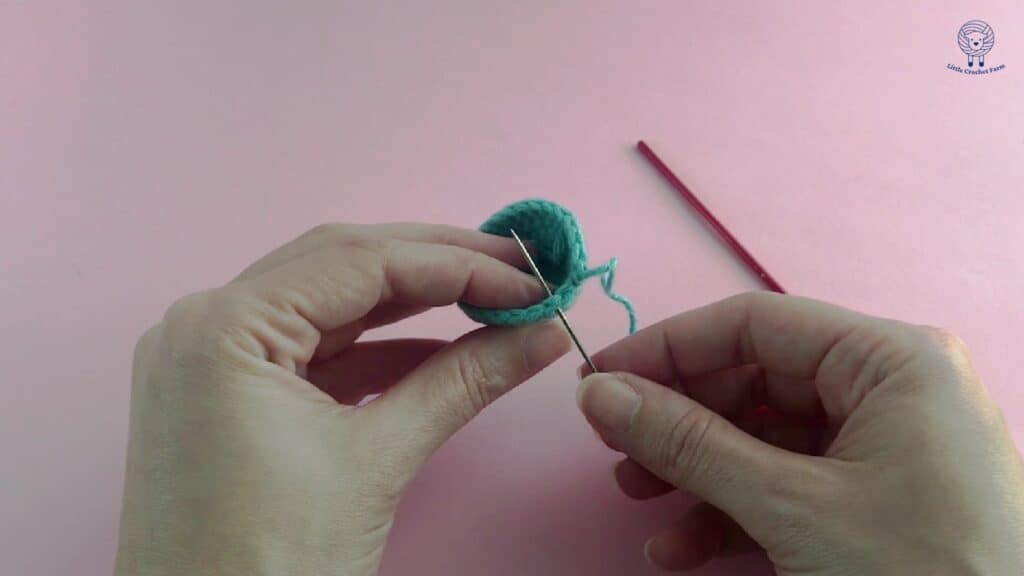
To fasten off, insert the yarn on the sewing needle, and inside the second stitch of the row. Yes, you jump the first stitch!
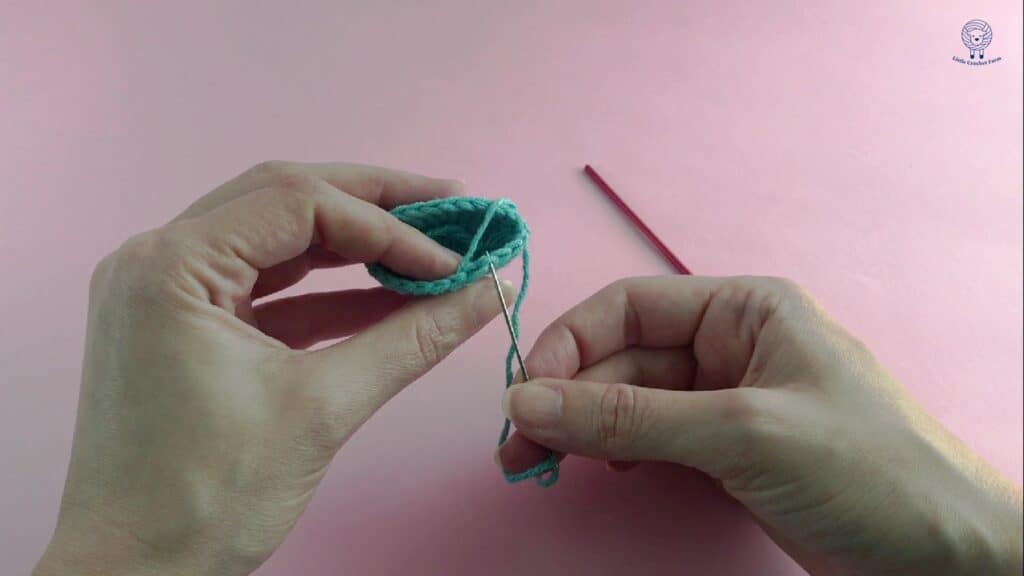
Then, insert the needle from outside, in the back loop of the last stitch of the row. This will make a stitch above the first stitch of the row you just jumped.

Making the row look almost straight and unable to see the difference between the stitch and the fastening off.
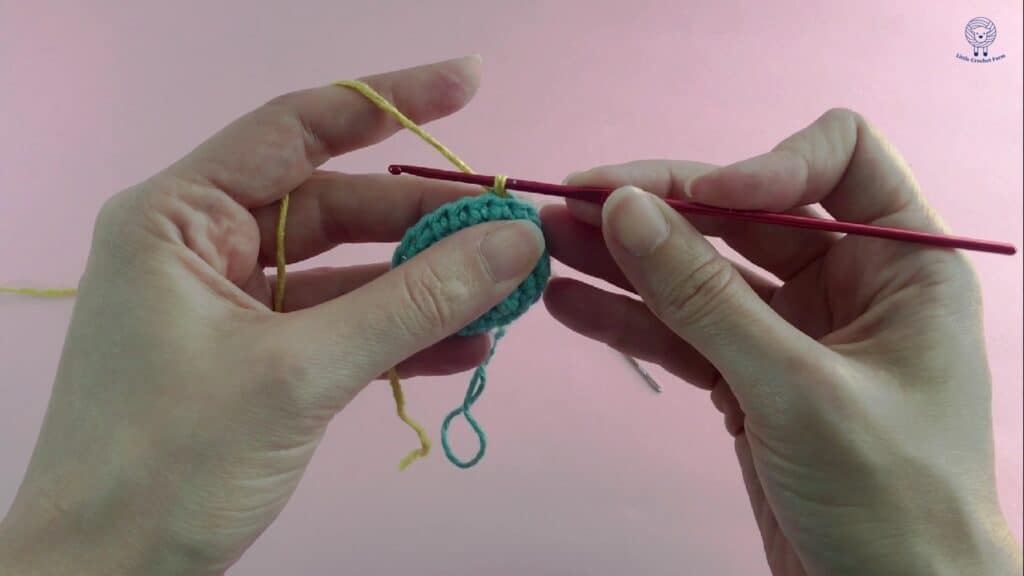
Then, add the new color in any random stitch of the row (I prefer some 4 stitches beside where you just finish off) by inserting the needle in the back loop of the stitch, and pull the new color.
Chain 1
Insert the needle in the same stitch but, this time, taking both loops
And make single crochet!
When you arrive at the end of the row, continue working in rounds like you normally would.
The result is this one! You can still see the color changes if you pay a lot of attention. Other than that, is perfect!
If you have any questions, leave them in the comment box below. I’ll be happy to help you!
I hope this guide was helpful and that you learn something new today! And if you like this video, take a look at other ones on my YouTube channel. I upload two new videos every week! All about crochet for nursery décor, crochet toys, and baby gifts.
Love,
Ana
You may also like: