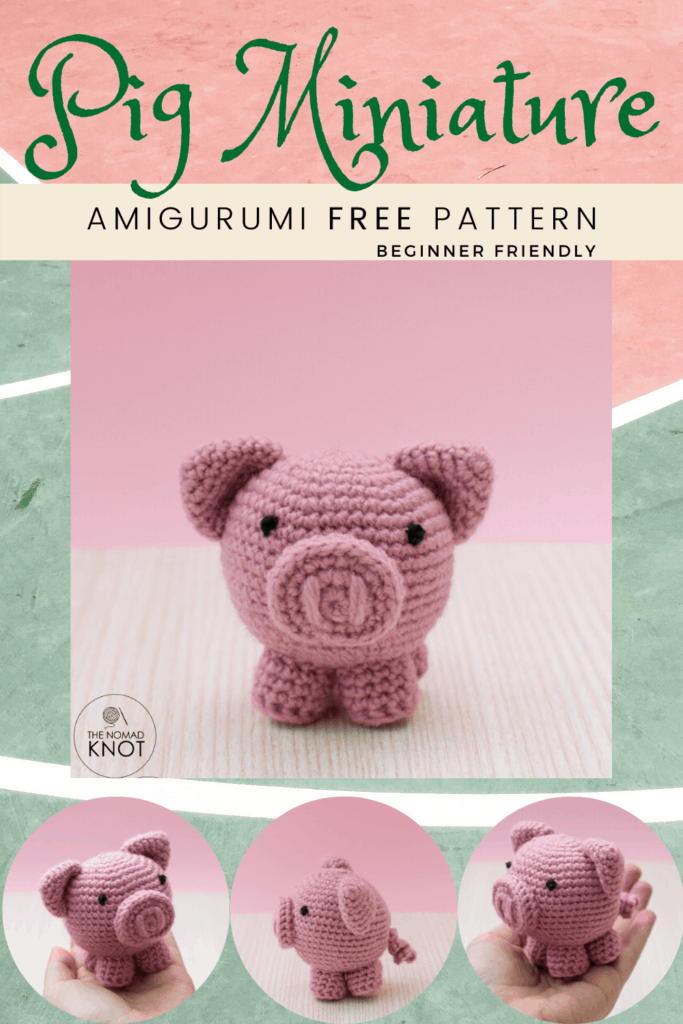
Pig amigurumi FREE pattern
Hello crafters! How are you doing?!
Today I will talk about this amazing amigurumi crochet technique that it is becoming a hobby for many of us! Plus, I am sharing this beginner-friendly pig amigurumi pattern!
During these hard times that we are all sharing in the world, crochet has become a therapy option for many people. Kids, teenagers, moms, and everyone started to learn new skills and discover new passions.
PIN IT FOR LATER!
I learn to crochet with my mom at the age of 11, she taught me knitting and embroidering also. But what I fell in love with was this beautiful Japanese technique that we call amigurumi.
Crochet toys were always there, but little, small, cute, and practical came with a Japanese kawaii way of making.
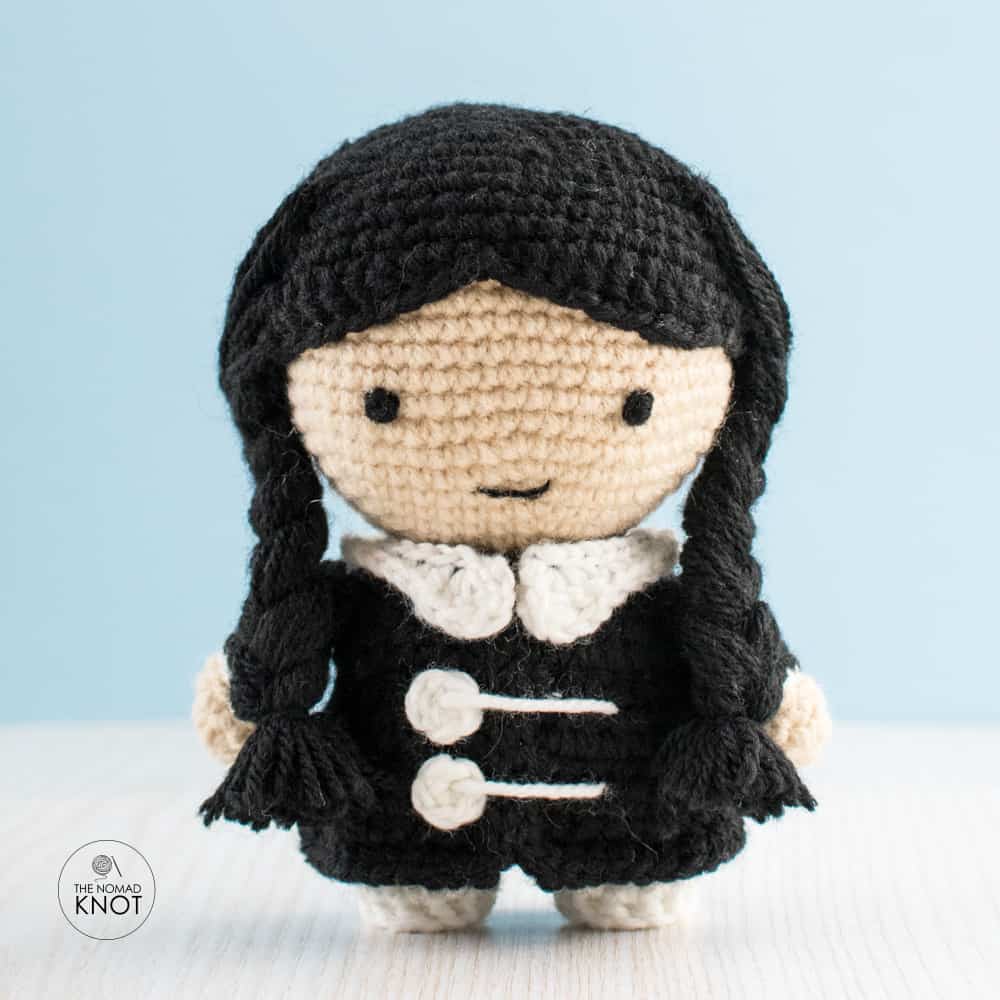
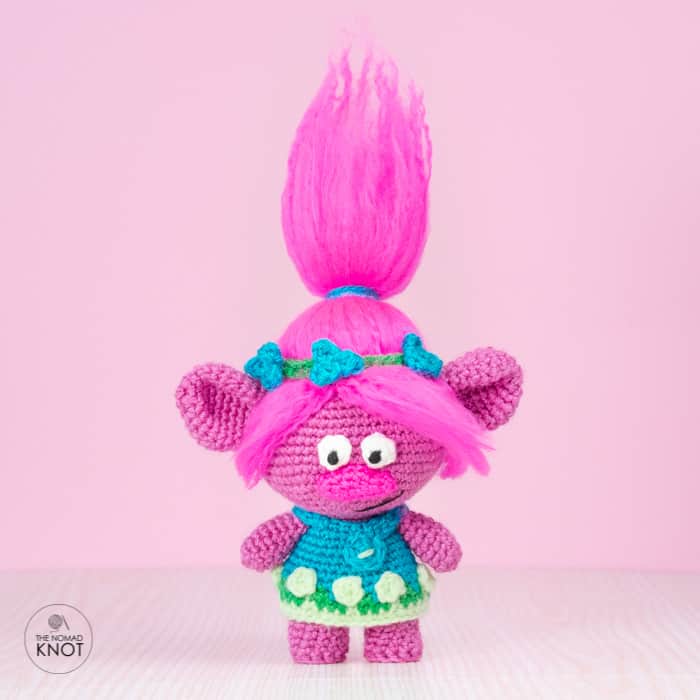
When I first started making amigurumi, I started making animals, and animals are still my big love, even though now I do dolls, characters, imaginary trolls, everything that my mind imagines, I put into action. And it was so calming for me, so a relaxing time where I need to concentrate my thoughts and leave all my problems behind.
A few of my friends asked me to teach them and thinking that this can help more people than only my friends, I decided to create an easy and fast amigurumi crochet pattern so everybody can learn, and relax! In the end, you will have a beautiful piece of the crocheted toy made by yourself. And this feeling, believe me, is a stress relief!
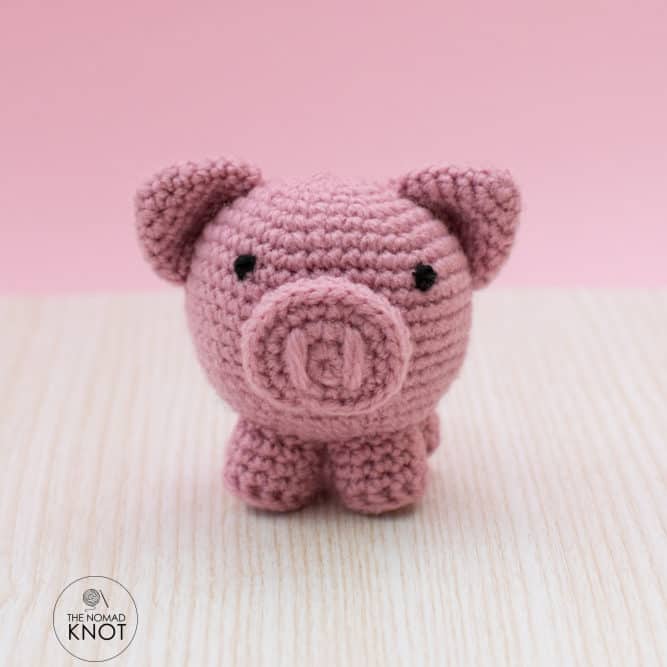
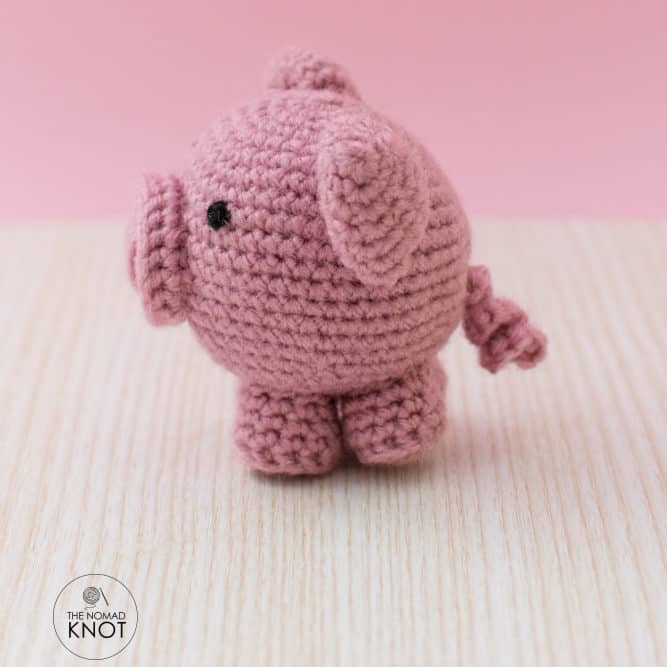
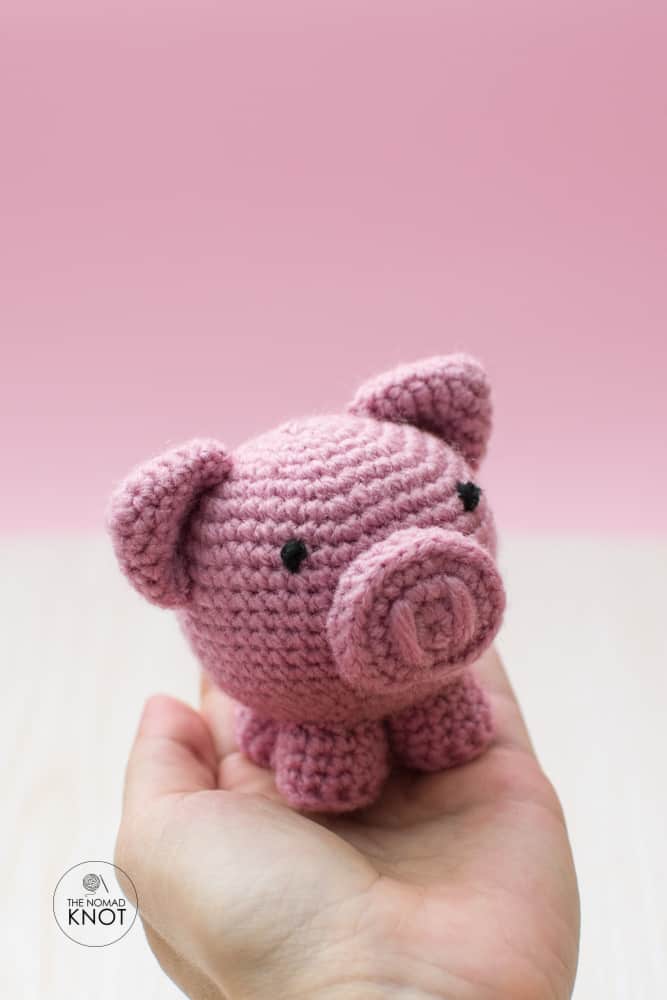
For this post, we are going to crochet a cute pig amigurumi!
This adorable crochet pattern! A super easy amigurumi pig, using a combination of simple techniques, to help you improve your crochet!
If you are a complete beginner in amigurumi, don’t worry! This pattern is for amigurumi beginners, and if you have any trouble completing the pattern, write me in the comments below. I will make sure to help you!
From all the stitches used for this pig, I have a small and fast tutorial. So, in case you don’t know what to do, I’ll leave links to all of the lessons you might need. The articles are made with pictures and written lessons. At the end of each article, there’s a small video with the movements combined.
I am thinking about shooting a complete video tutorial teaching and showing how to make this easy crochet stuffed pig pattern. If you would like that, please leave a comment in the box below!
Stitches used for this pattern (you can click and a page teaching how to make the stitch
will open with written lessons, pictures, and videos).
- How to do a magic ring
- How to do single crochet (SC)
- How to back post single crochet (BPSC)
- How to increase (inc)
- How to invisible decrease (invDEC or DEC)
TIPS:
- Remember to keep your stitch with a tight tension, this way, you won’t have any see-through gaps.
- Always count your stitches after every row, so you will make sure to have the total amount of stitches.
- Use a piece of yarn to mark the last stitch, so you won’t miss where the beginning and end of your row are!
Well, that said, let’s begin!
MATERIALS
You will need:
- 2mm crochet hook;
- lightweight pink yarn;
- scissors;
- sewing needle.
Finished size: about 7cm
Happy to share that Little Crochet Farm will be shooting some video tutorials from my patterns! For more video tutorials, check their YouTube channel
MINI PIG
With light pink yarn start,
- 1 row 6sc in a magic ring
- 2 row 6inc Total 12sts
- 3 row (1sc, 1inc) repeat 6 times Total 18sts
- 4 row (2sc, 1inc) repeat 6 times Total 24sts
- 5 row (3sc, 1inc) repeat 6 times Total 30sts
- 6 row (4sc, 1inc) repeat 6 times Total 36sts
- 7 row (5sc, 1inc) repeat 6 times Total 42sts
- 8 row (6sc, 1inc) repeat 6 times Total 48sts
- 9 row (7sc, 1inc) repeat 6 times Total 54sts
- 10 to 16 row 54sc
I prefer to embroider the eyes, but if you are using safety eyes, add them in row 9, with 9 stitches in between.
- 17 row (7sc, 1dec) repeat 6 times Total 48sts
- 18 row (6sc, 1dec) repeat 6 times Total 42sts
- 19 row (5sc, 1dec) repeat 6 times Total 36sts
- 20 row (4sc, 1dec) repeat 6 times Total 30sts
- 21 row (3sc, 1dec) repeat 3 times Total 24sts
- 22 row (2sc, 1dec) repeat 3 times Total 18sts
Stop here for stuffing the pig,
- 23 row (1sc, 1dec) repeat 6 times Total 12sts
Cut the yarn, fasten it off and hide the remaining tail inside the toy
EARS
With light pink yarn start,
- 1 row 6sc in a magic ring
- 2 row (2sc, 1inc) repeat 2 times Total: 8sts
- 3 row (3sc, 1inc) repeat 2 times. Total: 10sts
- 4 row (4sc, 1inc) repeat 2 times. Total: 12sts
- 5 row (1sc, 1inc) repeat 6 times. Total : 18sts
- 6 row (2sc, 1inc) repeat 6 times. Total : 24sts
- 7 row 24sc
Cut the yarn, fasten it off and make another one following the same instructions.
Don’t stuff the ears.
PAWS
With a pink start,
- 1 row 6sc in a magic ring
- 2 row 6inc Total 12sts
- 3 row 12bpsc
- 4 to 6 row 15sc
Cut the yarn, fasten it off and make 3 more following the same instructions.
Put a little stuffing material in all of the paws.
SNOUT
With pink yarn start
- 1 row 8sc in a magic ring
- 2 row 8inc Total 16sts
- 3 row (1sc, 1inc) repeat 8 times Total 24sts
- 4 row 24bpsc
- 5 row 24sc
Cut the yarn and fasten it off.
TAIL
In the back side of your pig, at row 14:
Attach the pink yarn to the back of the pig and chain 10. Came back making 3sc inside each of the chain starting at the second chain of the sequence.
ASSEMBLY
Fasten all the parts in the pig with a help of pins.
Sew the ears starting from row 5 to row 11.
Sew the nose (snout) from row 10 to row 14. Use a little bit of stuffing material in the nose.
Sew the legs under the Pig placing them equally in the middle of the down part.
Embroider the face of the pig.
I embroidered the eyes at row 9 with 9 stitches apart from each other.

CONGRATULATIONS!!!
You finished your little mini Pig amigurumi!
If you are happy with your results, publish a picture and tag me on any social media so I can see your final product!
This is the first of many free patterns I will be publishing here. If you want any animal, in particular, write in the comment box below and I’ll schedule to create your request!
And if you are ready for more advanced patterns, check out the Etsy shop with more of my creations. All the patterns contain detailed explanations and over 50 pictures with step by step to help you complete your toy! And of course, you can always consult me if you have any doubts! I will be happy to chat with you!
All right guys, that’s it for today!
Love,
Ana!
You may also like