Christmas Crochet DIY ornament pattern
Christmas is almost there already! What happened this year!?! And besides making a bunch of crochet gifts (you can check here my selected list for crochet ideas), I also decided to make my crochet ornaments, I made a few from this list, and also I invented my own!
And, because I am very happy with the result, I want to share it with you, so you can also make yours, in blue and white also or, adapt it to your Christmas decoration colors!
Also, I ask, if you make these ornaments, you can share them with me on Facebook or Instagram! I’ll be so happy to see your creations!!! So, let’s move on to the pattern!
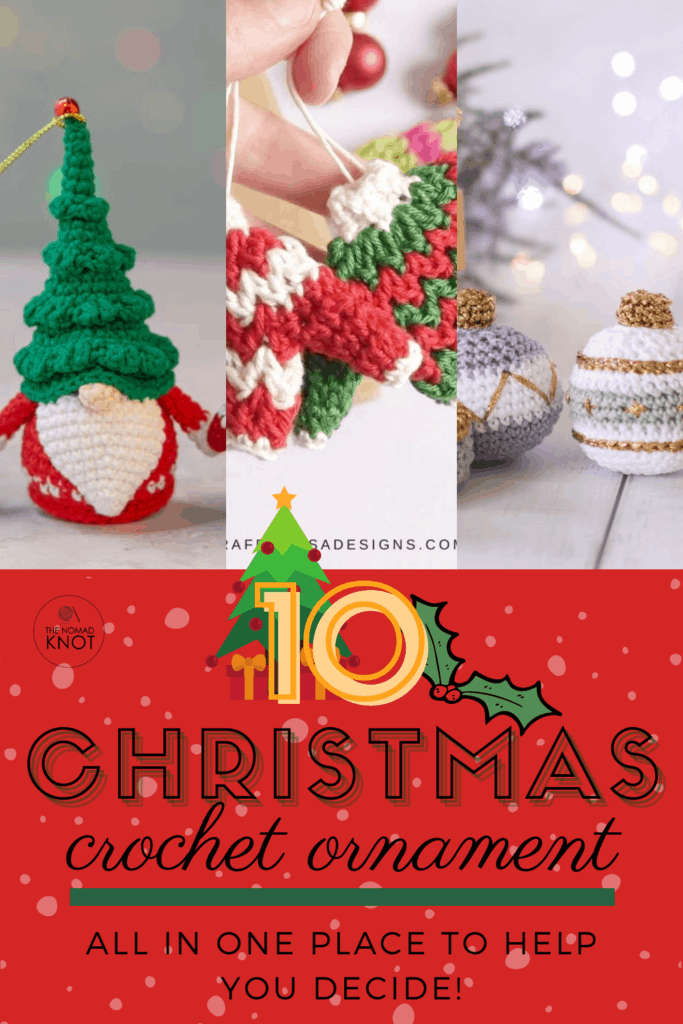
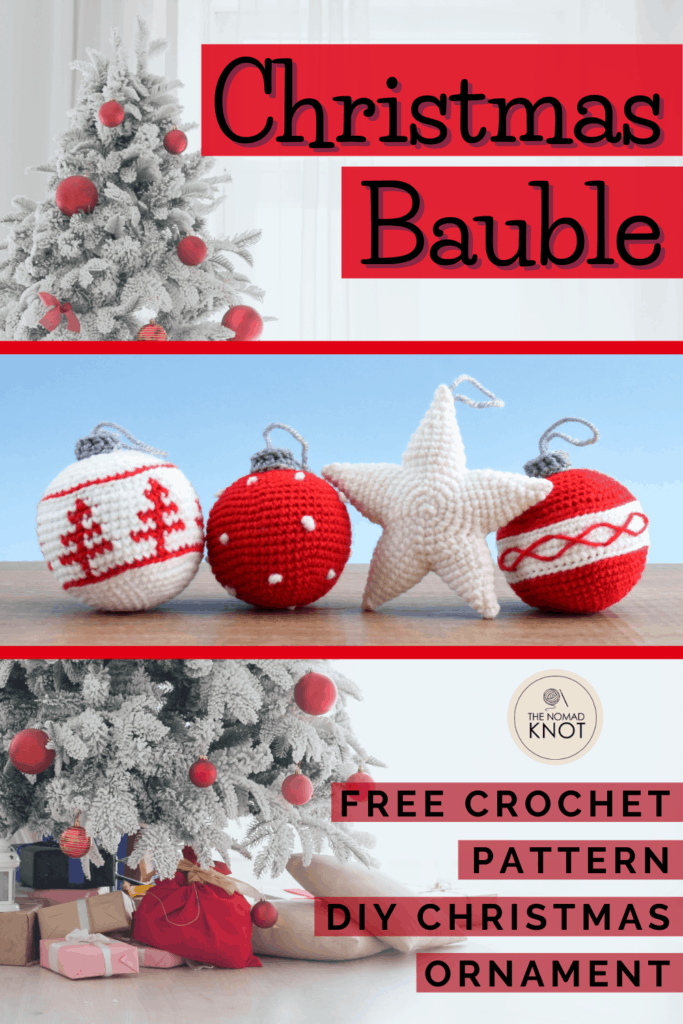
Pin it for later!
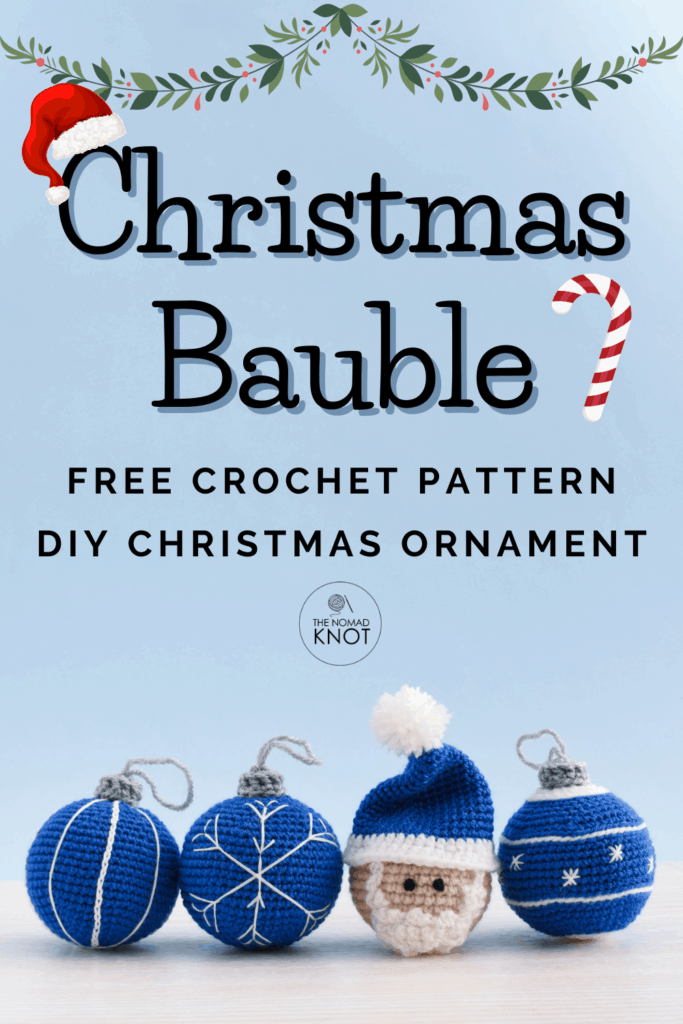
Christmas baubles – crochet ornament pattern
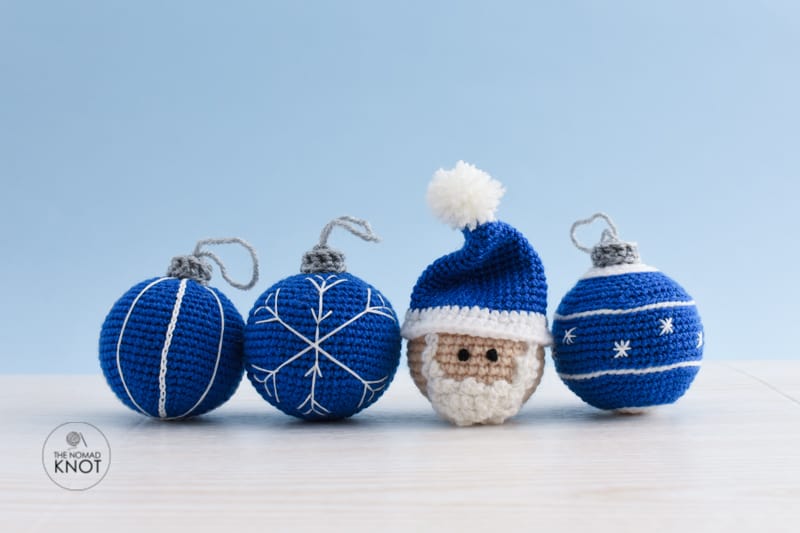
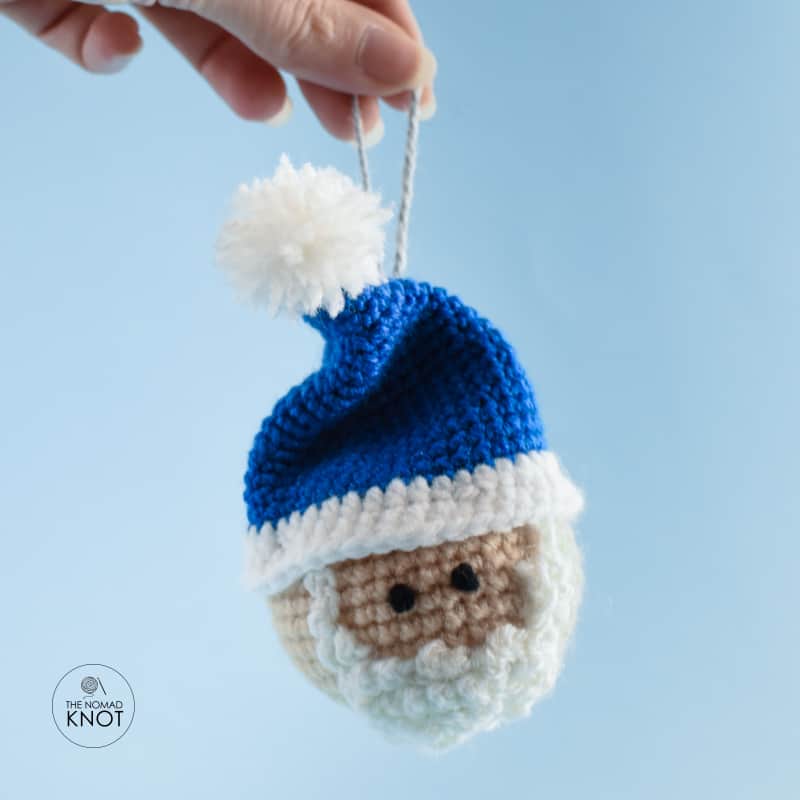
SANTA CLAUS Christmas ornament pattern
Materials:
- The skin color of your choice, white, blue, and gray light yarn
- Black thread to embroider the eyes.
- Stuffing material.
- Scissors.
- 2mm crochet needle.
Finished size: about 10cm (with the hat)
- 1 row 6sc in a magic ring
- 2 row 6inc Total 12sts
- 3 row (1sc, 1inc) repeat 6 times Total 18sts
- 4 row (2sc, 1inc) repeat 6 times Total 24sts
- 5 row (3sc, 1inc) repeat 6 times Total 30sts
- 6 row (4sc, 1inc) repeat 6 times Total 36sts
- 7 row (5sc, 1inc) repeat 6 times Total 42sts
- 8 to 13 row 42pb
- 14 row (5sc, 1dec) repeat 6 times Total 36sts
- 15 row (4sc, 1dec) repeat 6 times Total 30sts
- 16 row (3sc, 1dec) repeat 6 times Total 24sts
- 17 row (2sc, 1dec) repeat 6 times Total 18sts
Stop here for stuffing the ornament
- 18 row (1sc, 1dec) repeat 6 times Total 12sts
Cut the yarn and fasten it off.
HAT
With blue yarn start,
- 1 row 6sc in a magic ring
- 2 row (2sc, 1inc) repeat 2 times Total 8sts
- 4 row (3sc, 1inc) repeat 2 times Total 10sts
- 5 row (4sc, 1inc) repeat 2 times Total 12sts
- 6 row (3sc, 1inc) repeat 3 times Total 15sts
- 7 row (5sc, 1inc) repeat 3 times Total 18sts
- 8 row (5sc, 1inc) repeat 3 times Total 21sts
- 9 row (5sc, 1inc) repeat 3 times Total 24sts
- 10 row (3sc, 1inc) repeat 6 times Total 30sts
- 11 row (4sc, 1inc) repeat 6 times Total 36sts
- 12 row (5sc, 1inc) repeat 6 times Total 42sts
- 13 to 17 row 42sc
Change to white yarn,
- 18 row 42hdc
- 19 row 48hdc
Cut the yarn and fasten it off.
Make a small pompom and sew it on top of the hat
I used the index finger and middle finger to roll the yarn around them, then with a piece of yarn, I fasten in the middle of my fingers really tight, remove it from my fingers, and cut the edges until reaches a round shape. This is how I do my mini pompons. But of course, you can do it the way you are most comfortable with.
eyes and beard
- Sew the eyes in row 10 of the head with 2 stitches between them.
- Attach the white yarn between rows 12 and 13, on the left side of the face, with 3 stitches distance from the eye.
- Make chain 2 chain stitches and connect with a slip stitch way down (vertical) row by row, until reaches row 7.
- Now, work horizontally (stitch by stitch), creating the down part of the beard. But here, you are going to chain 3 and connect with an SL
5. Cut the yarn, fasten it off and attach it again on the other side of the face, and chain 2 connecting with an SL until reaches the down part beard you just crocheted.
Final details
Take a piece of yarn (in my case I used gray), and attach it to the back of the head, for you to be able to hang in the tree.
Sew the hat on Santa’s head!
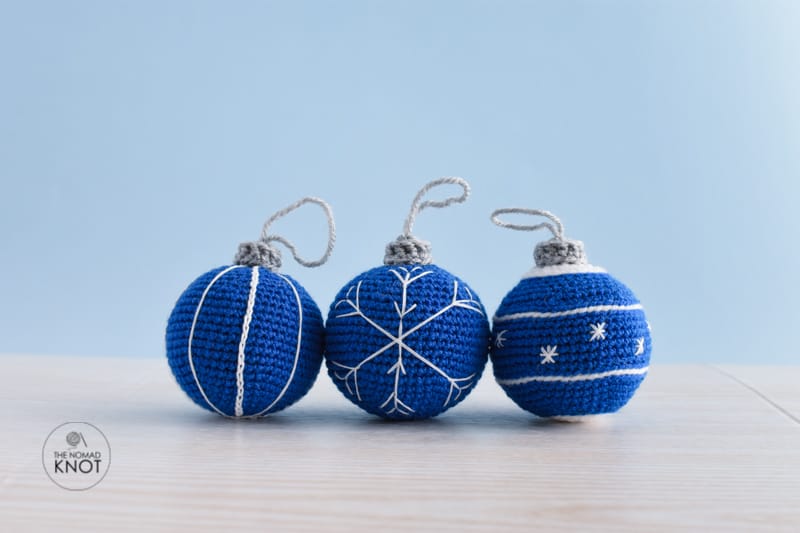
Crochet baubles Christmas ornament pattern
Materials:
- Blue, white and gray yarn
- Stuffing material.
- Scissors.
- 2mm crochet needle.
Finished size: about 7cm
With blue color yarn (or the color of your choice) start,
- 1 row 6sc in a magic ring
- 2 row 6inc Total 12sts
- 3 row (1sc, 1inc) repeat 6 times Total 18sts
- 4 row (2sc, 1inc) repeat 6 times Total 24sts
- 5 row (3sc, 1inc) repeat 6 times Total 30sts
- 6 row (4sc, 1inc) repeat 6 times Total 36sts
- 7 row (5sc, 1inc) repeat 6 times Total 42sts
- 8 row (6sc, 1inc) repeat 6 times Total 48sts
- 9 row (7sc, 1inc) repeat 6 times Total 54sts
- 10 to 17 row 54sc
- 18 row (7sc, 1dec) repeat 6 times Total 48sts
- 19 row (6sc, 1dec) repeat 6 times Total 42sts
- 20 row (5sc, 1dec) repeat 6 times Total 36sts
- 21 row (4sc, 1dec) repeat 6 times Total 30sts
- 22 row (8sc, 1dec) repeat 3 times Total 27sts
- 23 row (7sc, 1dec) repeat 3 times Total 24sts
- 24 row (2sc, 1dec) repeat 6 times Total 18sts
Stop here for stuffing the bauble
- 25 row (1sc, 1dec) repeat 6 times Total 12sts
Cut the yarn and fasten it off. Hide the remaining yarn inside the bauble. Make two following the same instructions.
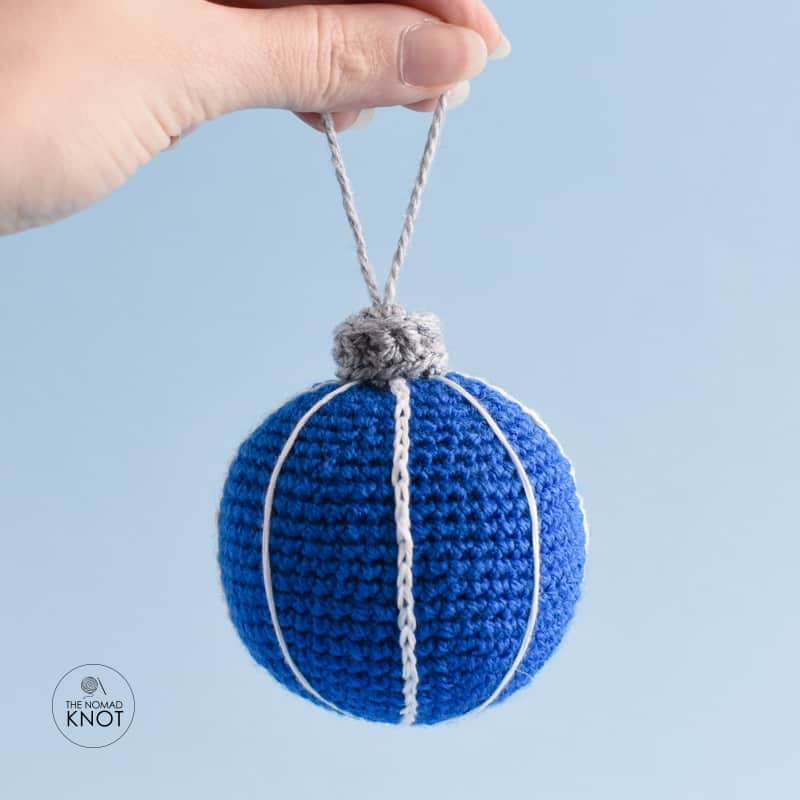
Top Handler
With gray yarn start,
- 1 row 6sc in a magic ring
- 2 row 6inc Total 12sts
- 3 row 12bpsc
- 4 row 12sc
Cut the yarn and fasten it off. Cut a piece of yarn (about 14cm) fold it in half and sew it inside the top handler so you can be able to hang it anywhere!
FINAL DETAILS
In one bauble, attach the white yarn in the top central part of the bauble, and make chain stitches vertical, dividing the bauble into 4 equal parts.
With the same yarn, simply make 4 lines in between the chain stitches you just embroider. Cut the yarn and faster, off
Sew the top handler on top of the bauble.
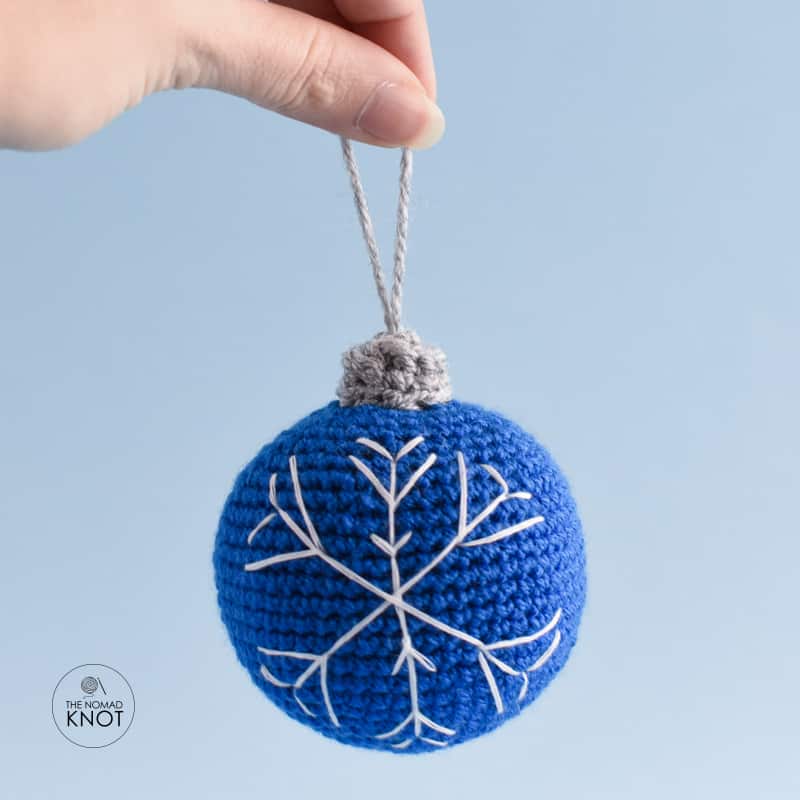
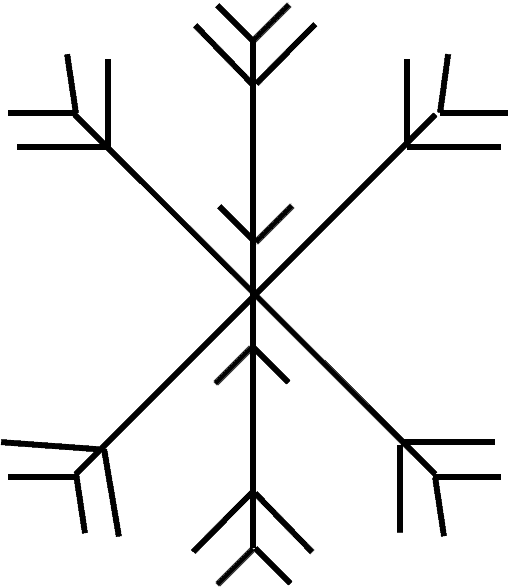
For the second bauble, you are going to embroider the sketch below (and forgive me for my drawing skills…).
Sew the top handler on top of the bauble.
With white color yarn (or the color of your choice) start,
- 1 row 6sc in a magic ring
- 2 row 6inc Total 12sts
- 3 row (1sc, 1inc) repeat 6 times Total 18sts
- 4 row (2sc, 1inc) repeat 6 times Total 24sts
Change to blue
- 6 row 24blsl
- 7 row (3sc, 1inc) repeat 6 times Total 30sts
- 8 row (4sc, 1inc) repeat 6 times Total 36sts
- 9 row (5sc, 1inc) repeat 6 times Total 42sts
- 10 row (6sc, 1inc) repeat 6 times Total 48sts
- 11 row (7sc, 1inc) repeat 6 times Total 54sts
Change to white
- 12 row 54blsl
Change to blue
- 13 row 54blsl
- 14 row 54blsc
- 15 to 18 row 54sc
Change to white
- 19 row 54blsl
Change to blue
- 20 row 54blsl
- 21 row (7sc, 1dec) repeat 6 times Total 48sts
- 22 row (6sc, 1dec) repeat 6 times Total 42sts
- 23 row (5sc, 1dec) repeat 6 times Total 36sts
- 24 row (4sc, 1dec) repeat 6 times Total 30sts
- 25 row (3sc, 1dec) repeat 3 times Total 24sts
Change to white
- 26 row 24blsl
- 26 row (6sc, 1dec) repeat 3 times Total 24sts
- 27 row (5sc, 1dec) repeat 3 times Total 18sts
Stop here for stuffing
- 28 row (1sc, 1dec) repeat 6 times Total 12sts
Cut the yarn and fasten it off.
Top Handler
With gray yarn make another top handler.
- 1 row 6sc in a magic ring
- 2 row 6inc Total 12sts
- 3 row 12bpsc
- 4 row 12sc
Cut the yarn, fasten it off and attach a yarn for hanging.
FINAL DETAILS
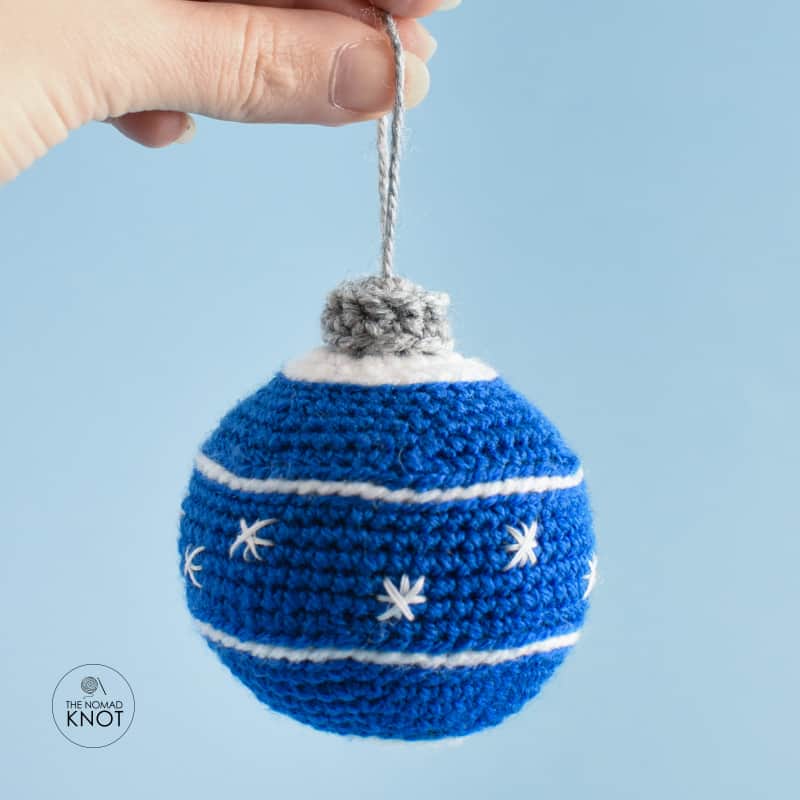
Attach the white yarn somewhere in the central part of the bauble, and make little stars, or asterisks** around the bauble.

There you go! Now you have 4 different Christmas crochet ornaments made by yourself! And you can make as many as you need to stuff your tree!
If you enjoy making this pattern as I did, please share it with your friends and Pin this page! This will help me a lot!
I do not intend to put advertising on my website (unless is the crochet quotes t-shirt my aunt makes, or my own paid patterns on Etsy of course). So, by sharing this you motivate me to keep developing new patterns!
See you next time!
Love,
Ana
It can also help you this Christmas

You may also like