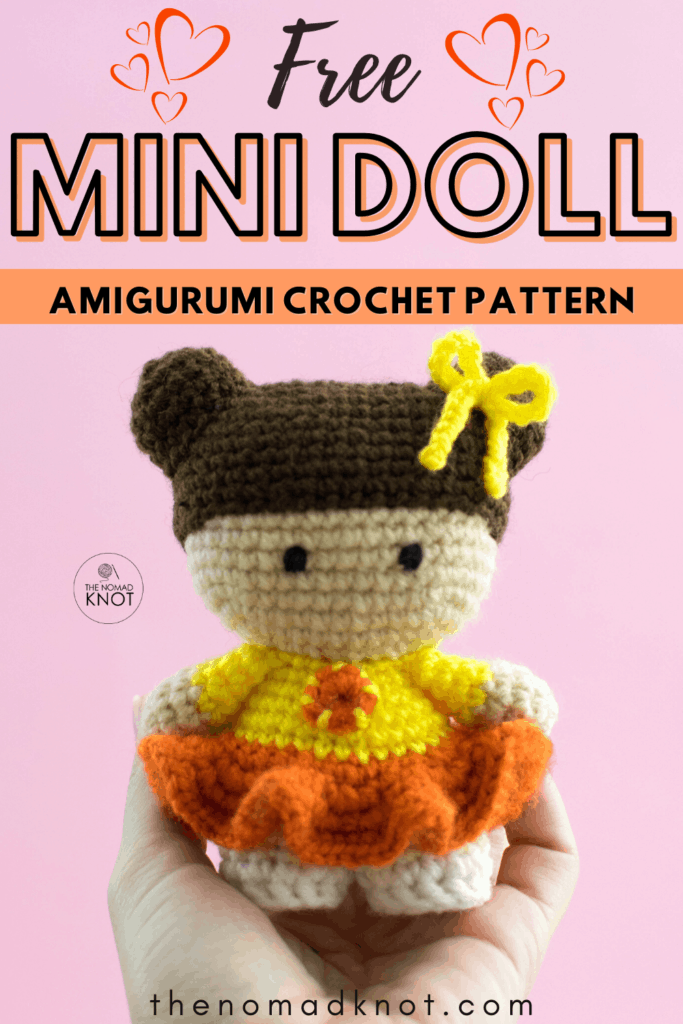
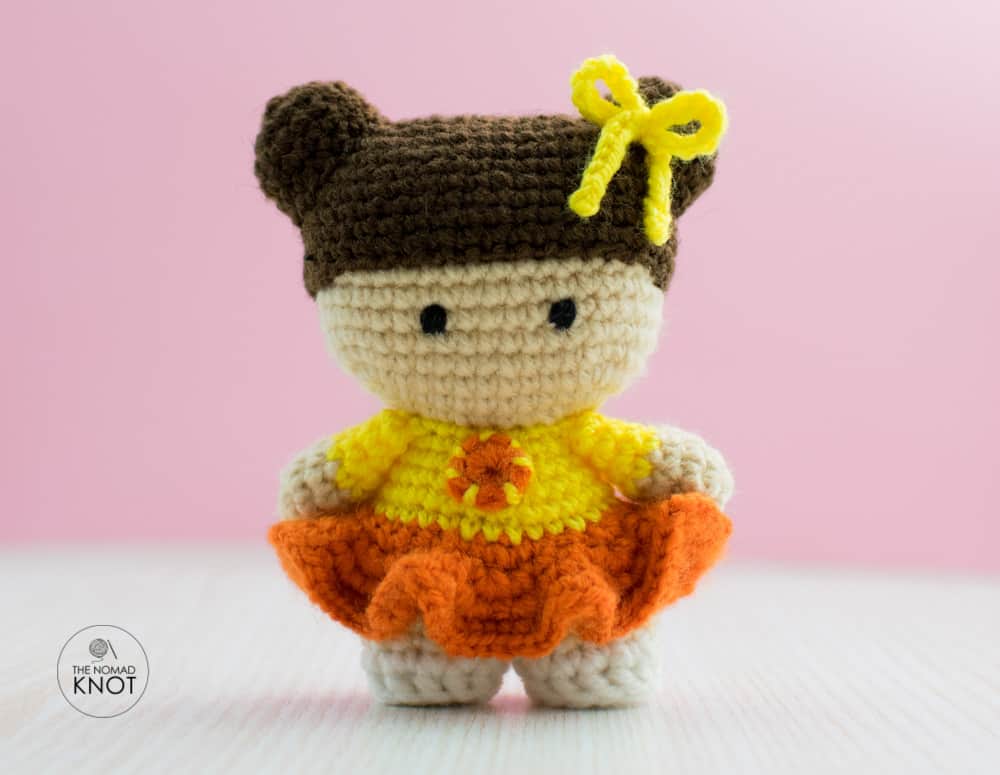
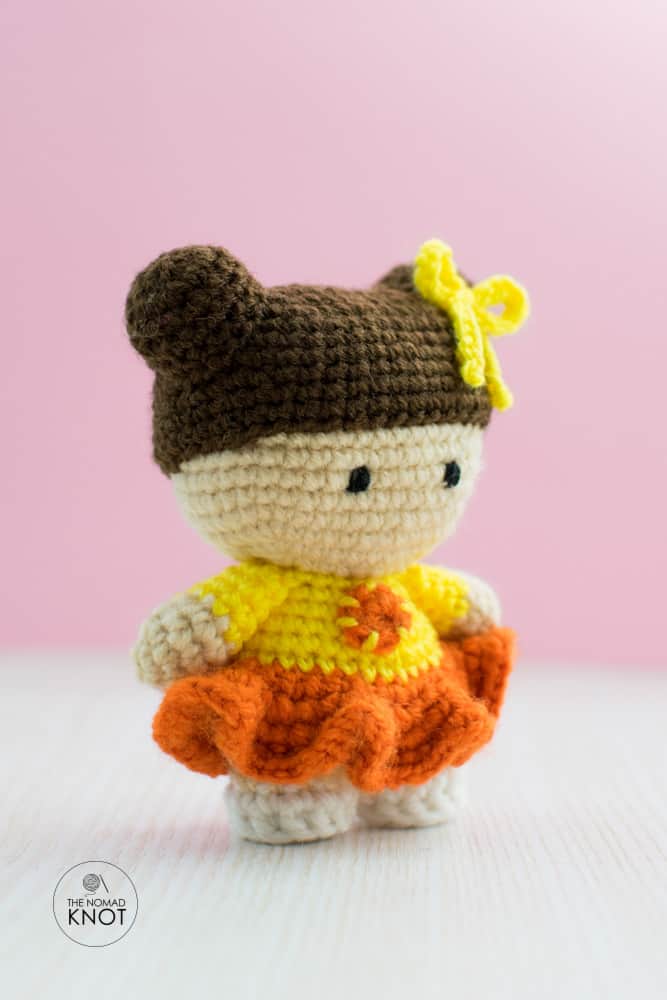
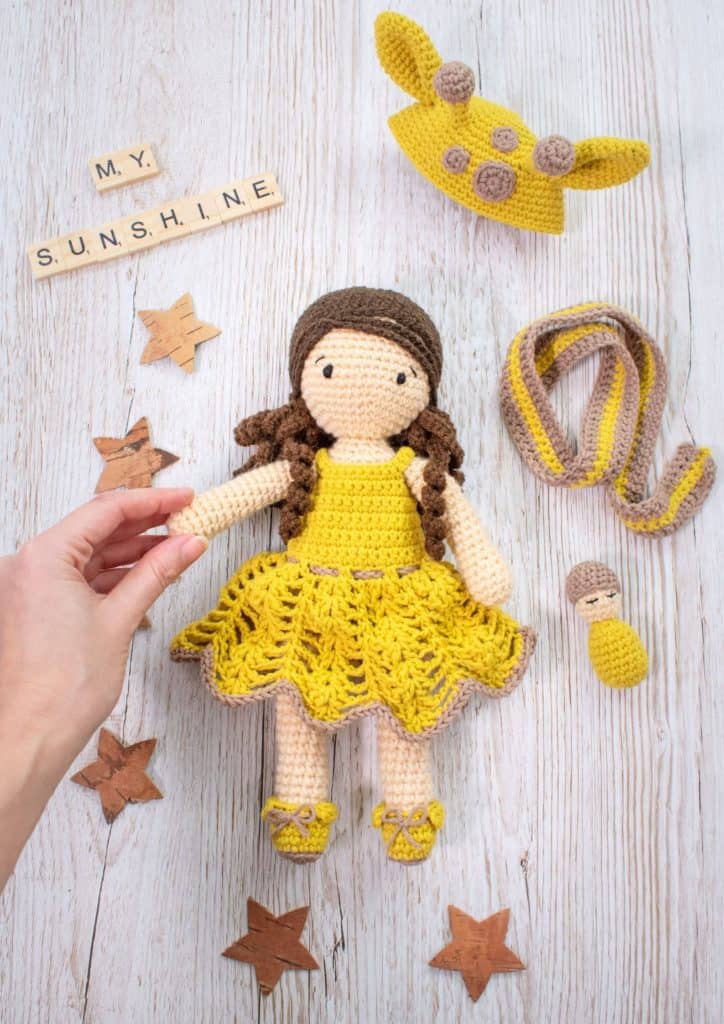
Sol, the sunshine doll – free amigurumi pattern
Hello everyone! I hope you are doing well at the beginning of October! Today I share this tiny sunshine amigurumi doll, free pattern. I call her Sol (which means sun in Portuguese). For those who don’t know, she is the sister of Nina, the night doll I made for my niece a couple of months ago.
For those who don’t know, every week I share here a brand new amigurumi pattern. If you don’t want to miss out, subscribe in the box below and receive every month on your email the latest amigurumi pattern! Or, pin this page in your amigurumi board and come back later!
Pin it for later!
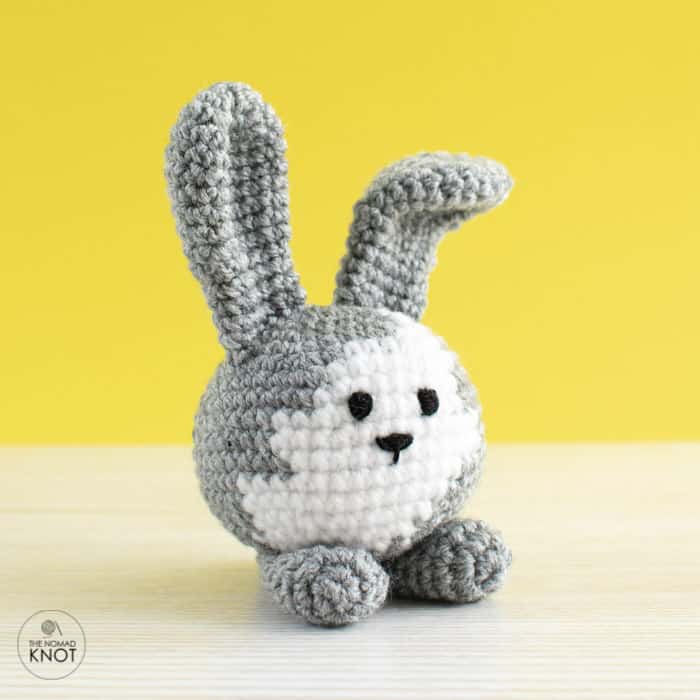
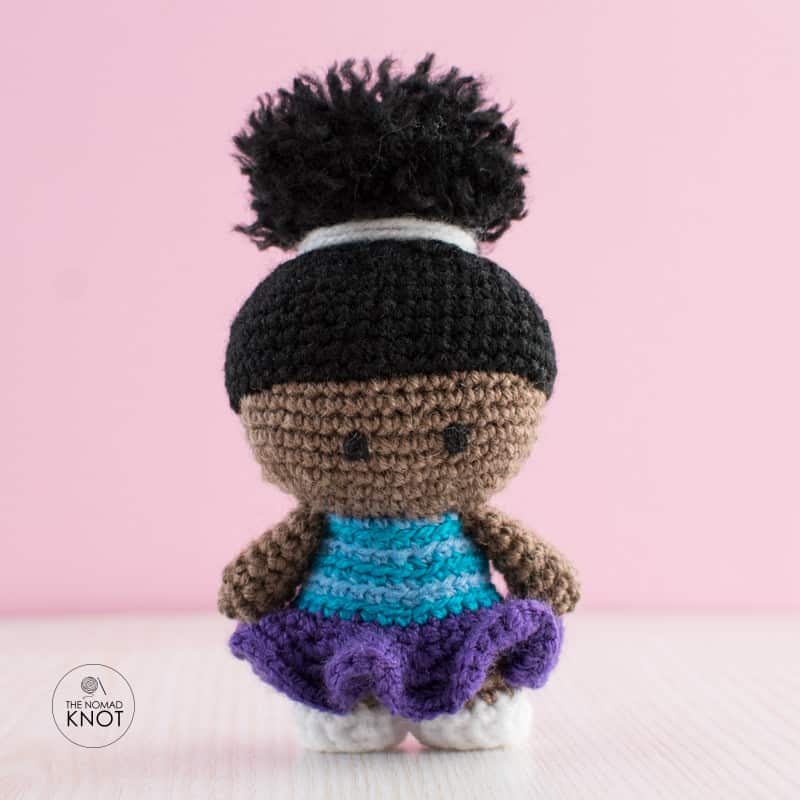
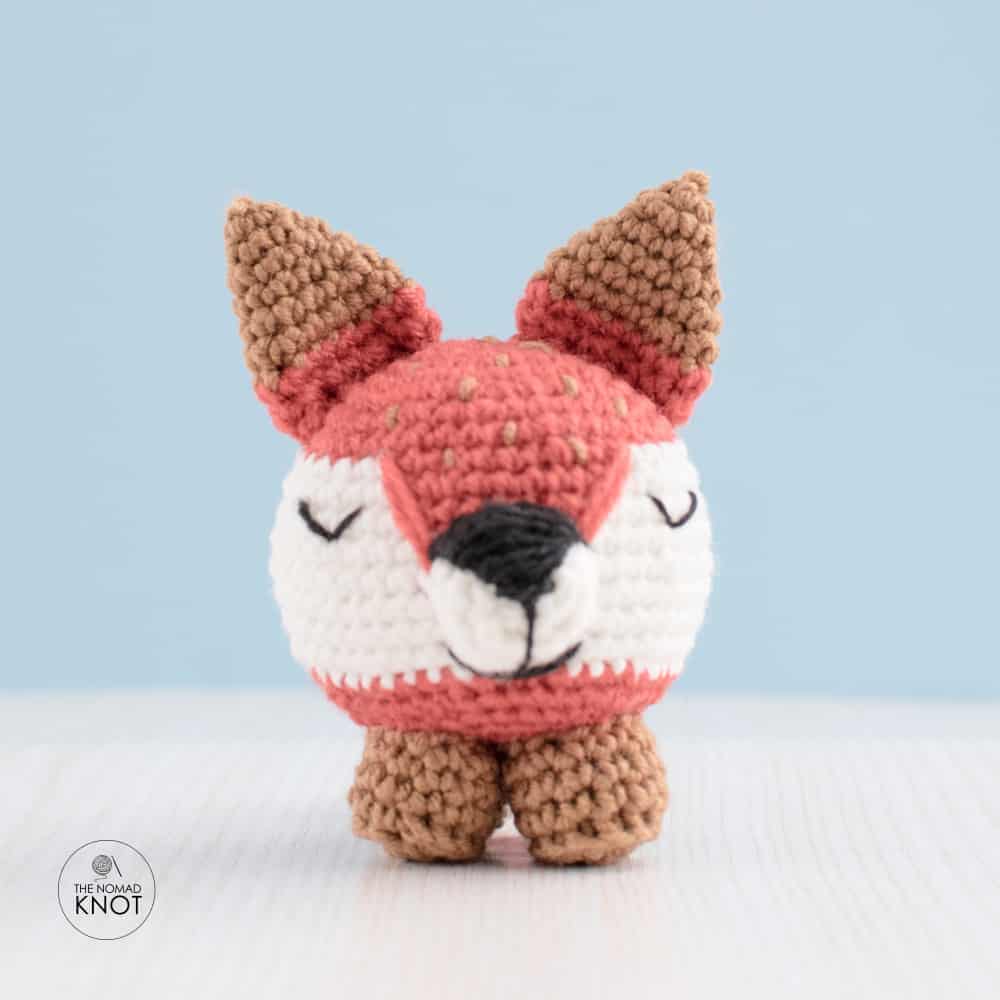
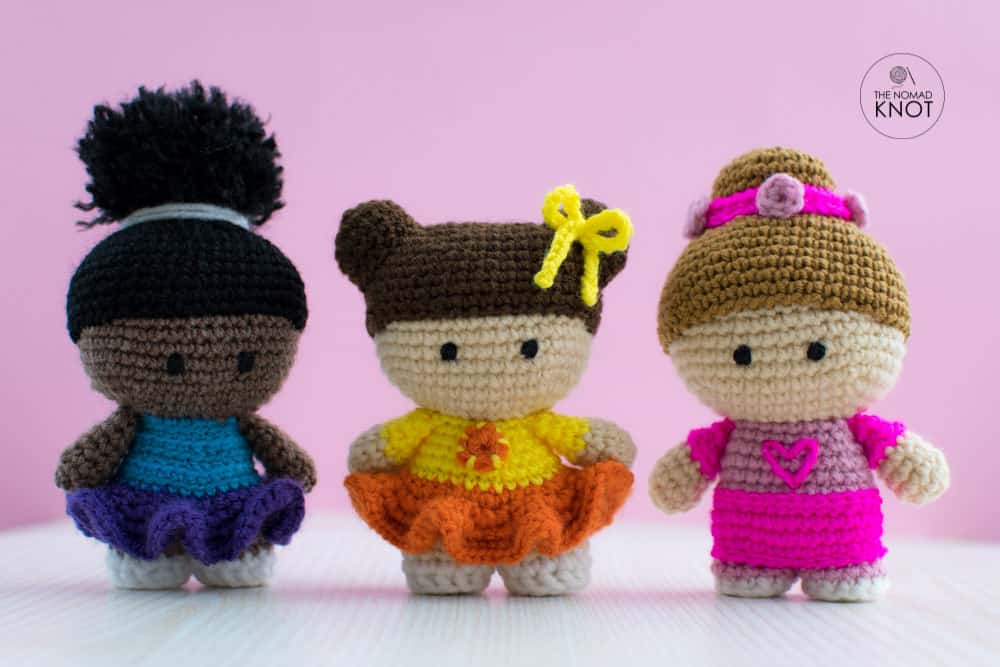
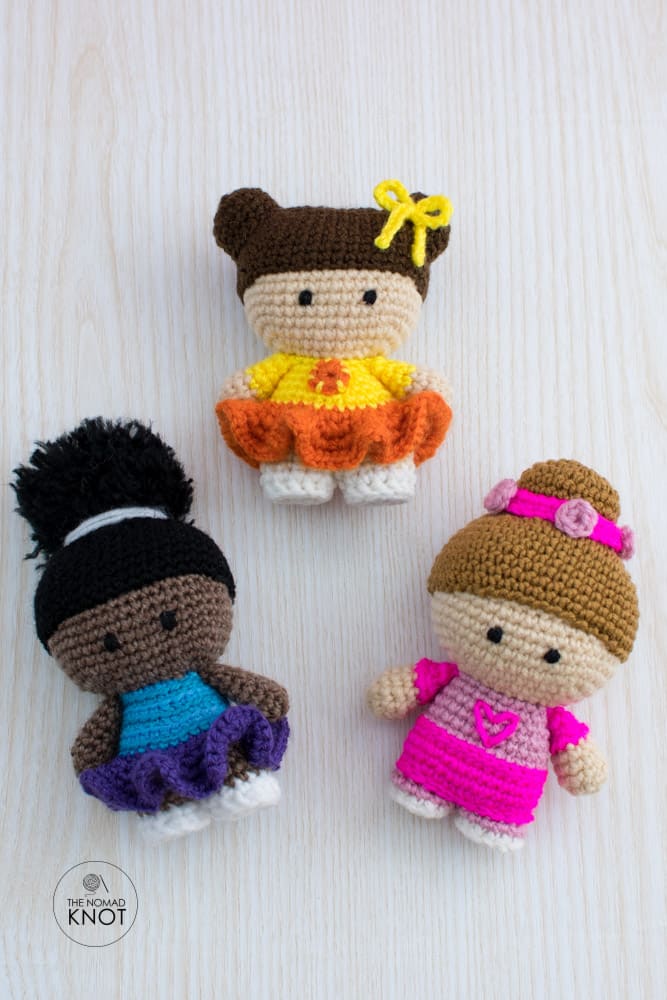
But coming back to Nina, she was so loved by you that I created a set of free mini amigurumi dolls. I call them “The Amigurumi Doll Dancers”, with their hair tight up and colorful clothes. I will be releasing them one by one for the next couple of weeks.
I leave you here a picture of some of them hanging together, maybe they are getting ready for a dance!
If you are an amigurumi beginner, here are a couple of links that will be useful for you to complete your crochet doll. And even if you are already familiarized with crocheting toys, I still suggest you take a look at the perfect way to finish your amigurumi. I like neat finishing off, and I learned this technique just 3 years ago (remembering that I crochet since kid…), but I like to constantly keep searching for ways to improve my crochet. There is always something to learn.
- Easy way to make a magic ring
- How to do single crochet (SC)
- The perfect way to finish your amigurumi.
- How to increase (inc)
- What is invisible decrease (invDEC or DEC)
- How to back post single crochet (BPSC)
I will leave you here also some things to keep in mind when crocheting amigurumi. It is always good to remember a few tips to make your stuffed toy prettier!
TIPS:
- The most important to remember is to keep your stitch with a tight tension, this way, you won’t have any see-through gaps.
- To help me keep my stitches tight, I prefer using yarn for a thicker needle than the one I would be using for the Amigurumi.
- Always count your stitches after every row, so you will make sure to have the total amount of stitches.
- Use a piece of yarn to mark the last stitch, so you won’t miss where the beginning and end of your row are!
Great news!!!
Little crochet farm will be shooting video tutorials for some of my free patterns! Starting with Sol! This beautiful mini ballerina doll! Subscribe to her channel for more!
SOL, THE SUNSHINE DOLL FREE AMIGURUMI PATTERN
MATERIAL:
- Skin color, white, yellow, orange, and brown.
- Black thread to embroider the eyes.
- Stuffing material.
- Scissors.
- 2mm crochet needle.
Finish size: about 11cm
SKIRT
Chain 30 and start single crochet in the first chain (closing a circle)
- 1 row 30sc
- 2 row (4sc, 2inc) repeat 6 times Total 42sts
PS: here, when is 2 inc, you are going to crochet 3sc inside the same stitch
- 3 row 42inc * Total 84sts
*make 2sc inside every stitch
- 4 row (3sc, 1inc) repeat 21 times Total 105sts
Cut the yarn and fasten it off.
BODY AND HEAD
With white yarn start
- 1 row 6sc in a magic ring
- 2 row 6inc Total 12sts
- 3 row 12bpsc
- 4 row 12sc
Cut the yarn and fasten it off.
Make another one following the same instructions.
Don’t fasten off the second leg, change to skin color, and connect the two legs by inserting the loop of the needle inside one stitch of the first leg, following,
- 5 row 24sc (12 from each leg)
- 6 row (3sc, 1inc) repeat 6 times Total 30sts
- 7 to 9 row 30sc
For the next row, change to yellow yarn and attach the skirt by crocheting together the stitches from the skirt with the body.
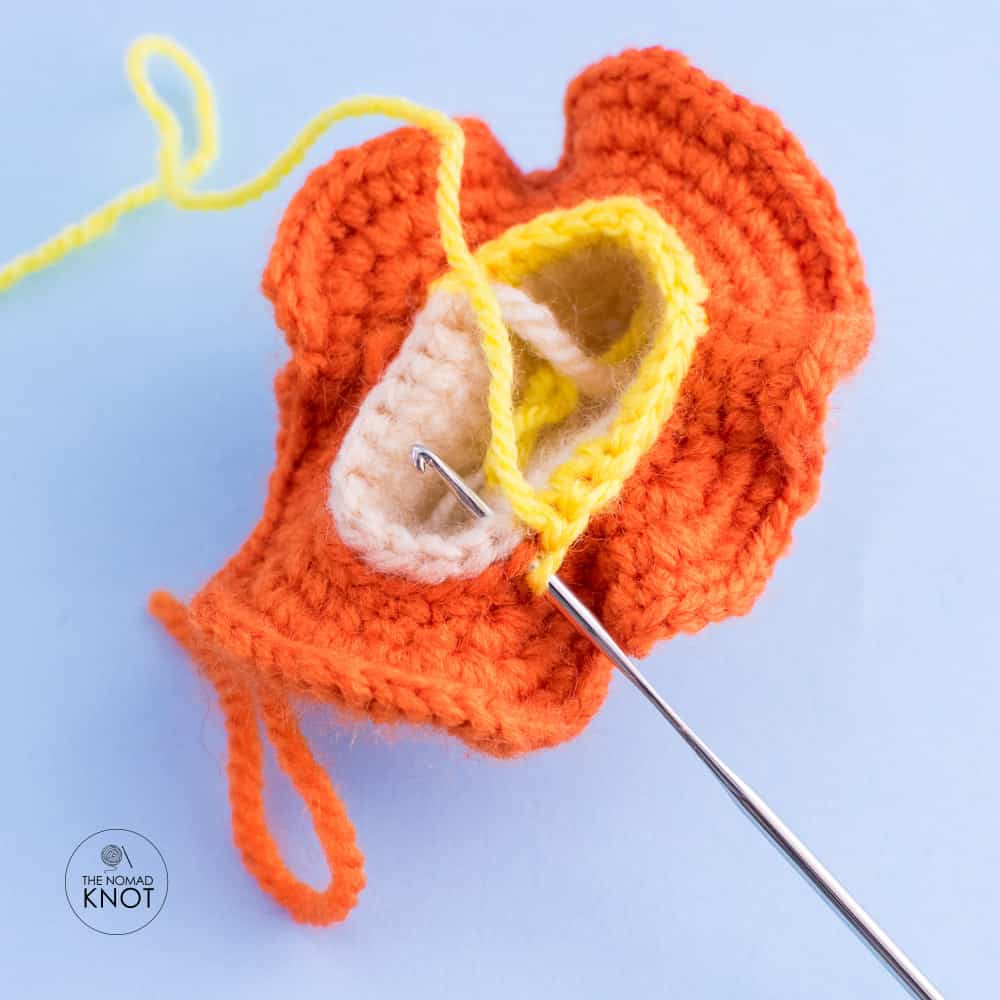
- 10 row 30sc (connecting the skirt)
- 11 row (13sc, 1dec) repeat 2 times Total 28sts
- 12 row (12sc, 1dec) repeat 2 times Total 26sts
- 13 row (11sc, 1dec) repeat 2 times Total 24sts
- 14 row (10sc, 1dec) repeat 2 times Total 22sts
- 15 row (9sc, 1dec) repeat 2 times Total 20sts
Stop here to start stuffing the doll before continuing.
Change to skin color yarn.
- 16 row 20blsl
For row 17, you are going to make the stitch by inserting the needle inside the remaining front loop of row 15. This will make row 16 to be inside the toy, creating the neck.
- 17 row FL(6sc, 2 inc, 2sc, 2 inc) repeat 2 times Total 28sts
ps: 2 inc = 3sc in same st
- 18 row (8sc, 2inc, 4sc, 2inc) repeat 2 times Total 36sts
- 19 row (9sc, 2inc, 6sc, 2inc) repeat 2 times, 2sc Total 44sts
- 20 to 27 row 44sc
- 28 row (9sc, 2dec, 5sc, 2dec) repeat 2 times Total 36sts
ps: 2dec = 1invDEC following by another invDEC (4sts becoming 2)
- 29 row (7sc, 2dec, 3sc, 2dec) repeat 2 times Total 28sts
- 30 row (5sc, 2dec, 1sc, 2dec) repeat 2 times Total 20sts
- 31 row (6sc, 2dec) repeat 2 times Total 16sts
Stop here to finish stuffing the doll.
- 32 row (4sc, 2dec) repeat 2 times Total 12sts
Cut the yarn and fasten it off.
HAIR
With brown yarn start,
- 1 row 6sc in a magic ring
- 2 row 6inc Total 12sts
- 3 row (4sc, 2inc, 2inc) repeat 2 times Total 20sts
- 4 row (6sc, 2 inc, 2sc, 2 inc) repeat 2 times Total 28sts
- 5 row (8sc, 2inc, 4sc, 2inc) repeat 2 times Total 36sts
- 6 row (10sc, 2inc, 6sc, 2inc) repeat 2 times, 2sc Total 44sts
- 7 to 13 row 44sc
Cut the yarn, fasten it off and leave a tail for sewing.
TOP OF THE HAIR
With brown yarn start,
- 1 row 6sc in a magic ring
- 2 row 6inc Total 12sts
- 3 row (1sc, 1inc) repeat 6 times Total 18sts
- 4 and 5 rows 18sc
Cut the yarn, fasten it off and leave a tail for sewing. Make another one.
ARMS
With skin color yarn start,
- 1 row 5sc in a magic ring
- 2 row 5inc Total 10sts
- 3 and 4 rows 10sc
Change to yellow.
- 5 to 8 row 10sc
Cut the yarn and fasten it off. Leave a tail for sewing
Make another one following the same steps.
HAIR BOW
Chain 35. Cut the yarn and fasten it off. Sew it together making a bow format.
ASSEMBLY
Sew the arms at row 15.
Place the hair on top of the head and sew it around the head. When you finish, place the two hair details on top of the head, use a little bit of stuffing and sew the detail on the hair.
Tip: use pins to fasten the details before sewing. This will help the detail not to move around and change slightly the initial position while sewing.
Embroider the eyes between rows 22 and 23 with 4 stitches between them.
Sew the bow on one side of the hair.
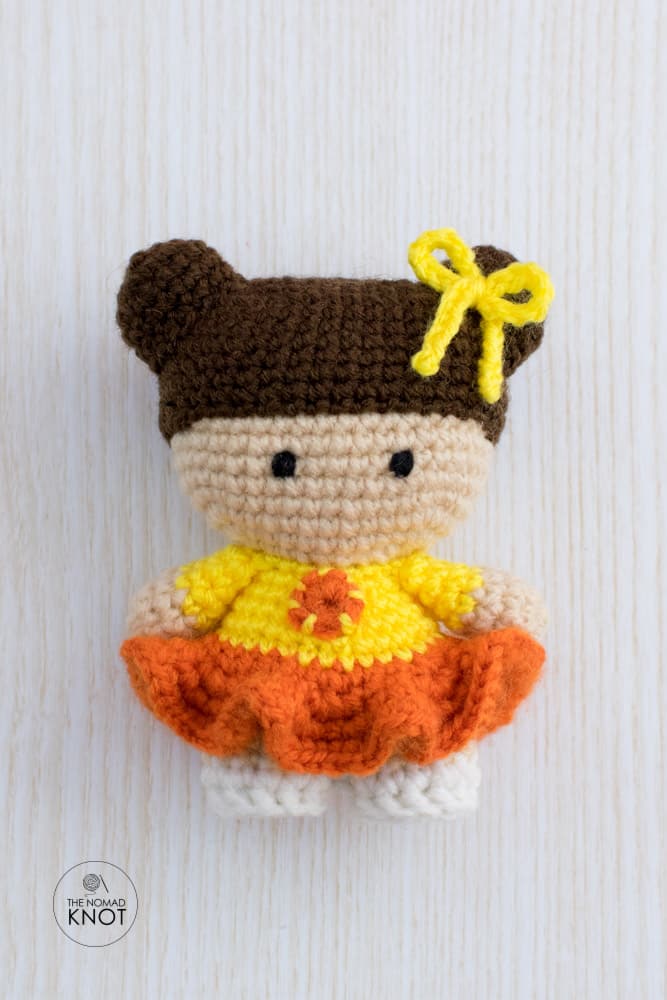
For the final touch, make 6sc in a magic ring with orange yarn and join with a slip stitch. Cut the yarn, fasten off and sew it in the middle of Sol’s chest. I sew this detail with yellow yarn, to give the impression of a sun.
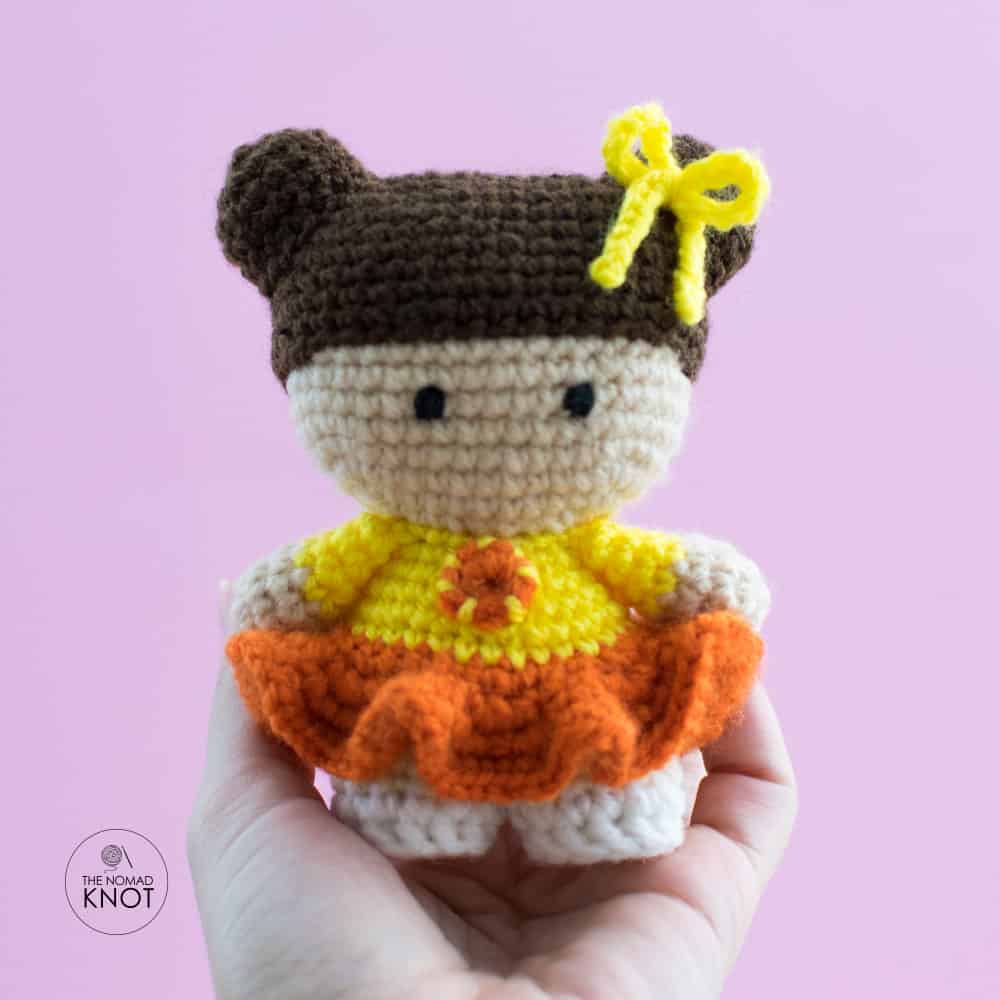
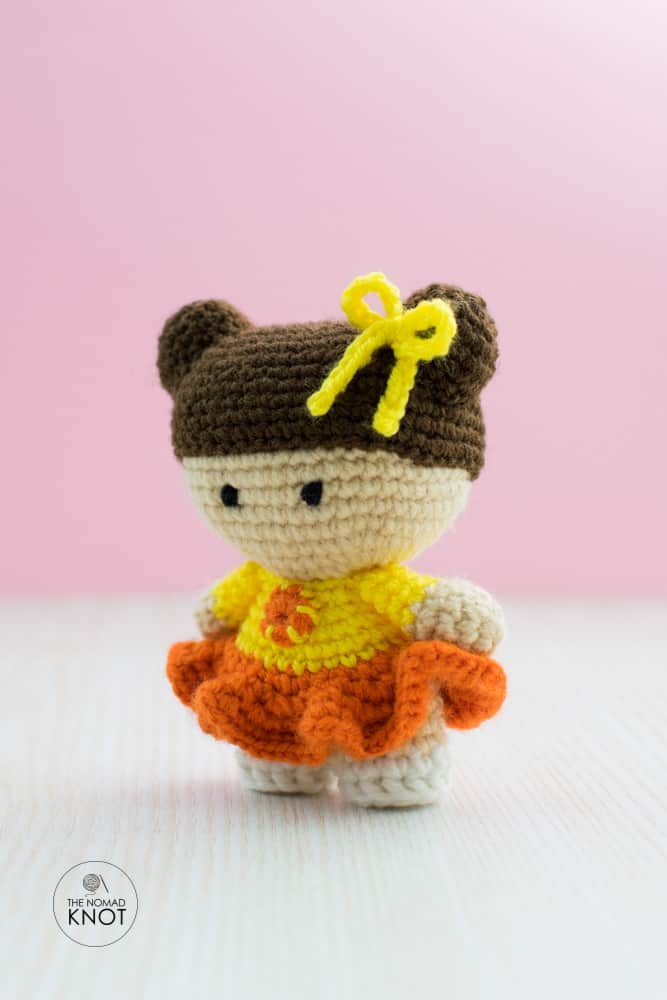
Congratulations!!!
Your cute little amigurumi doll is ready!
This beginner-friendly (maybe an intermediate) amigurumi doll is fast to make and easy to follow. Although, if you have any questions, let in the comment box below, I’ll be happy to help you finish your toy!
If you enjoyed this pattern and want to check out more free patterns, click here!
However, if you wish for more beginner-friendly lessons, tips, and techniques for amigurumi crochet toys, check out this part of my blog!
And last but not least, if you are ready for more advanced patterns, check out the Etsy shop with more of my creations. All the patterns contain detailed explanations and over 50 step-by-step pictures to help you complete your toy! And of course, you can always consult me if you have any doubts! I will be happy to chat with you!
See you next time!
Love,
Ana
YOU MAY ALSO LIKE
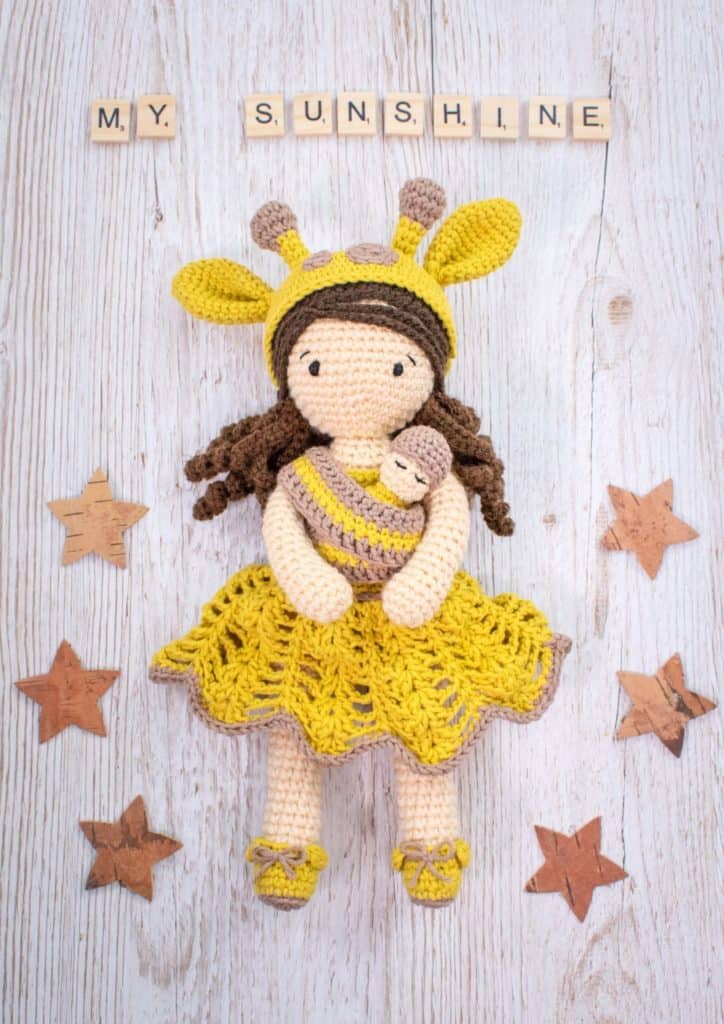
Meet Gigi, the newborn mom! A beautiful amigurumi pattern for a 30cm doll