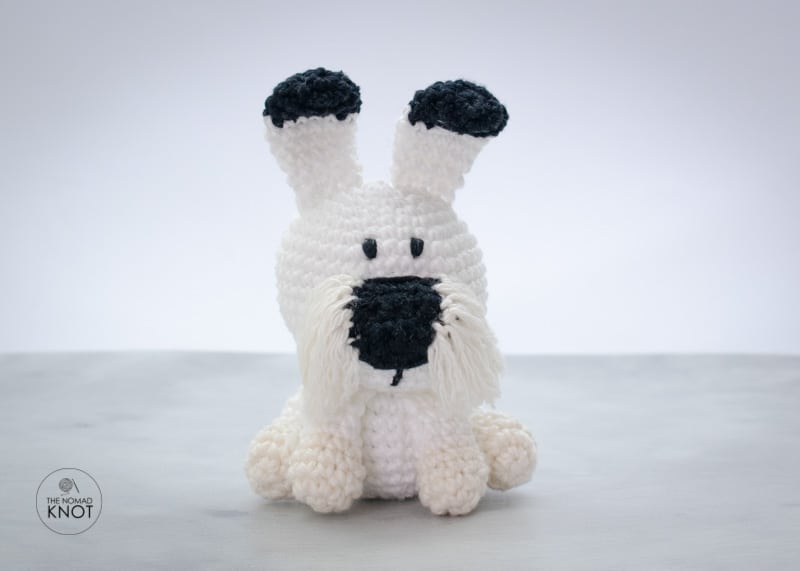
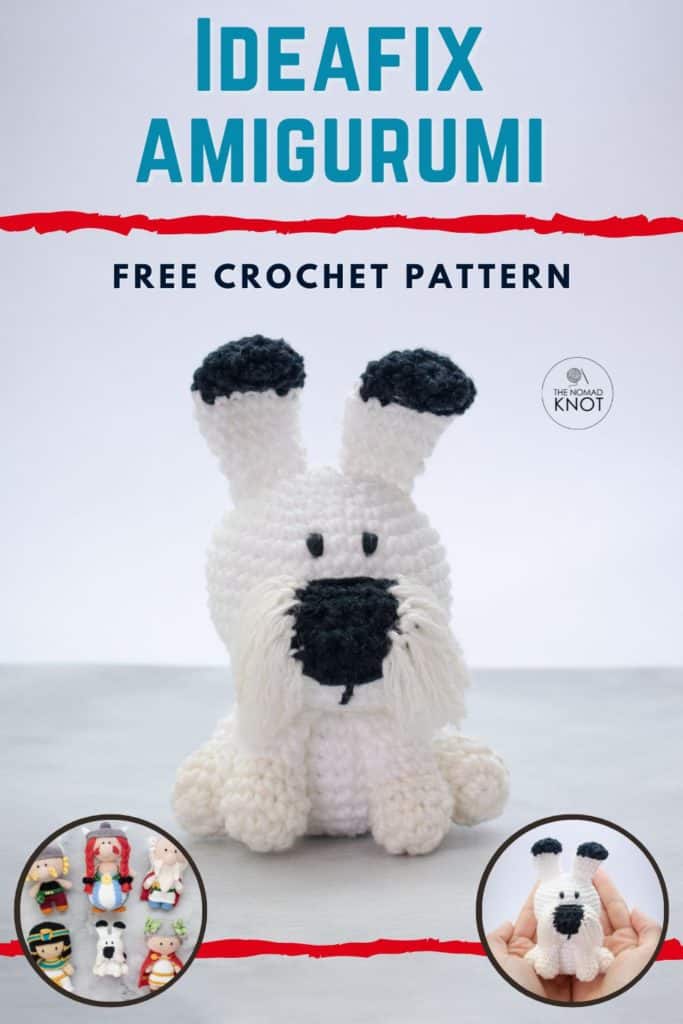
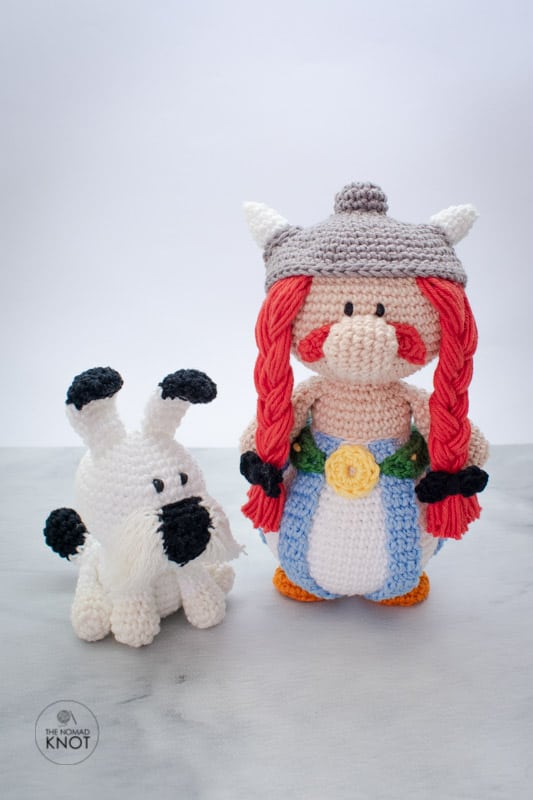
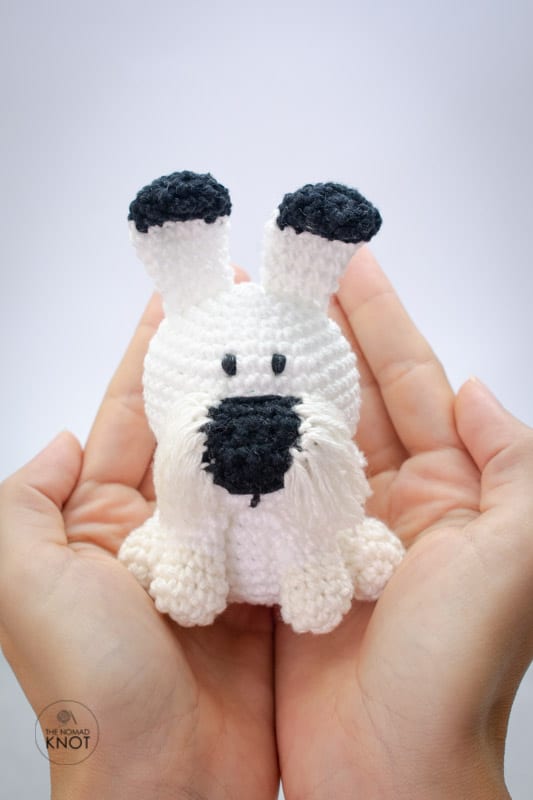
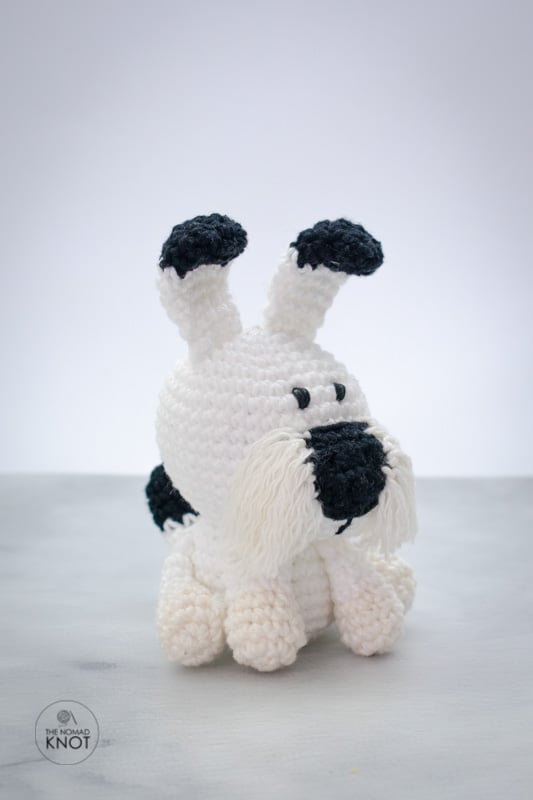
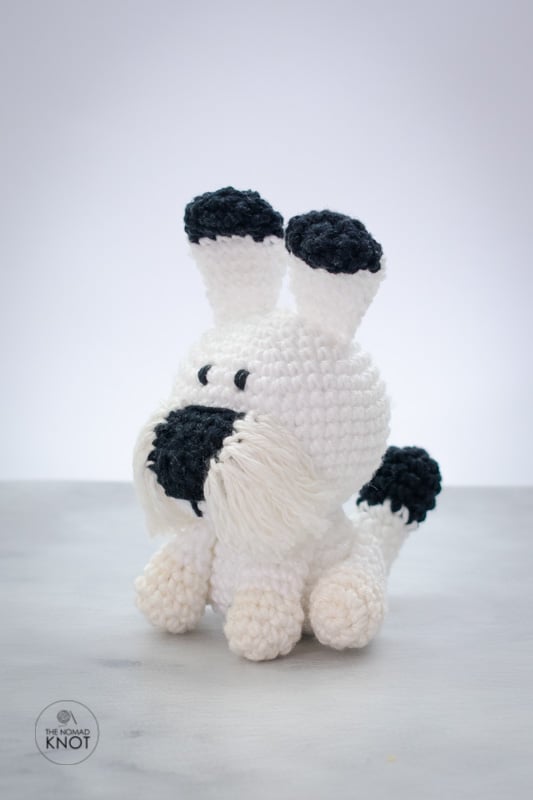
Happy to share today this beautiful West Highland White terrier amigurumi pattern! Ideafix is the best friend of Obelix and, together with Asterix, they live amazing adventures together!
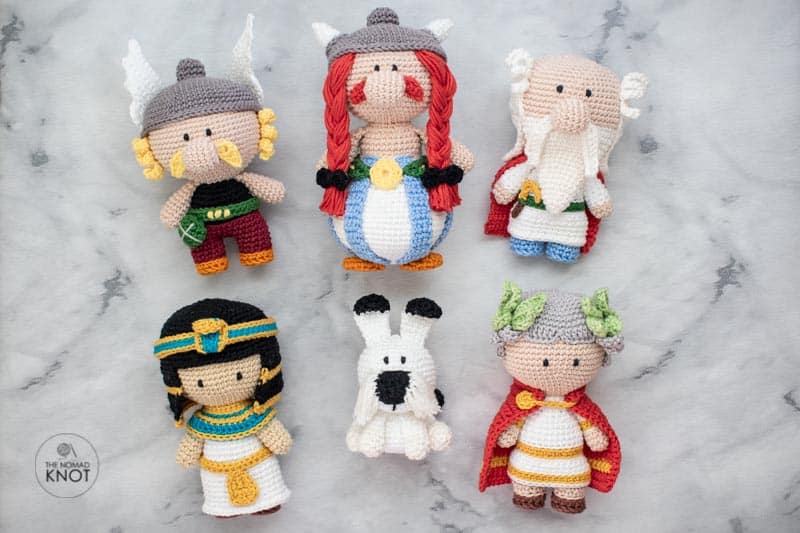
As a big fan myself of Asterix and Obelix, I need to make this tribute for them! My father is a huge fan and I grew up reading their comics. Until today, the best gift to give to my father is a new edition of the Adventures of Asterix and Obelix!
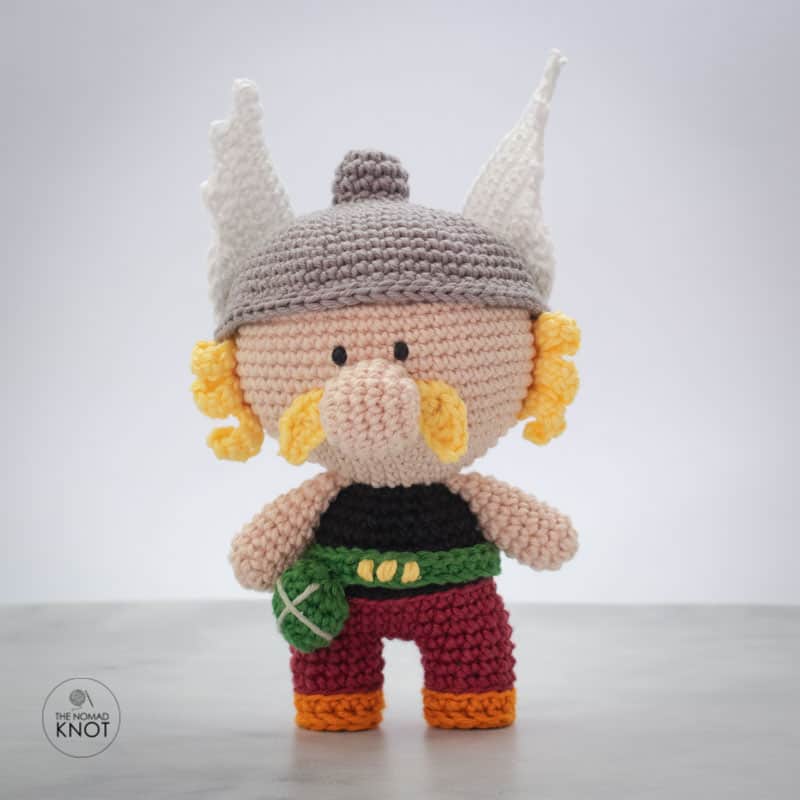
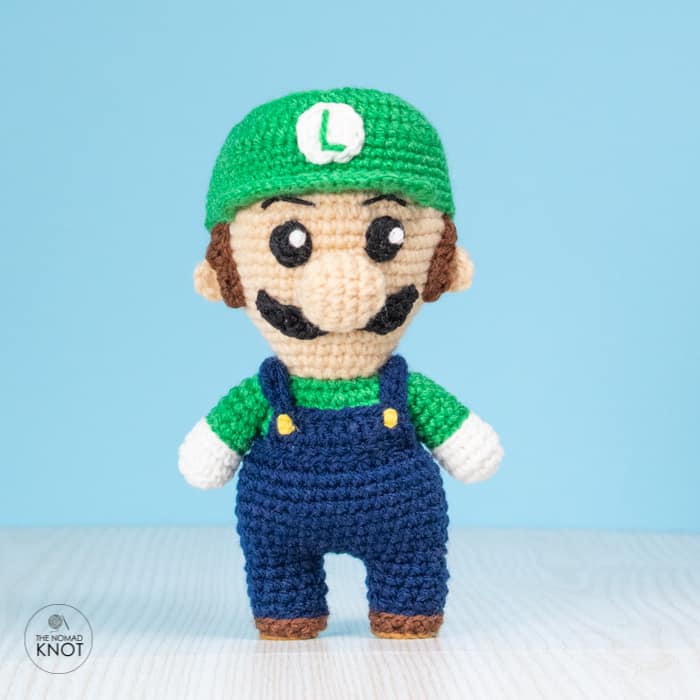
You can check out the Asterix pattern and Obelix pattern already up. Panoramix, Caesar, and Cleopatra are coming next.
Enough said! Here it goes! I hope you enjoy this little creation!
For a low cost (4 USD), add a free and printable pattern, with a photo tutorial, you can find it in Ravelry here!
Before we start, I will leave it here a couple of helpful tutorial links in case you need further help creating your beautiful little creature!
- Easy way to make a magic ring
- How to do single crochet (SC)
- The perfect way to finish your amigurumi.
- How to increase (inc)
- What is invisible decrease (invDEC or DEC)
- How to back post slip stitch (BPSC)
Pin it for later!
Ideafix amigurumi materials
- 2mm crochet hook;
- Black, white, and off white light worsted cotton yarn
- Yellow thread for embroidering the eyes.
- Sewing needle;
- Stuffing material;
- Scissors.
Finish size: 13cm or 5 inches
For a low cost (4 USD), add a free and printable pattern, with a photo tutorial, you can find it in Ravelry here!
And on Etsy here!
HEAD
With white yarn start,
1 rnd 6sc in a magic ring
2 rnd 6inc Total 12sts
3 rnd (1sc, 1inc) repeat 6 times Total 18sts
4 rnd (2sc, 1inc) repeat 6 times Total 24sts
5 rnd (3sc, 1inc) repeat 6 times Total 30sts
6 rnd (4sc, 1inc) repeat 6 times Total 36sts
7 rnd (5sc, 1inc) repeat 6 times Total 42sts
8 to 13 rnd 42sc
14 rnd (5sc, 1dec) repeat 6 times Total 36sts
15 rnd (4sc, 1dec) repeat 6 times Total 30sts
16 rnd (3sc, 1dec) repeat 6 times Total 24sts
17 rnd (2sc, 1dec) repeat 6 times Total 18sts
NOTE: Next rnd, you are going to work in BLSL. This means that you will create an inside row that will become the beginning of the neck. For rnd 19, you will work in the remaining front loop of the rnd 17:
BODY
- Stop here to start adding stuffing material before continuing to round 18.
18 rnd 18BLsl
19 rnd FL(2sc, 1inc) repeat 6 times Total 24sts
20 rnd (3sc, 1inc) repeat 6 times Total 30sts
21 to 25 rnd 30sc
26 rnd (3sc, 1dec) repeat 6 times Total 24sts
27 rnd (2sc, 1dec) repeat 6 times Total 18sts
- Stop here to finish adding stuffing material.
28 rnd (1sc, 1dec) repeat 6 times Total 12sts
- Cut the yarn and fasten it off.
FRONT PAW
Start with off-white yarn
1 rnd 5sc in magic ring
2 rnd 5inc Total 10sts
3 and 4 rnd 10sc
5 rnd (3sc, 1dec) repeat 2 times Total 8sts
- Add a little bit of stuffing material before continuing to round 6.
- Change to white color yarn.
6 to 8 rnd 8sc
9 rnd 4sc crocheting the sides together, closing the paw.
- Cut the yarn, fasten it off and make another one.
- Leave a tail for sewing.
BACK PAW
Start with off-white yarn
1 rnd 5sc in magic ring
2 rnd 5inc Total 10sts
3 and 4 rnd 10sc
5 rnd (3sc, 1dec) repeat 2 times Total 8sts
- Add a little bit of stuffing material before continuing to round 6.
- Change to white color yarn.
6 and 7 rnd 8sc
8 rnd (1sc, 1inc) repeat 4 times Total 12sts
9 rnd 12sc
10 rnd 6sc crocheting the sides together, closing the paw.
- Cut the yarn, fasten it off and make another one.
- Leave a tail for sewing.
EARS
With black yarn,
1 rnd 6sc in a magic ring
2 rnd 6inc total 12sts
3 and 4 rnd 12sc
- Change to white color yarn,
5 and 6 rnd 12sc
7 rnd (4sc, 1dec) repeat 2 times Total 10sts
8 rnd 10sc
9 rnd (3sc, 1dec) repeat 2 times Total 8sts
10 rnd 4sc crocheting the sides together, closing the ear
- Cut the yarn and fasten it off.
- Leave a tail for sewing it.
TAIL
With black yarn,
1 rnd 5sc in a magic ring
2 rnd 5inc total 10sts
3 and 4 rnd 10sc
- Change to white color yarn,
5 and 6 rnd 10sc
7 rnd (3sc, 1dec) repeat 2 times Total 8sts
8 and 9 rnd 8sc
10 rnd 4sc crocheting the sides together, closing the ear
- Cut the yarn and fasten it off.
- Leave a tail for sewing it.
SNOUT
With white yarn chain 6. Skip the first chain and start,
1 rnd 4sc, 4sc in the last chain turning the detail, 3sc, 3sc in the last chain. Total 14sts
2 rnd 1inc, 4sc, 1inc, 2sc, 1inc, 4sc, 1inc, 2sc Total 20sts
3 to 5 rnd 20sc
- Cut the yarn and fasten it off.
- Leave a tail for sewing it.
NOSE
With black yarn chain 7. Skip the first chain and start,
1 row 6sc, chain 1, and turn
2 row 1dec, 2sc, 1dec, chain 1 and turn Total 4sts
3 row 1sc, 1dec, 1sc, chain 1 and turn Total 3sts
4 row 1dec, 1sc Total 2sts
- For the next row, you will crochet around the detail following:
5 row 4sc in the first diagonal, 6sl in the foundation row, 4sc in the other diagonal, join with an sl
- Cut the yarn and fasten it off.
- Leave a tail for sewing it.
ASSEMBLY
1. With the help of pins, fasten the front paws between rounds 19 and 20. Fasten the back paws on the side, 3 rounds distance from the neck.
2. Sew the paws
3. Sew the ears on the top of the head, leaving the first round as a distance between them.
4. Sew the snout between rounds 9 and 16.
5. Cut 20 pieces of 14cm (4,5 inches) of white yarn.
6. Sew the black nose on the snout, and with the leftover thread, make a little line of two rounds in length in the central part of the snout.
7. Add the white yarn you cut on the sides of the snout. Make the yarn fuzzy (you can do this by using a comb or the tip of your needle).
8. Sew the tail in round 25 of the body, between the back paws
CONGRATULATIONS!!!
You finished your little Ideafix amigurumi toy!
If you are happy with your results, publish a picture and tag me on any social media so I can see your final product!
Take a look at other patterns here for your next WIP!
Happy crocheting!
Ana
YOU MAY ALSO LIKE