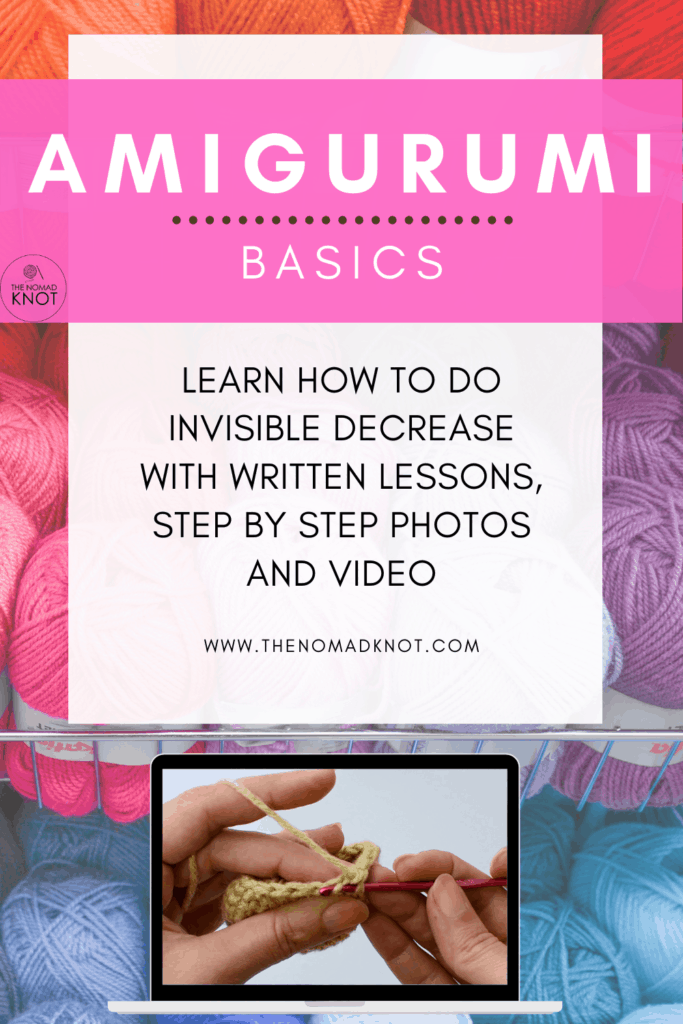
A invisible decrease is simple when you crochet two stitches together, taking only the front loop of the stitches, turning them into one.
You can find the abbreviation of this stitch in two different ways, INVdec or just dec.
Ideally, every amigurumi crochet toy project must be done with the invisible decrease, the reason is, first of all, it is invisible! And second, this way you avoid gaps in your toy.
I’ll go through step by step with images and explanation showing how to invisible decrease. At the end of this article, there’s a small video with all movements together.
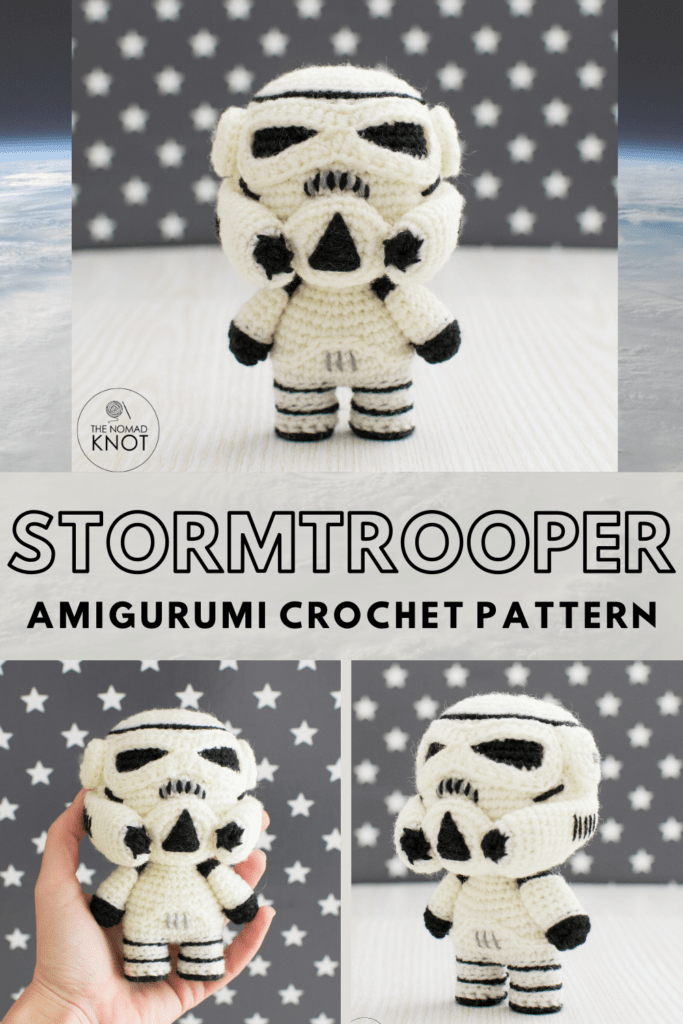
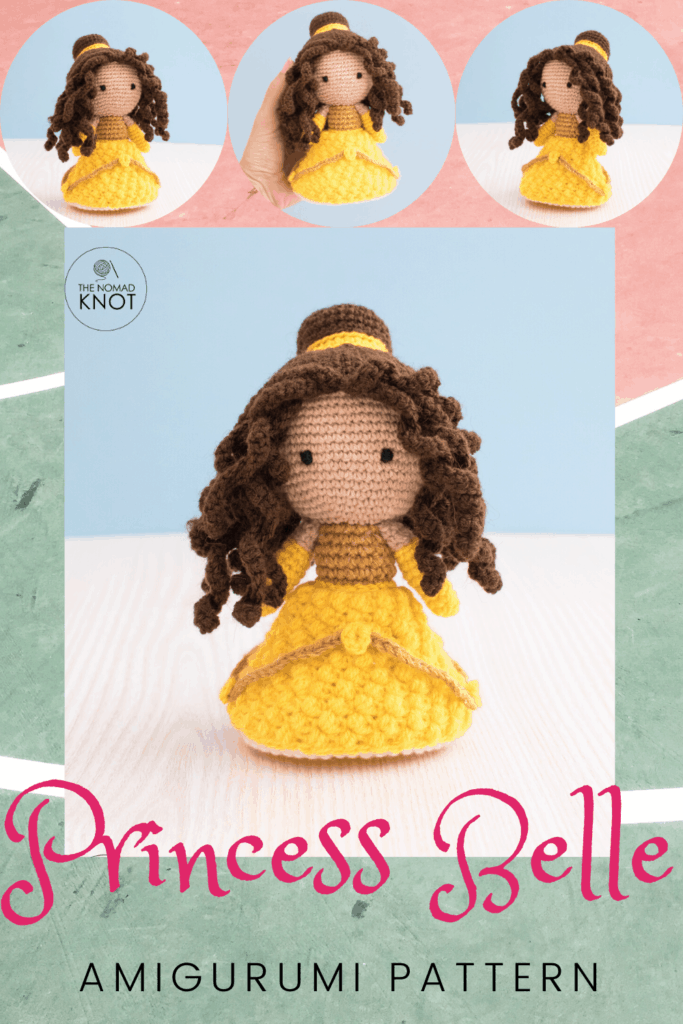
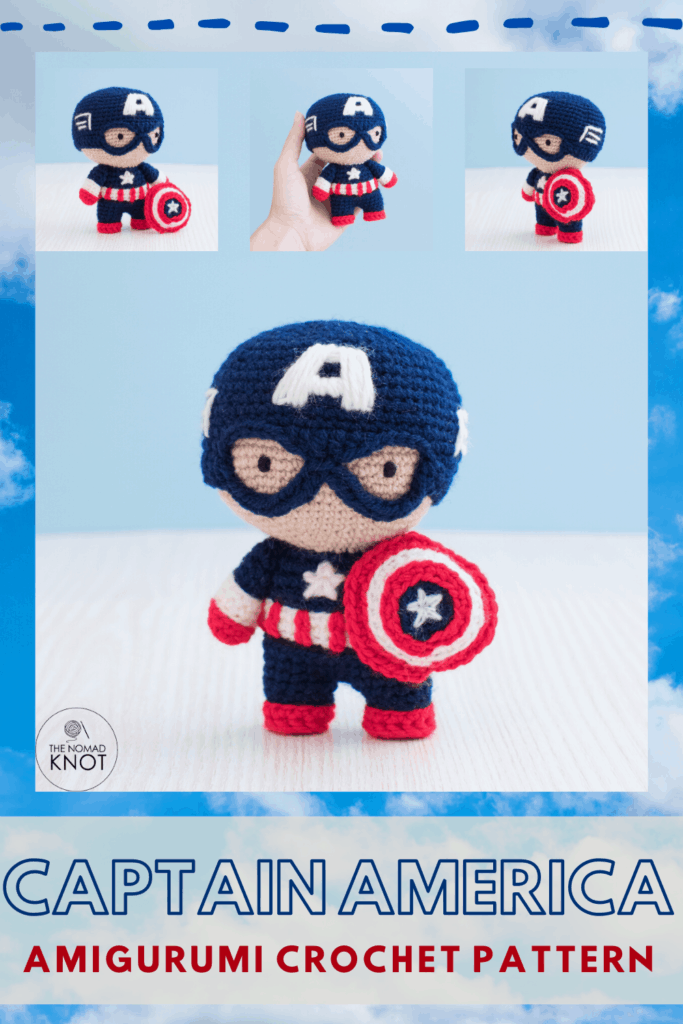
And if you like this lessons, here I leave some others that might help you also:
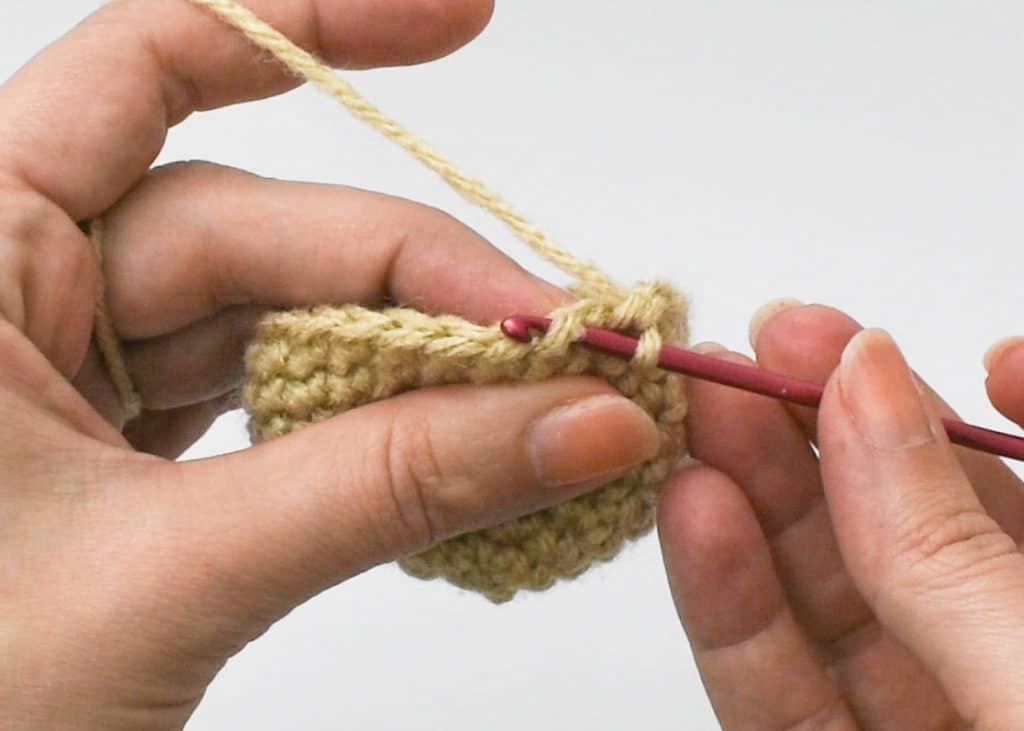
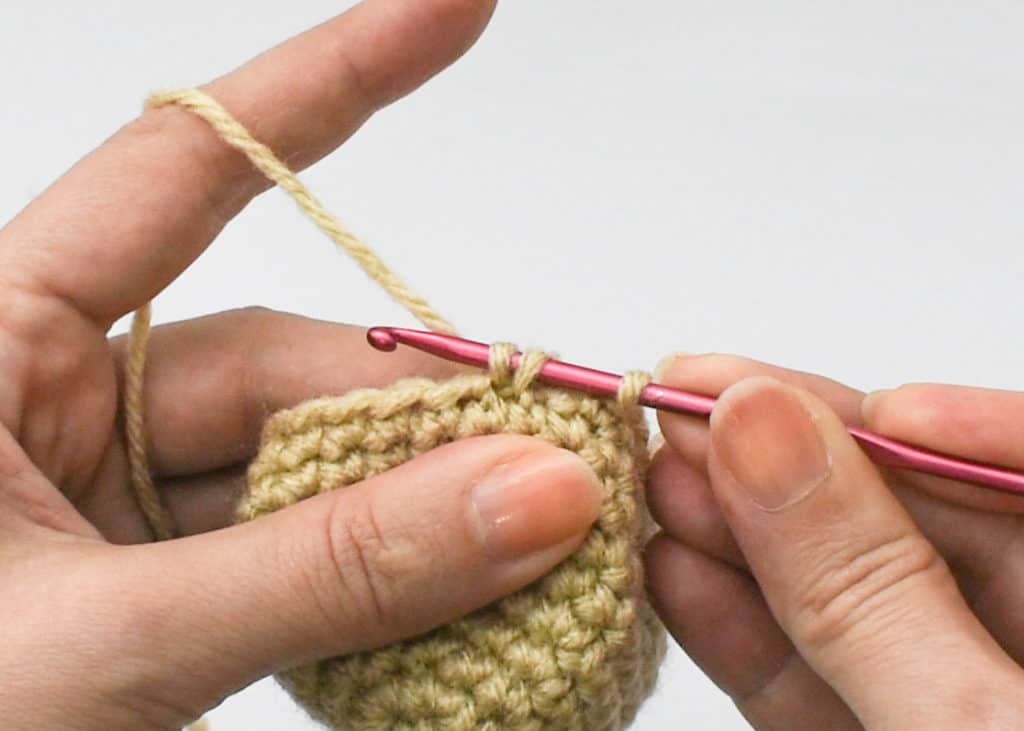
So, here is the detail. I’m going to insert my needle inside the front loop only of the stitch.
If you don’t know what is the front loop and the back loop, click here!
And again inside the first loop only of the stitch beside, having a total of 3 loops on the needle.
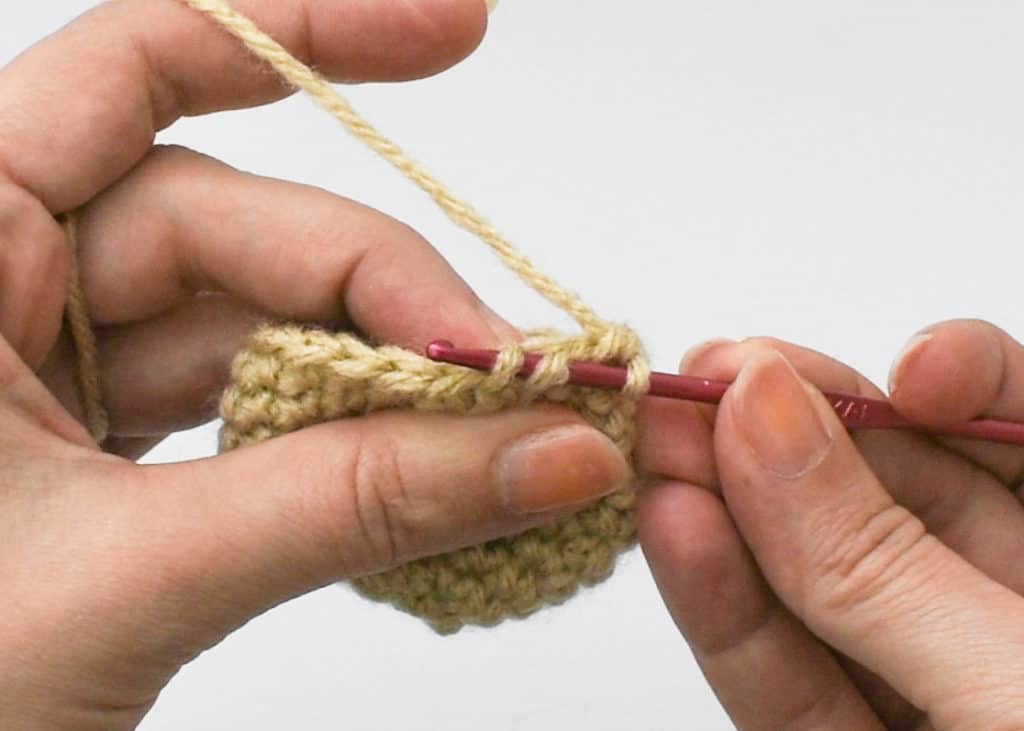
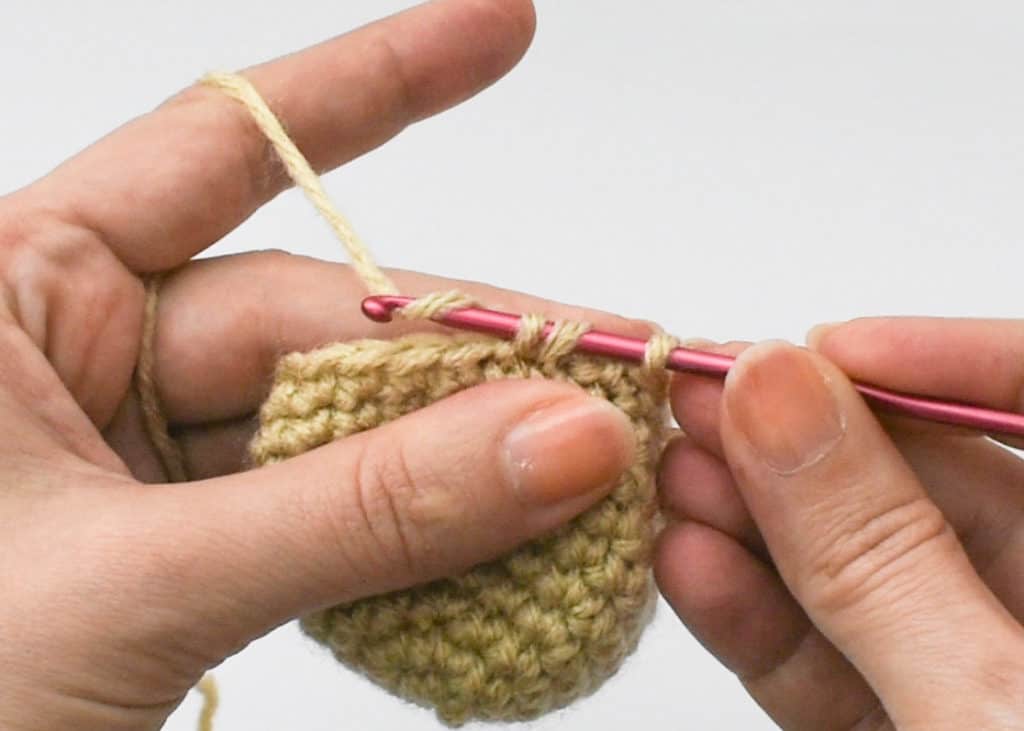
Put the yarn over.
Pull the yarn inside the first two loops of the needle.
Yarn over again,
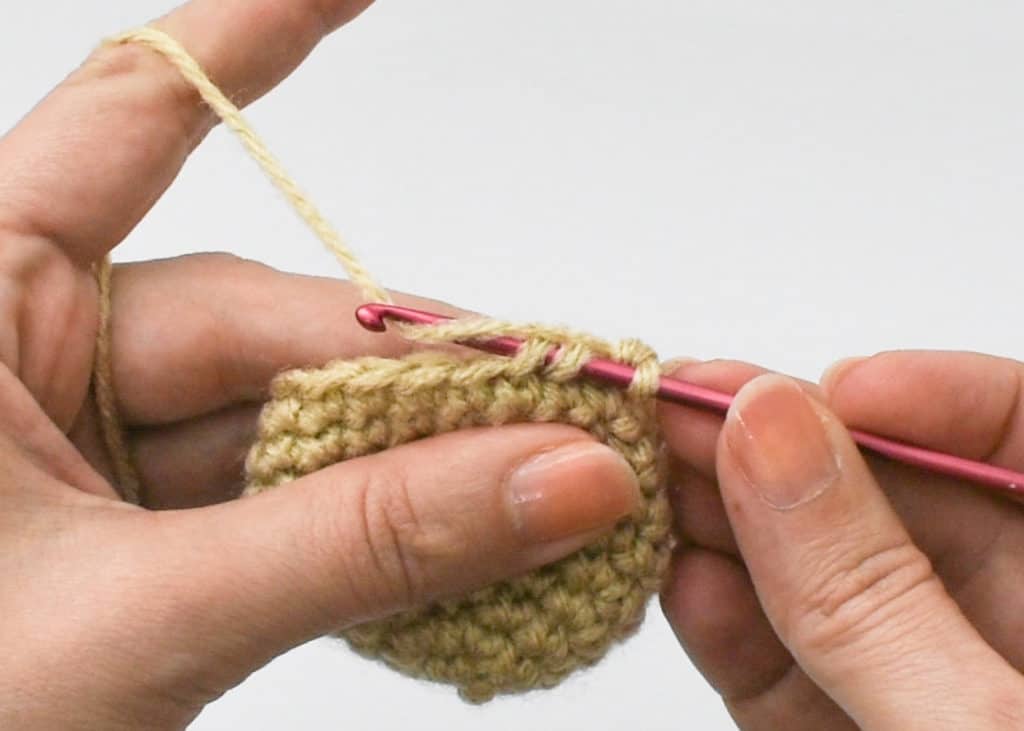
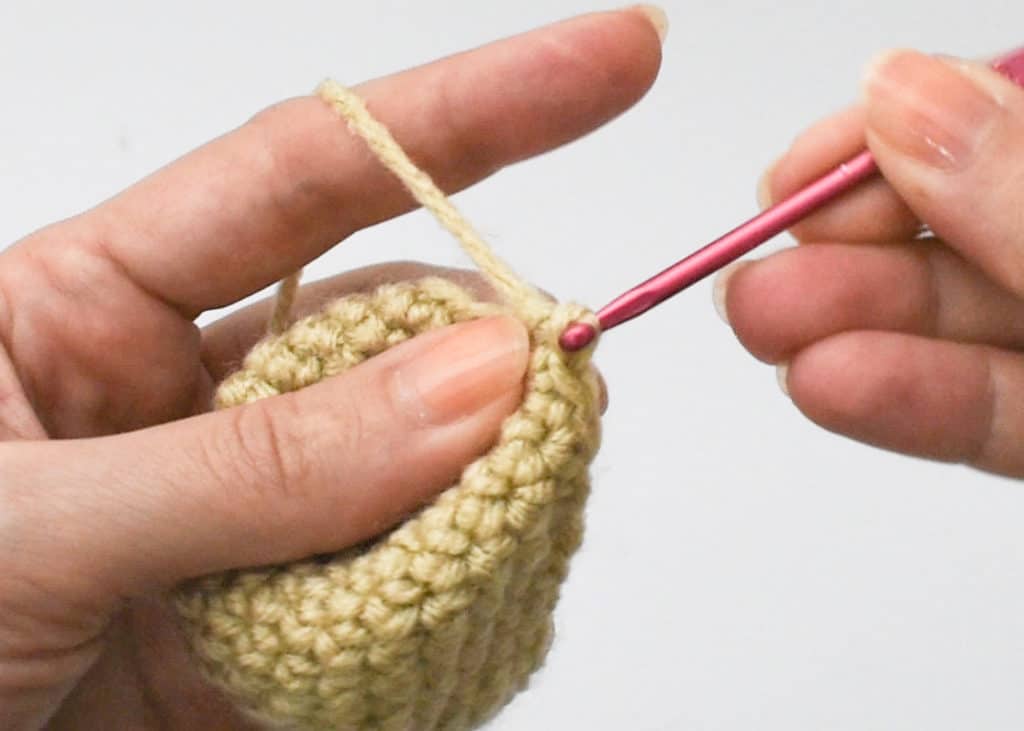
And pull inside all the loops of the needle.
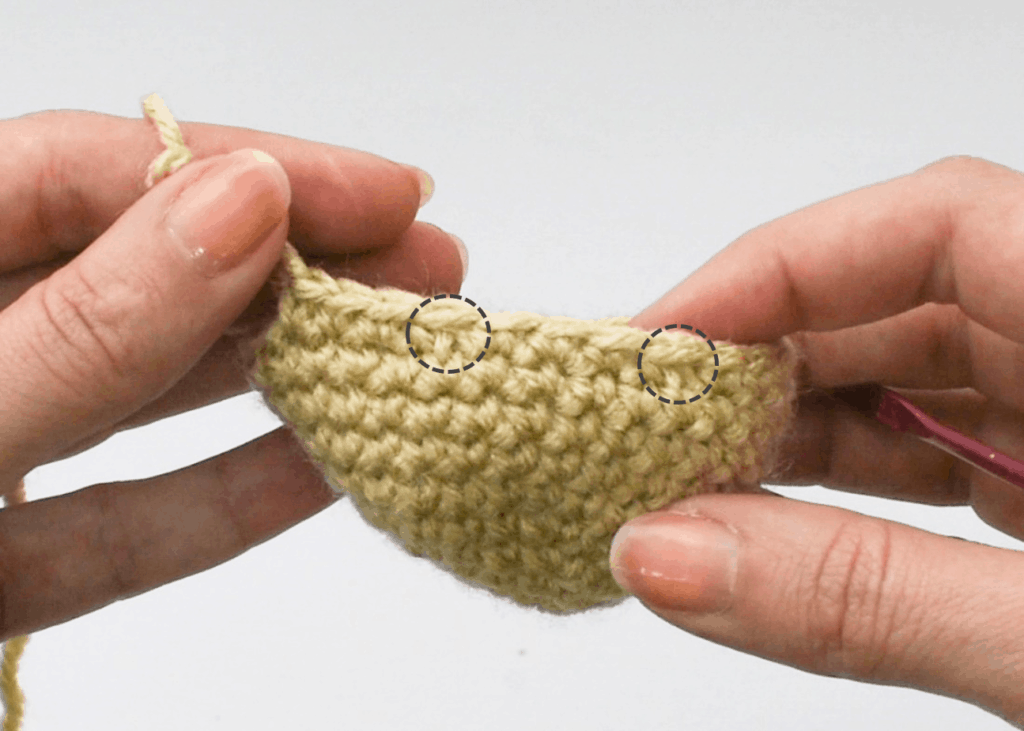
Here is a final (3sc, 1dec, 3sc, 1dec) row, and you can see the decreases where is the circle.
Ok, now press play and follow all these movements together with the video! For this video, I shot the row following this pattern: (1dec, 3sc, 1dec, 3sc, 1dec).
If you don’t know how to single crochet, click here!
With a little bit of practice you will improve better and better every time you make an invisible decrease!
keep in mind some essencial amigurumi tips
Most important to remember is to keep your stitch with a tight tension, this way, you won’t have any see-through gaps.
To help me keep my stitches tight, I prefer using yarn for a thicker needle than the one I would be using for the Amigurumi.
Always count your stitches after every row, so you will make sure to have the total amount of stitches.
Use a piece of yarn to mark the last stitch, so you won’t miss where the beginning and end of your row is!
I hope this post was useful to you, and if you have any questions or trouble with your amigurumi pattern, leave a comment below. I’ll be happy to help you finish your amigurumi crochet toy!