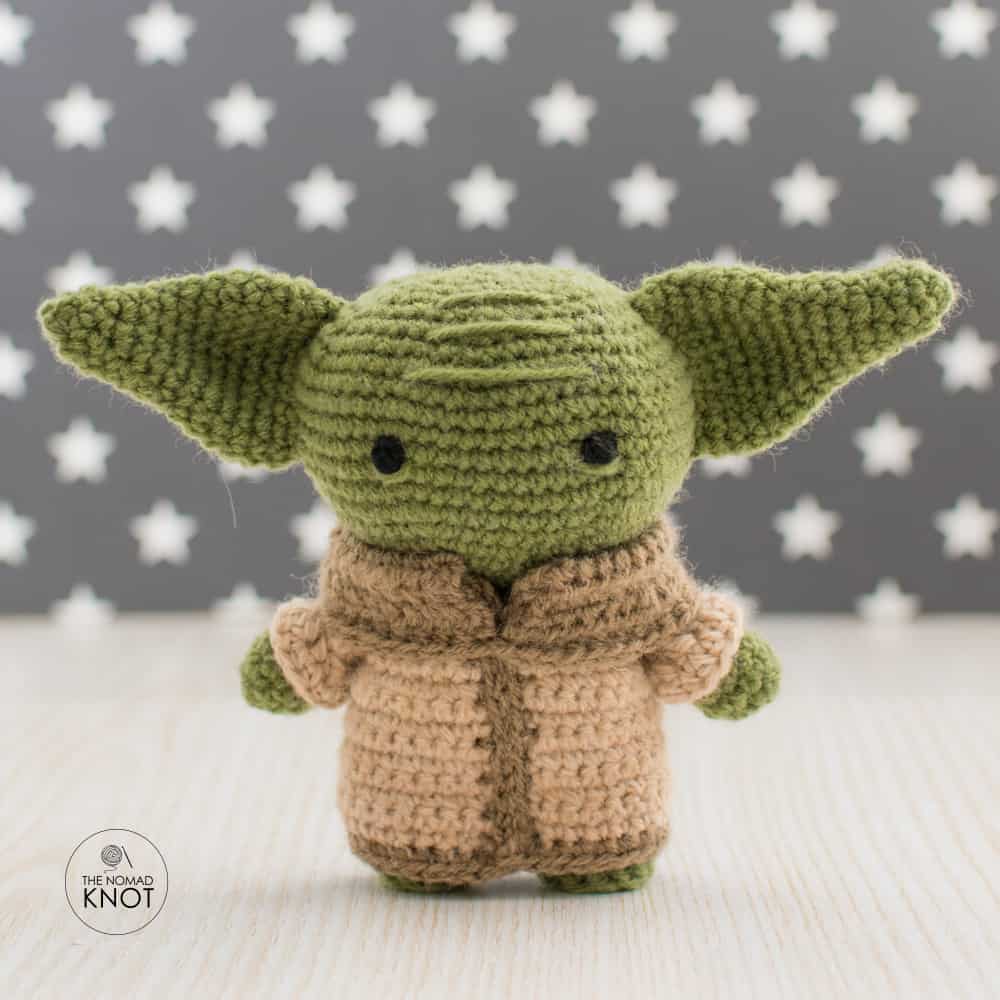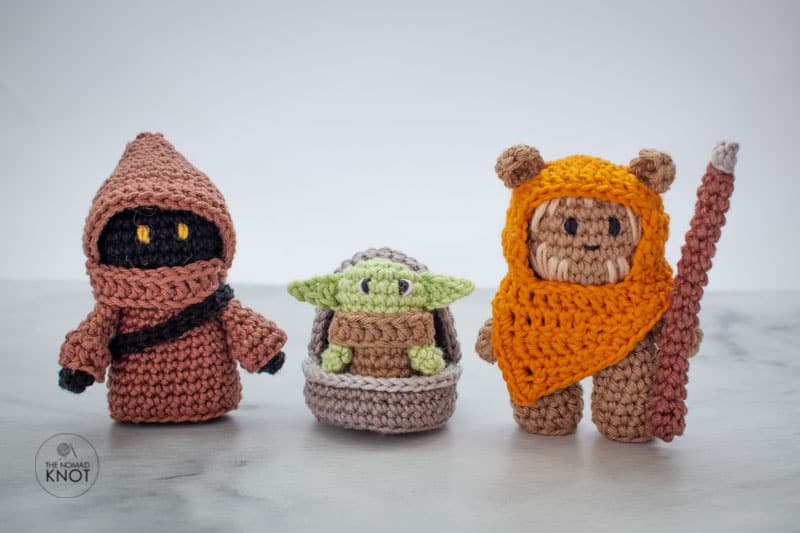
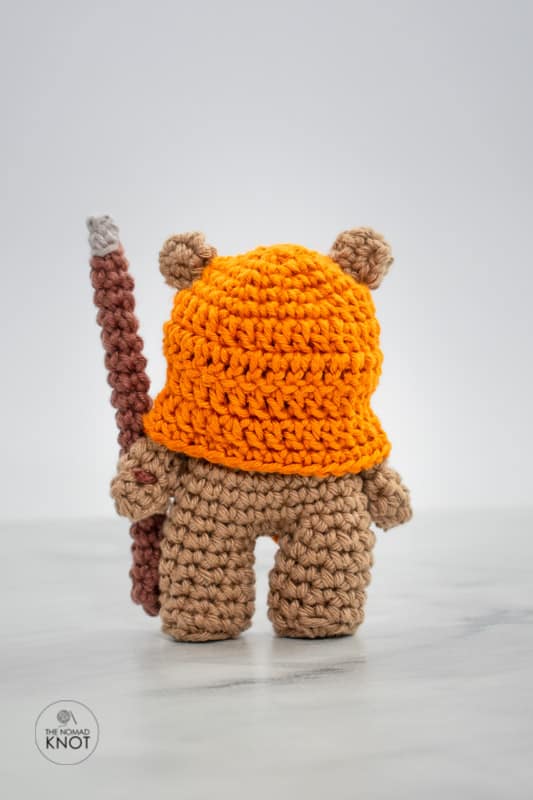
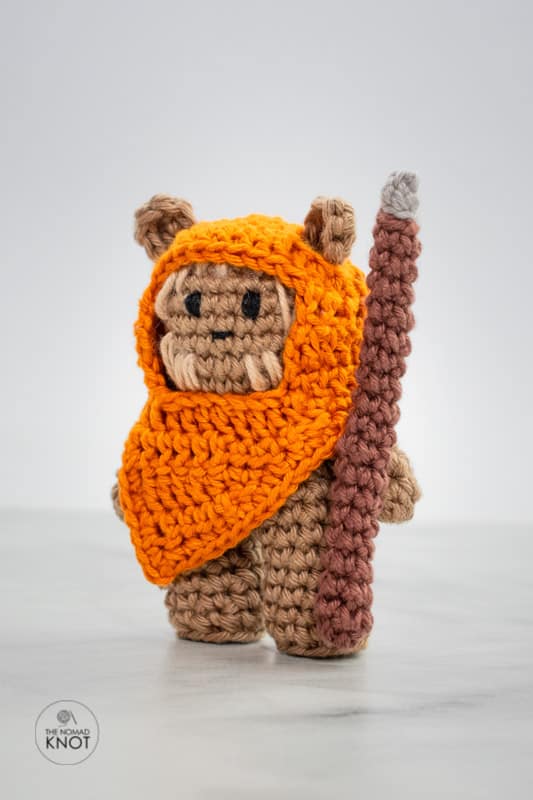
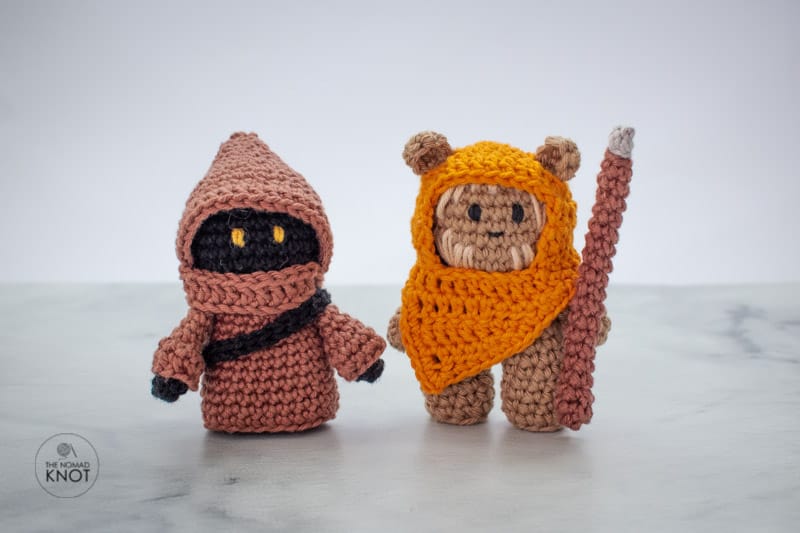
After creating Baby Yoda, or his name, Grogu, and Jawa, I had to create my version of the super cute Ewok! And here you can find a super easy free written version of this adorable creature!
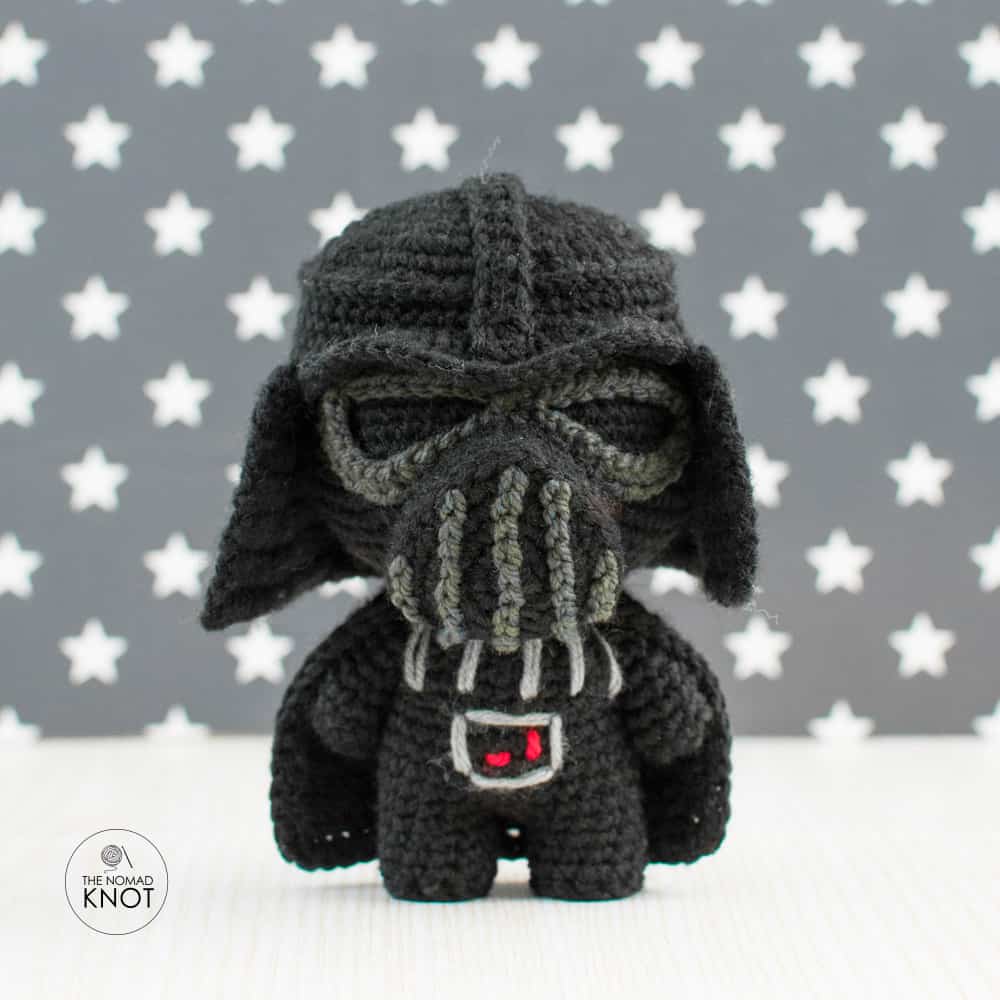
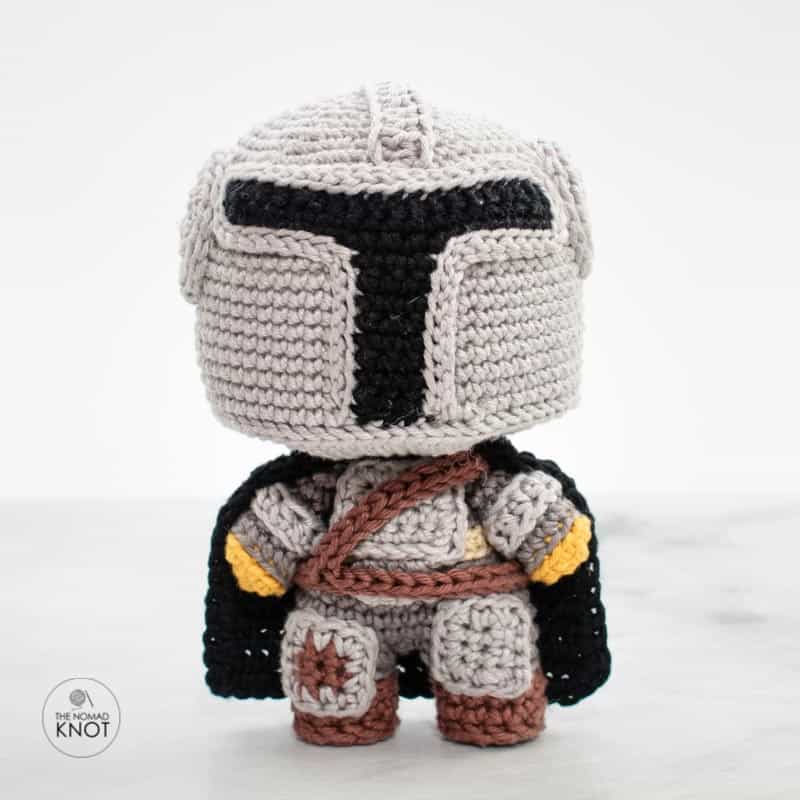
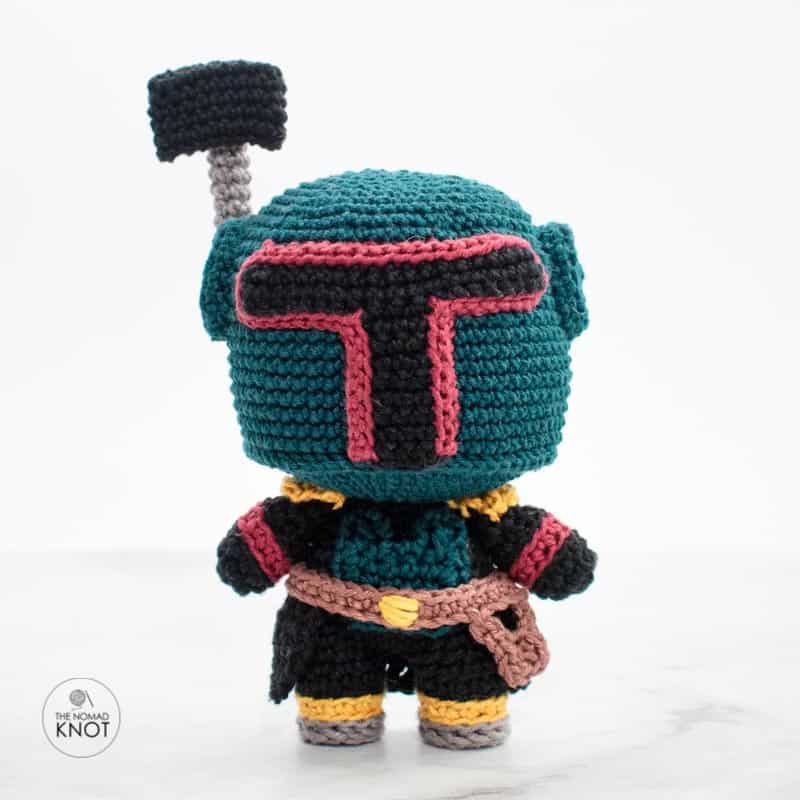
If you are following me here, you probably have already seen my version of Mandalorian, Boba Fett, and of course, the great Darth Vader! All of them go with the Star Friends collection.
It is enough said! Here it goes! I hope you enjoy this little creation!
For a low cost (4 USD), add a free and printable pattern, with a photo tutorial, you can find it in Ravelry here!
And on Etsy here!
Before we start, I will leave it here a couple of helpful tutorial links in case you need further help creating your beautiful little creature!
- Easy way to make a magic ring
- How to do single crochet (SC)
- The perfect way to finish your amigurumi.
- How to increase (inc)
- What is invisible decrease (invDEC or DEC)
- How to back post slip stitch (BPSC)
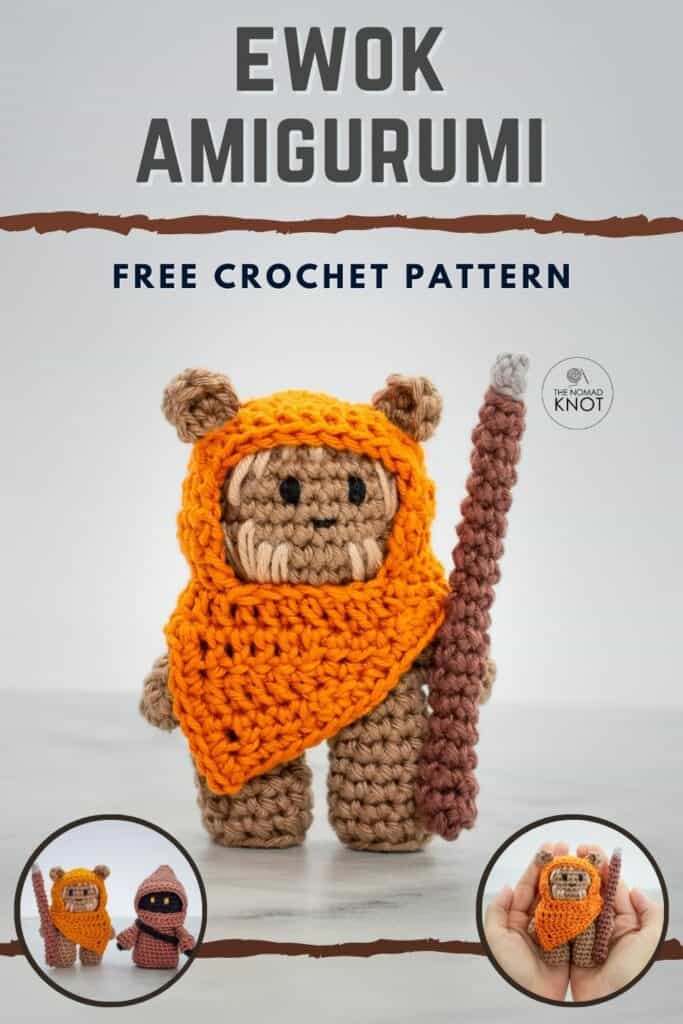
PIN IT FOR LATER!
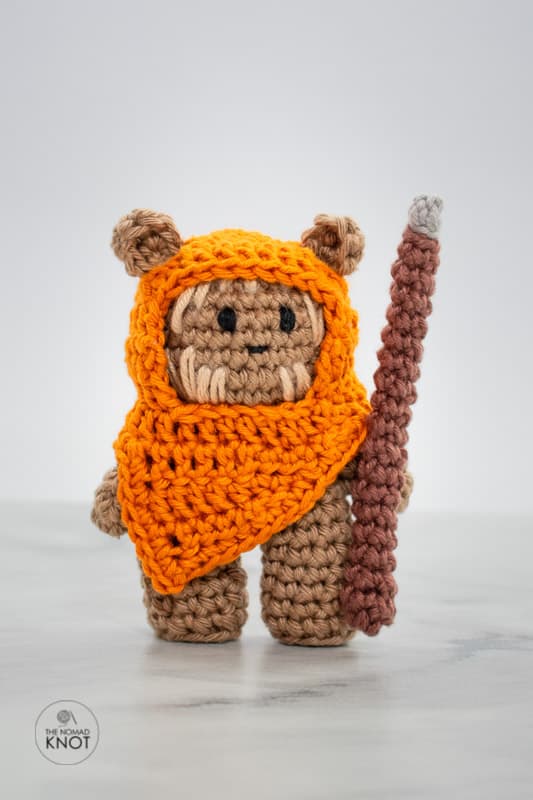
EWOK AMIGURUMI MATERIALS
- 2mm crochet hook;
- Dark brown, light brown, and orange yarn. A little bit of gray and beige for details.
- Black thread for embroidering the eyes.
- Sewing needle;
- Stuffing material;
- Scissors.
Finish size: 10cm or 4 inches
For a low cost (4 USD), add a free and printable pattern, with a photo tutorial, you can find it in Ravelry here!
And on Etsy here!
ARMS
Start with light brown yarn
1 rnd 6sc in magic ring
2 to 6 rnd 6sc
7 rnd 3sc crocheting the sides together, closing the arms.
• Cut the yarn and fasten it off.
• Make another one
EARS
With a light brown start,
1 rnd 5sc in a magic ring, chain 1, and turn
2 rnd 2sc, 1inc, 2sc Total 6sts
• Chain one and connect with an sl in the first stitch of the other side, closing the ear.
• Make another one following the same instructions.
LEGS
With brown color yarn start,
1 rnd 5sc in a magic ring
2 rnd 5inc Total 10sts
3 rnd 10blsc
4 to 7 rnd 10sc
• Cut the yarn, fasten it off, and make another one.
• Don’t cut the yarn of the second leg. Chain 2.
• Connect the two legs by inserting the chain inside one stitch of the first leg.
NOTE: for round 8 you should make 1SC in each of the chains, 10sc around the leg, and again 1SC on the other side of each chain, 10sc. Having a total of 24 stitches.
8 rnd 24sc connecting the legs
9 to 12 rnd 24sc
13 rnd (2sc, 1dec) repeat 6 times Total 18sts
For the next round, you are going to crochet together with the arms.
14 rnd 5sc, 3sc crocheting together with the arms, 5sc, 3sc crocheting together with the other arm, 2sc
Note: if your arms are not placed equally on the side of the dress, it may be because for various reasons. To resolve that, find the 5 central stitches in the front part of the dress. This should be the distance between one arm to another. Adjust how many single crochets you should do before crocheting together with the sleeve coordinately with these 5 central stitches that should be between them
15 rnd 18blsl
• Add a little bit of stuffing material before continuing to round 16.
For the next round, you will work in the remaining front loop from round 14. This way, the slip stitches from round 15 will be facing inside the toy. Sharpening the body from the neck.
16 rnd FL(2sc, 1inc) repeat 6 times Total 24sts
17 rnd (3sc, 1inc) repeat 6 times Total 36sts
18 to 22 rnd 36sc
23 rnd (3sc, 1dec) repeat 6 times Total 24sts
24 rnd (2sc, 1dec) repeat 6 times Total 18sts
• Stop here for finishing stuffing the toy.
25 rnd (1sc, 1dec) repeat 6 times Total 12sts
• Cut the yarn, fasten it off, and hide the remaining tail inside the toy.
HOOD
With orange yarn start,
1 rnd 6sc in a magic ring
2 rnd 6inc Total 12sts
3 rnd (1sc, 1inc) repeat 6 times Total 18sts
4 rnd (2sc, 1inc) repeat 6 times Total 24sts
5 rnd 3sc, 1inc, chain 4, skip 3sts, 1inc, 3sc, 1inc, chain 4, skip 3sts, 1inc, (3sc, 1inc) repeat 2 timesTotal 32sts
10 rnd 32dc
• Find the 9 stitches in the central part of the face
11 rnd 8dc, chain 2 and turn
•From here, start working in rows
12 row 23dc, chain 2 and turn
13 row 23dc, chain 7 and connect to the other side with a single crochet in the first dc. Closing a circle.
• From here, we are back working in rounds
14 rnd 30dc (here, your last dc will be on top of the sc from the previous round where you connect the chain.
• Now we are back working in rows.
15 row make 1hdc, 1sc and 1sl with the same working direction as before. Now, turn in your work and make 2sl, 2sc, 2hdc, 6dc. Chain 2 and turn
16 row 4dc, 2hdc, 1sc, 1sl, turn
17 row 2sl, 2hdc, 2dc, chai 1, turn
• Make single crochet all around the hood (40sc)
• Cut the yarn and fasten it off.
• The idea is to be a “sloppy“ hood.
STIK
With brown color yarn start,
1 rnd 6sc in a magic ring
2 to 17 rnd 6sc
• Change to gray color yarn
18 rnd 6blsl
19 rnd 6blsc
• Cut the yarn and fasten it off.
ASSEMBLY
- Sew the ears on top of the head. In round 23 of the toy.
- Embroider the eyes in round 21 leaving 3 stitches between them. Embroider a small mouth one round under the nose.
- With a piece of lighter yarn, embroider a couple of lines, as shown in the images below.
- Dress up the hood inserting the ears in the holes on top.
- Sew the stick on his left hand.
CONGRATULATIONS!!!
You finished your little Ewok amigurumi toy!
If you are happy with your results, publish a picture and tag me on any social media so I can see your final product!
Take a look at other patterns here for your next WIP!
Happy crocheting!
Ana
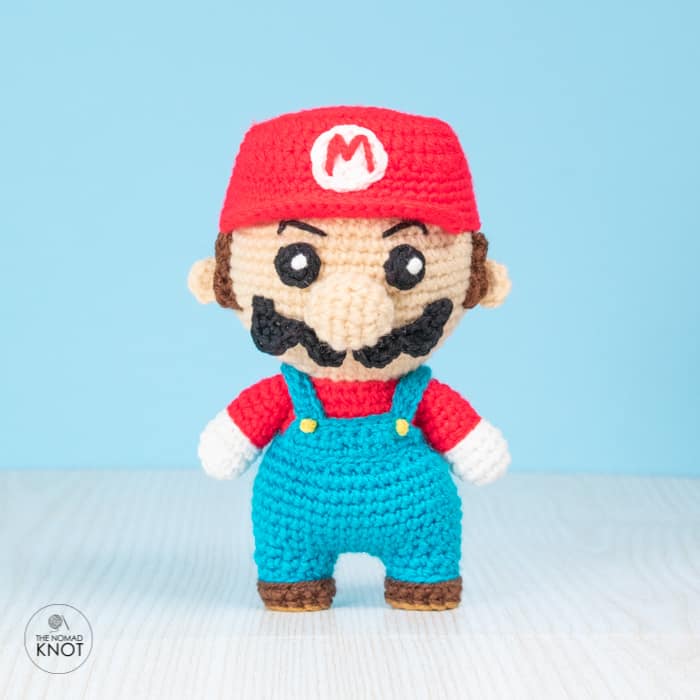
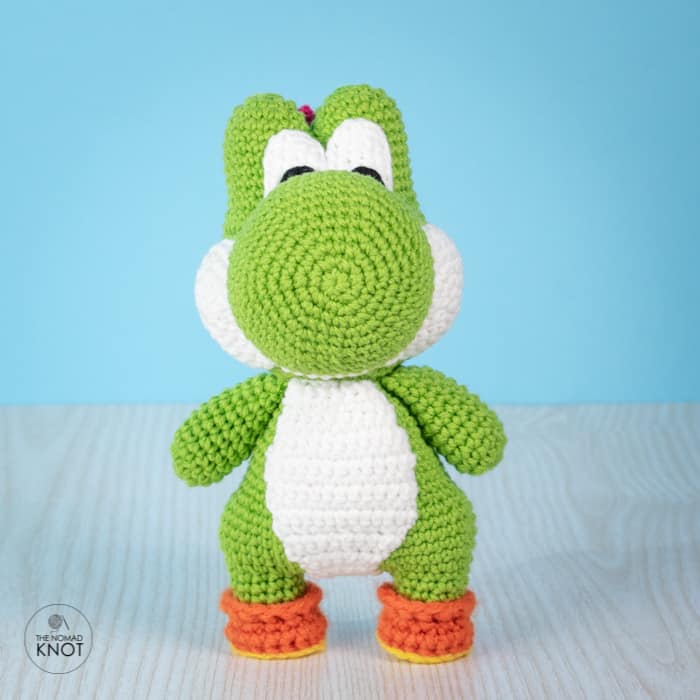
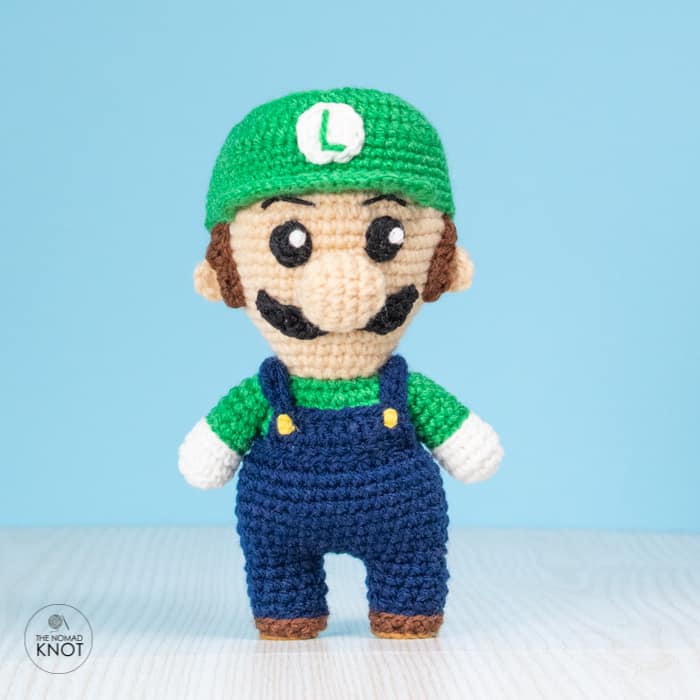
YOU MAY ALSO LIKE