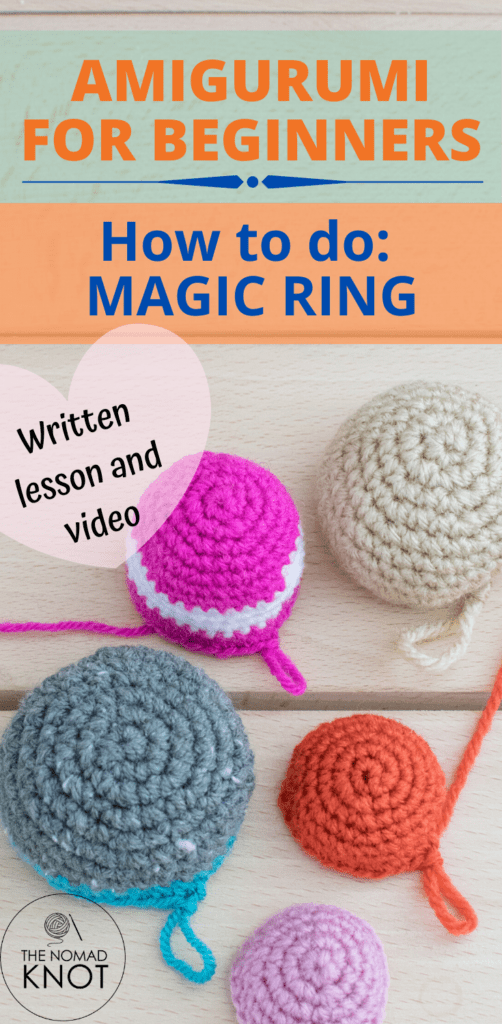
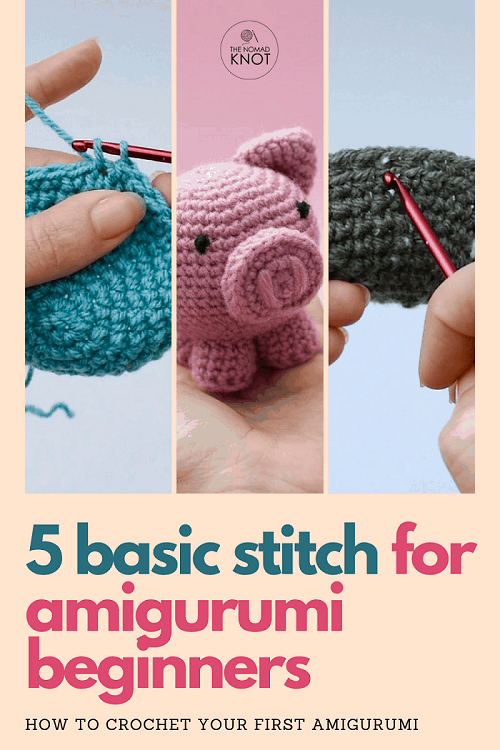
How to do Magic Ring (or magic circle!) | Step by step
Hello everyone! Today it’s about the magic ring or magic circle.
I mentioned before some other techniques that might improve your amigurumi crochet toy such as the perfect finishing of.
The Magic Ring (or magic circle)
The magic ring is the best way to start your crochet toy.
There is another way to start an amigurumi but, the best looking and professional is the magic ring.
It can be a little confusing at the beginning but once you learn, you see how practical this technique is!
I’ll go to step by step with pictures and instructions. At the end of this article, you will find a video with the complete movement, so we can do it together!
Let’s begin!
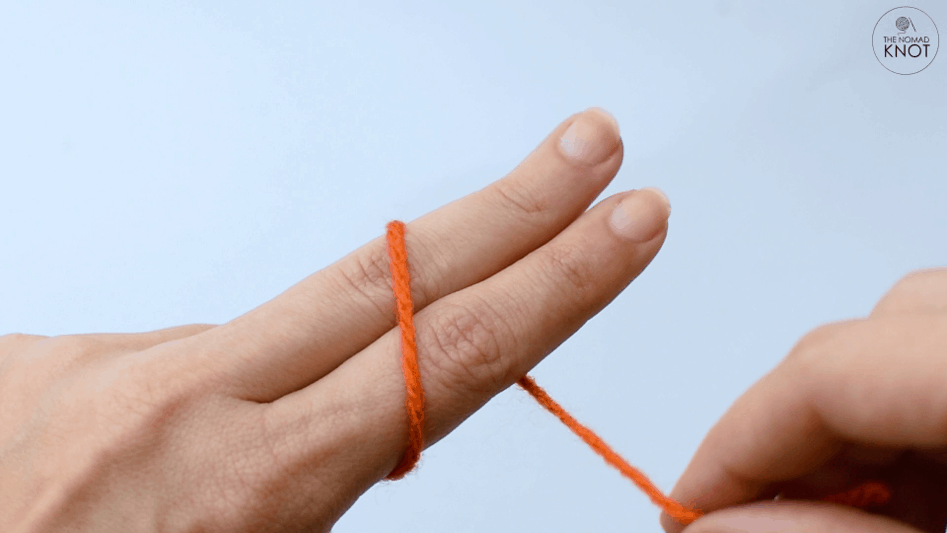
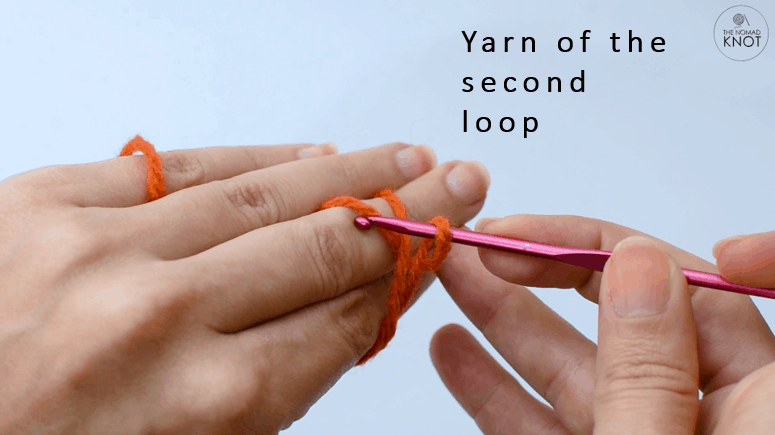
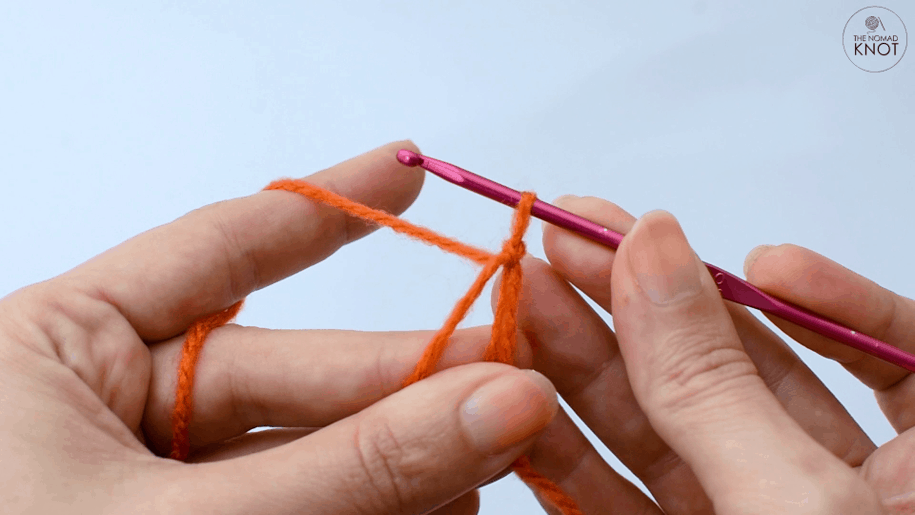
We are going to use two fingers of your left hand. The index finger and the middle finger. We will give two turns with the yarn around the fingers, which will create two loops
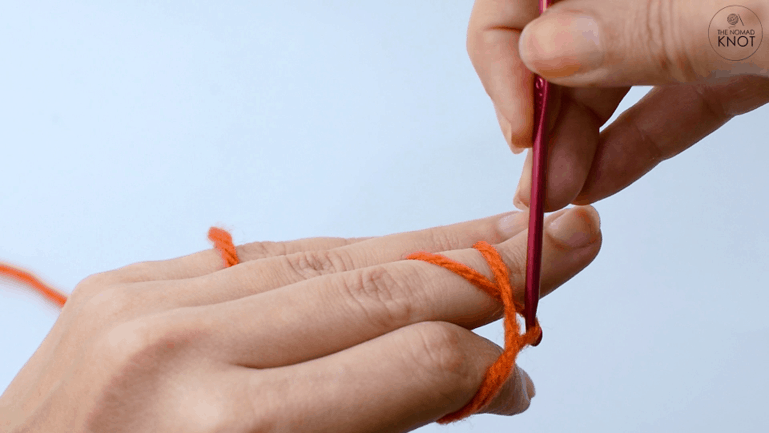
Pass the needle under the first loop, and over the second loop.
Pull the yarn under the first loop.
This will leave one loop on your needle
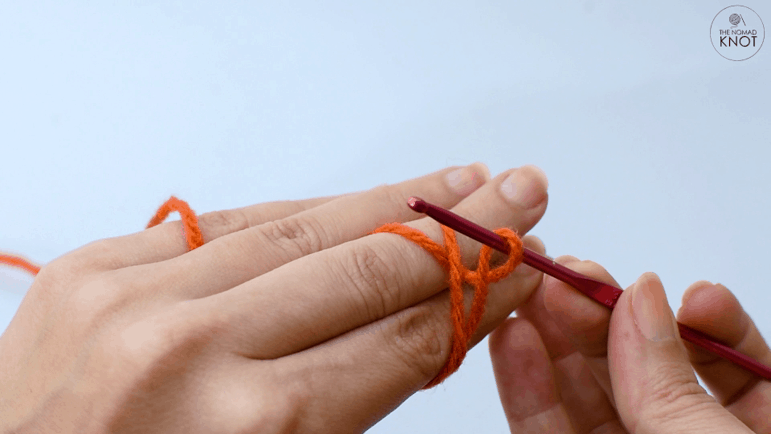
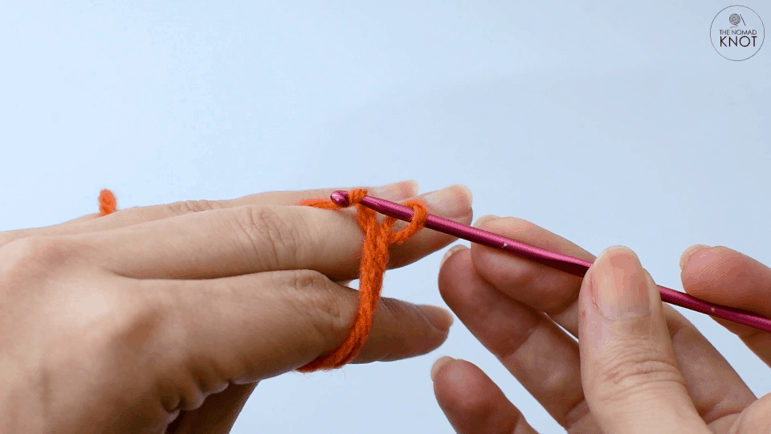
Pass the yarn of the second loop of your finger, over the needle.
Inside the loop on your needle.
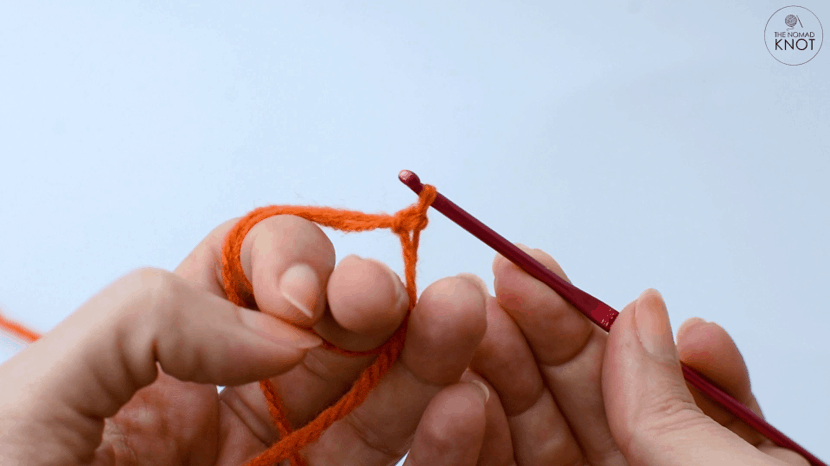
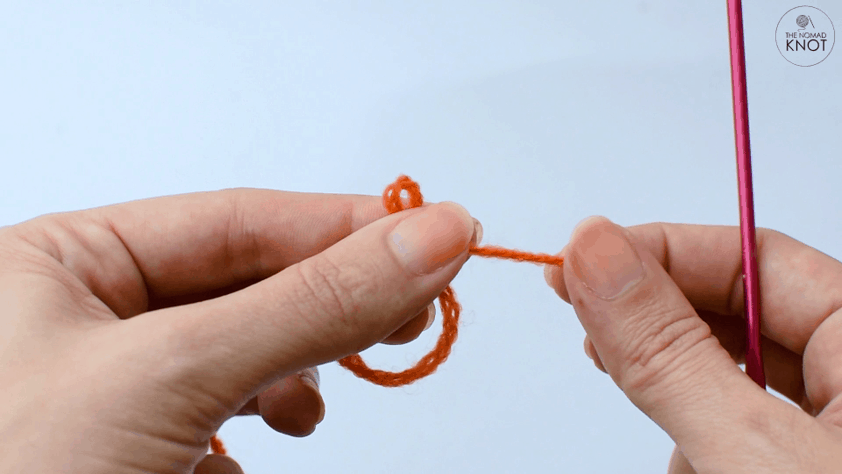
This will create the Magic Ring!!!
You can check if your magic ring is correct by pulling the beginning of the yarn. It should slide easily making the ring smaller or bigger.
It may look a bit complicated at first but don’t give up! Once you learn, you will see that is the best technique to start your amigurumi!
Now, check the video with all the movements and do it together. Pause the video to make it step by step on your own time.
In this video, I do the magic circle and continue doing 6sc inside my magic ring. That’s how you start most of the crochet toys project.
If you don’t know how to single crochet, click here.
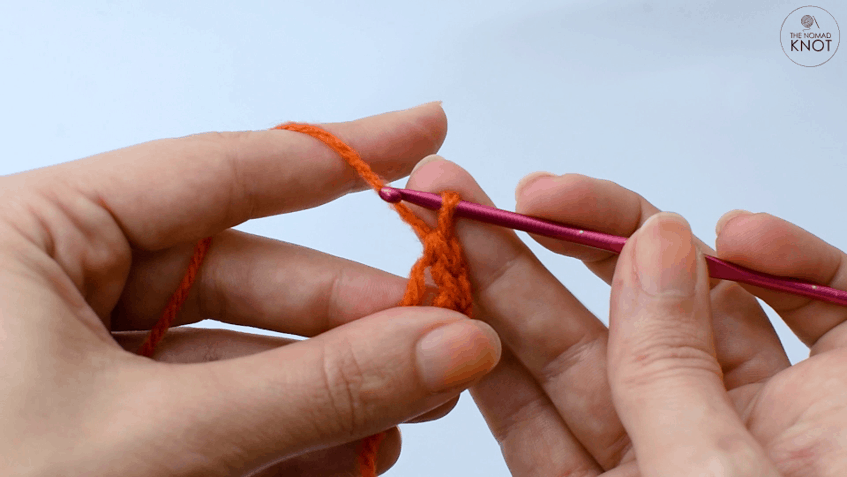
I will also write down here the position I hold my magic ring while doing the first 6 single crochet.
Some beginners have a problem with starting a crochet toy because the magic ring is a bit loose, and you don’t have a good space to hold while making the single crochet.
So with this technique, your magic circle will be a success
Hold the loop of the ring and the beginning of the yarn with your thumb and your middle finger. It will look like you are holding 3 strings. This will make tension on the yarn, making it easier and tight, to single crochet.
Continue holding in this position. Always moving your fingers up, closer to the stitches, so the yarn stays strained and tight, while you move forward with the stitches.
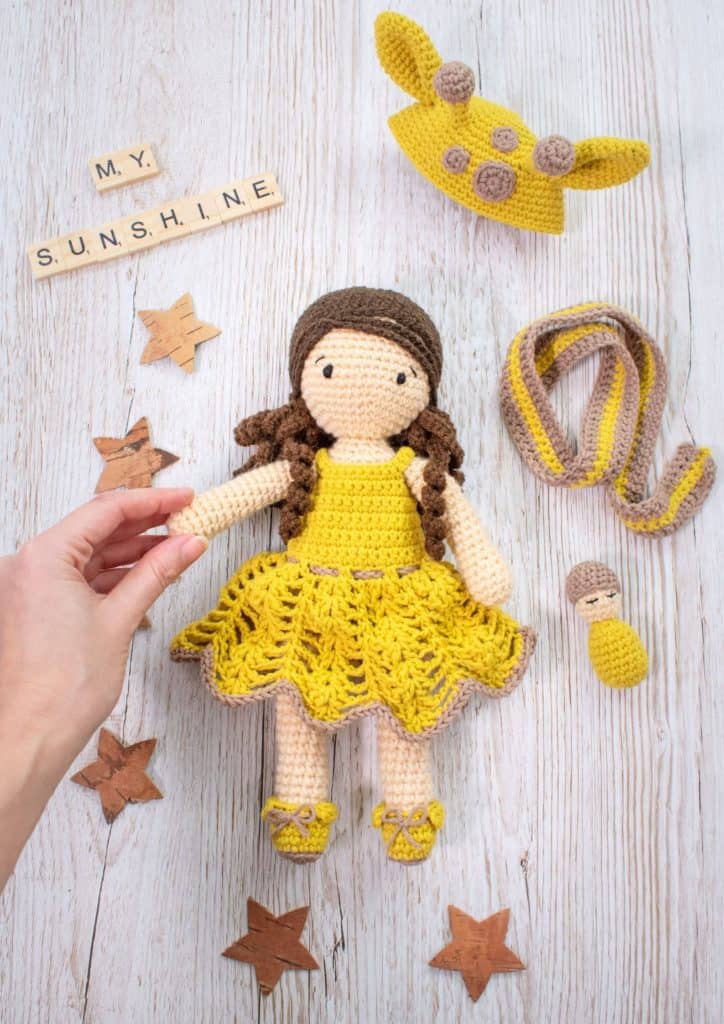
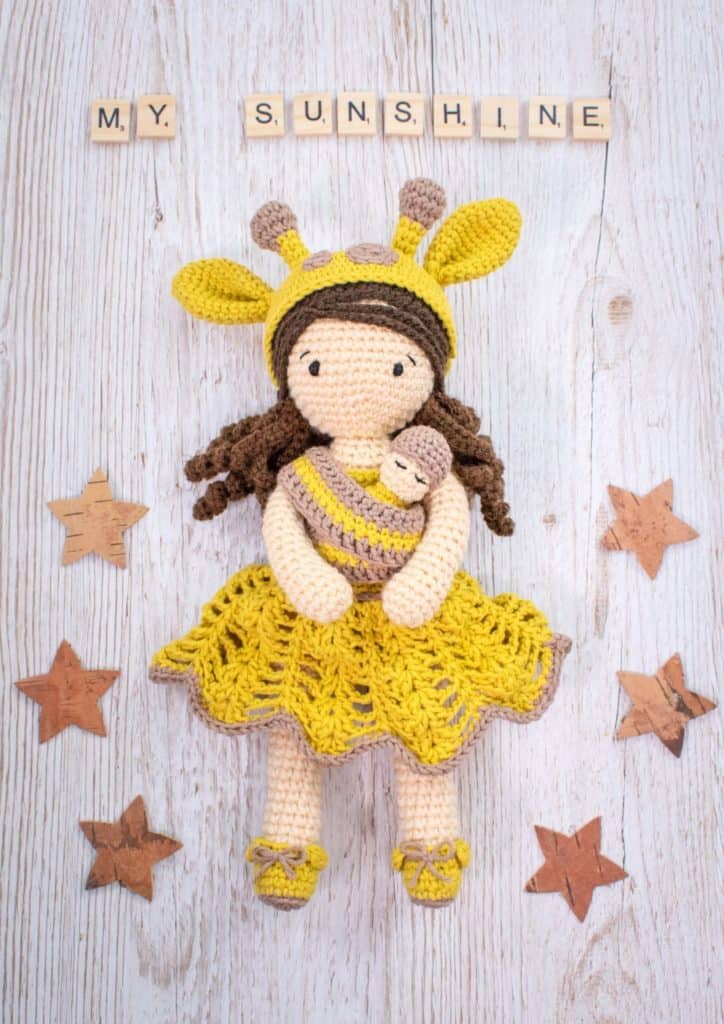
Meet Gigi, the newborn mom! A beautiful amigurumi pattern for a 30cm doll


Perfeito!!!! Bem explicado ❤️
Muito obrigada! Fico feliz que tenha gostado!!