The US terminology for this stitch may vary from BLP, BLO, and BL. But they all mean the back loop of your stitch. They come along with the stitch that you have to do, for example, BLPDC means, you will work a double crochet in the back loop of the stitch. For amigurumi the most common is the BLPSC, which means, work single crochet inside only the back loop of the stitch.
You probably went through some “BLOSC” of the pattern you are following, got scared by how big is the abbreviation and came to look up what is that.
It is a very simple technique, and today we are going to talk about the loops!
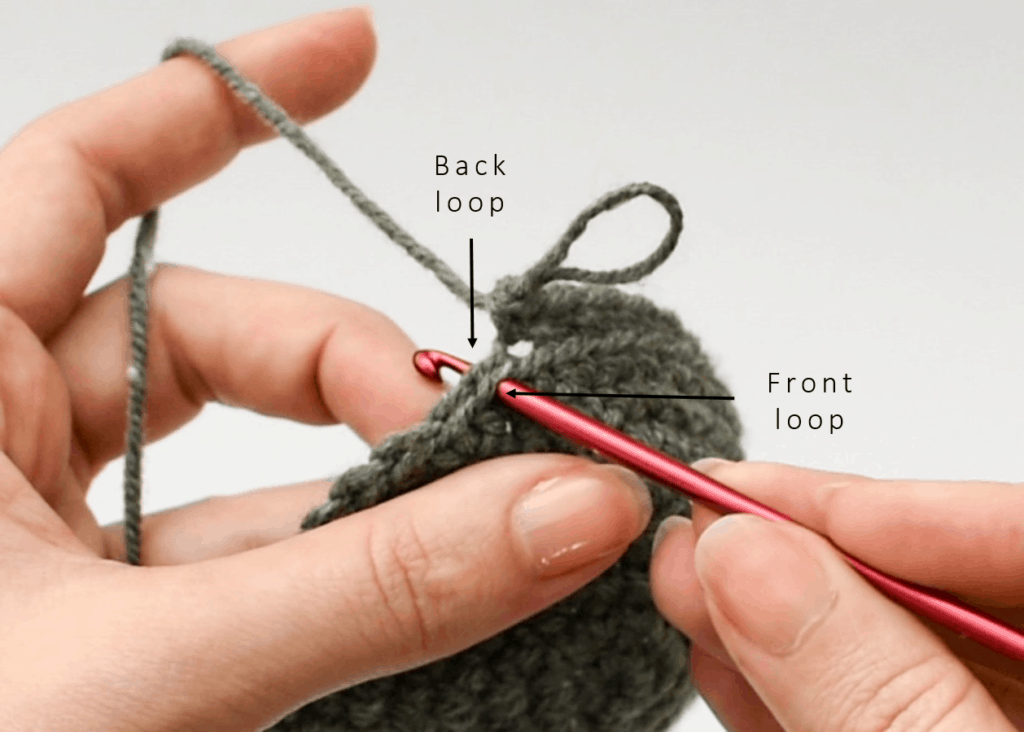
Your amigurumi crochet stitch has two loops, the front loop and the back loop.
It is very common that when a pattern wants to make some effect on the detail, they use only one of the loops to work on it..
I will go through the step by step with the pictures and at the end of this article there’s a small video with all the movements.
Let’s begin!
This is a single crochet stitch of my detail, and you can see the back loop and the front loop.
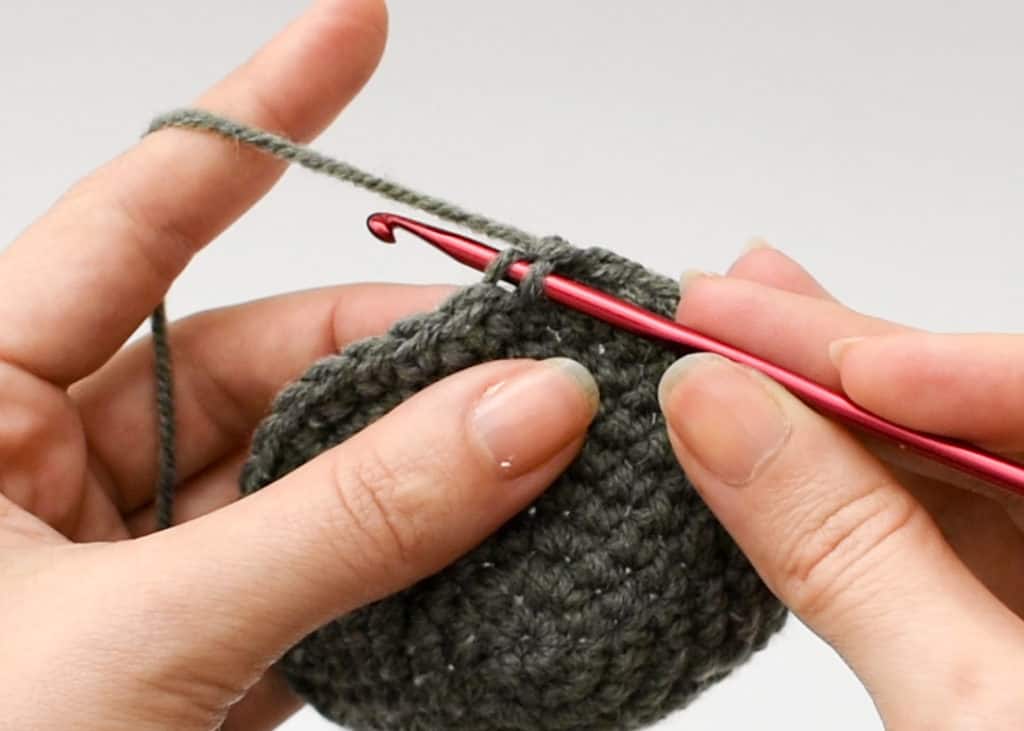
We are working the BLPSC, so we introduce the needle inside only the back loop of the stitch,
I am crocheting bigger stitches with a larger hook (3.5mm) to make the stitches more visible for this lesson. For amigurumi toys, keep your stitches tight to avoid holes so the stuffing can’t be seen.
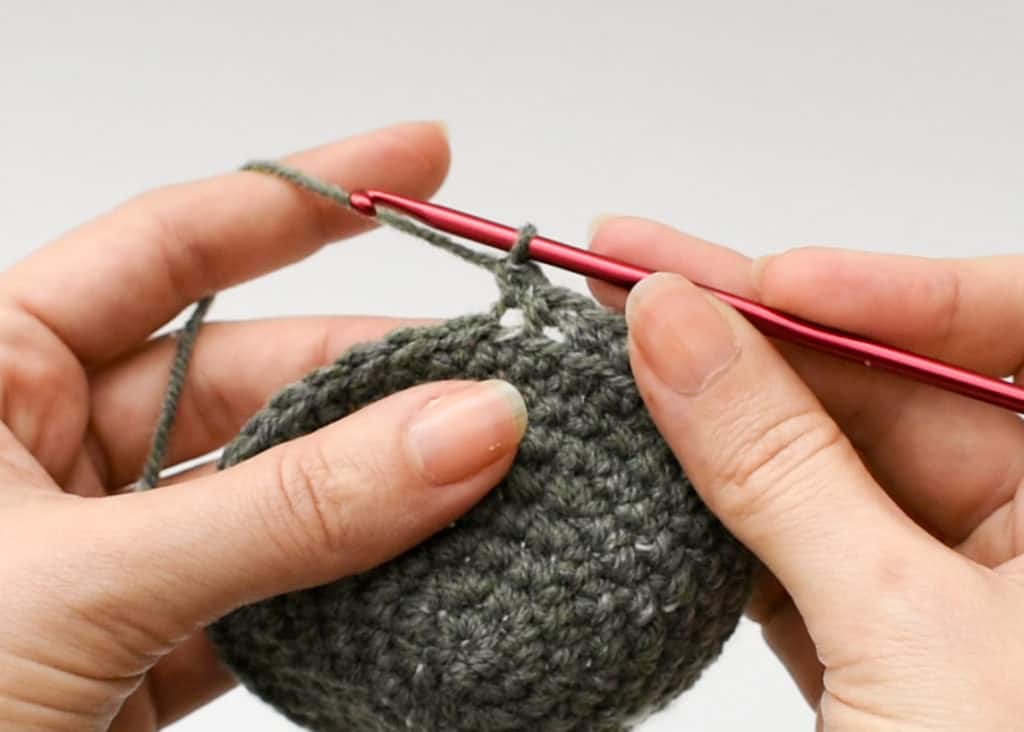
This technique will make a line show up on your detail. The line is made by the remaining front loops of the stitch you just worked on!
Now, a small video with all the steps together. Take a look at how simple it is!
Now that you know what a BLSC means, take a look in other amigurumi lessons that might help you
I hope you enjoyed it and that I helped you in some way! I leave you now with some tips to always keep in your mind while doing amigurumi crochet toys.
TIPS:
Most important to remember is to keep your stitch with a tight tension, this way, you won’t have any see-through gaps.
To help me keep my stitches tight, I prefer using yarn for a thicker needle than the one I would be using for the Amigurumi.
Always count your stitches after every row, so you will make sure to have the total amount of stitches.
Use a piece of yarn to mark the last stitch, so you won’t miss where the beginning and end of your row is!
If you are ready to start making your amigurumi, take a look in all of my patterns here! And, if you love a beginner-friendly free amigurumi pattern, click here!!!
I hope this was helpful to you, if you have any questions leave in the comment box bellow, I’ll be happy to help you complete your amigurumi!
")