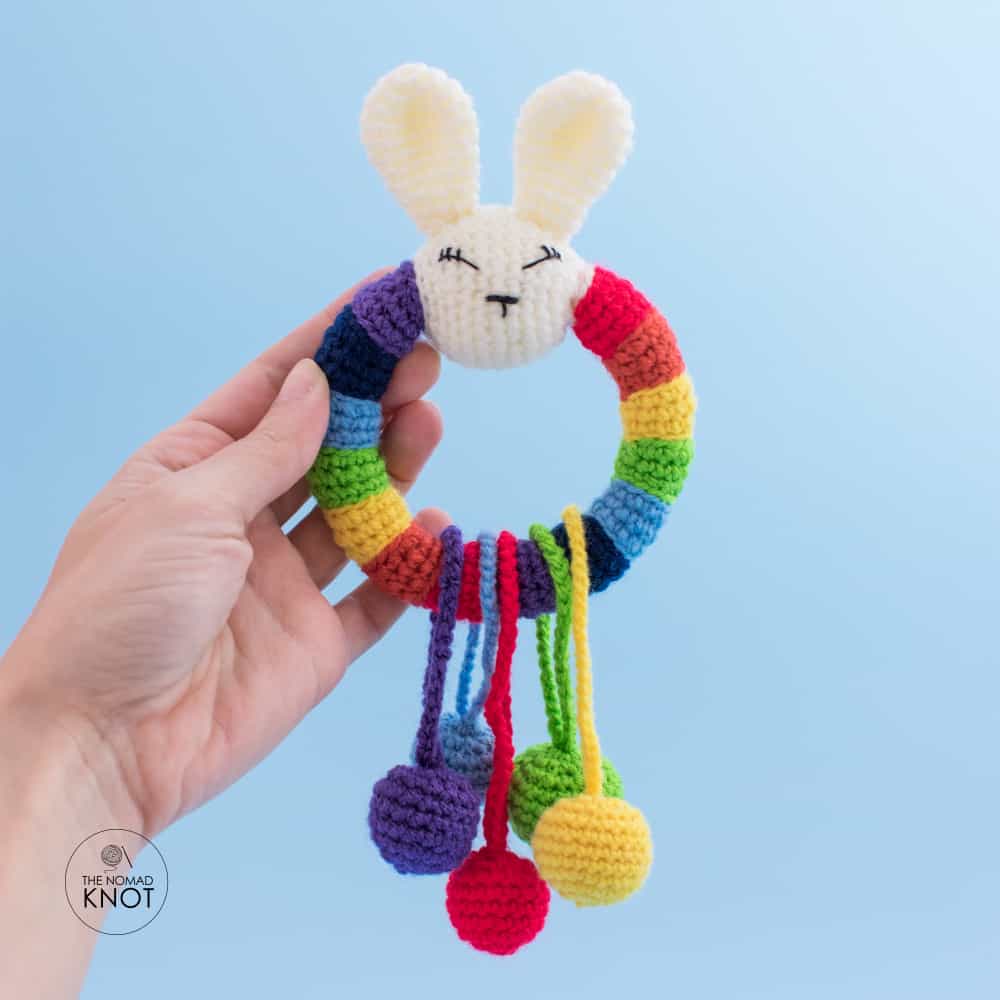
Bunny rattle amigurumi – FREE crochet pattern!
Hello everyone and thank you for stopping by! Here you will find the complete pattern for this beautiful baby rattle crochet toy!
My close friend is pregnant with her first baby. This news brought me so much happiness I can’t describe! Her being pregnant was just an extra motivation for me to start making newborn gifts! I dove into the world of baby toys and began to make some small creations, with my personality and style.
And so, today I will share with you an easy crochet baby toy for beginners!
Easy crochet baby toy pattern for beginners.
In other words, I start working on so many different crochet projects for the baby, and wanted to make so many things at the same time but, made me think that it might be useful for you to make a toy as well.
With all these ideas floating in my head, I made my first crochet animal rattle pattern from a collection of so many that I have created. In conclusion, this Amigurumi rattle toy is my first creation! (if you want to see other FREE crochet patterns I made for her newborn, click here!)
However, my friend doesn’t know the sex of the baby and so, I played with colors that can be easily suitable for any baby that comes!
And turned out to be this amazing rainbow bunny rattle crochet toy! That you can create it as a rattle or, if you don’t want the noise maker, you can do it as a softie toy for newborns!
On top of everything, this crochet baby rattle pattern is a lifesaver! You can mix and match your yarn scraps and make out of your leftovers a beautiful gift to someone!
For all the stitches used to make this rattle, there is a tutorial with the written lesson, step-by-step pictures, and a small video (about 2min) with the complete movements. I leave the links below.
I hope you enjoy this free rattle crochet pattern. If you have any questions, leave them in the comments below and I’ll be happy to reply to you!
- How to do a magic ring
- How to do single crochet (SC)
- How to back loop slip crochet (BPSC)
- How to back loop single crochet (BLSC)
- How to increase (inc)
- How to invisible decrease (invDEC or DEC)
TIPS:
- Remember to keep your stitch for your crochet rattle with a tight tension, this way, you won’t have any see-through gaps.
- To help me keep my stitches tight, I prefer using yarn for a thicker needle that the one I would be using for the Amigurumi.
- Always count your stitches after every row, so you will make sure to have the total amount of stitches.
- Use a piece of yarn to mark the last stitch, so you won’t miss where the beginning and end of your row are!
Let’s begin!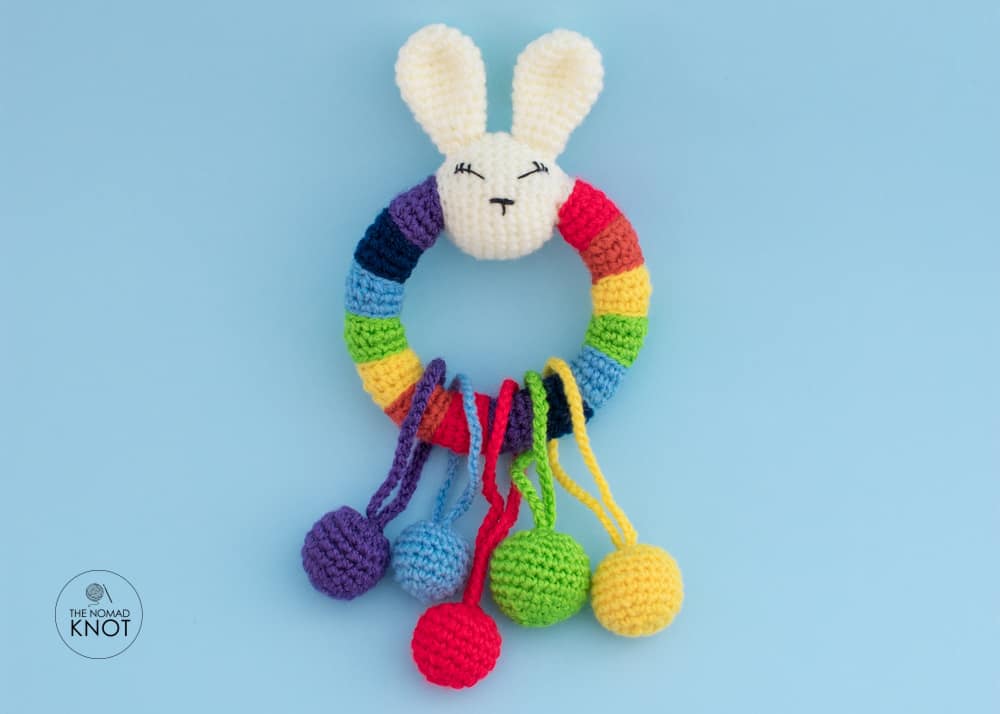
MATERIALS
- 2mm hook
- White yarn, and as many colors as you want (I used 7 colors: purple, dark blue, light blue, green, yellow, orange, and red).
- Black thread for embroidering the eyes.
- Rattle ball bell (noisemaker)
Here, depending on which noise maker you are using, you may need only one or 5 of them. The ones I have don’t make much of noise, so I put 1 in each of the 5 amigurumi balls’ details.
- Sewing needle
- Scissors.
BUNNY RATTLE PATTERN
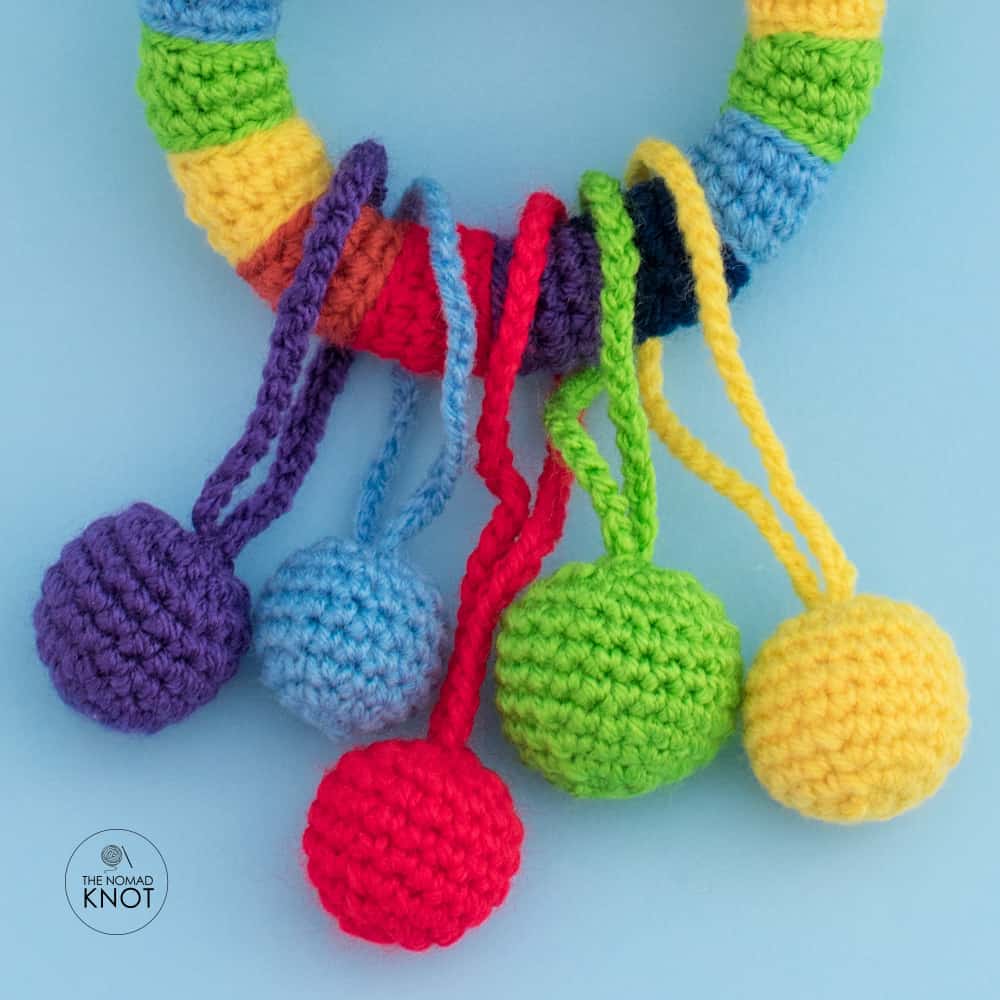
We start by making the details of the ball that hang in the rattle.
For the hanging details, I did 5 balls with different colors and sizes. Inside each of the balls, I put a small rattle noise and complete the empty spaces with stuffing material until the ball is stuffed.
I made three balls with a total of 12sts, 1 with 18 sts, and one with 24sts.
For the blue and yellow amigurumi ball detail:
- 1 row 6sc in a magic ring
- 2 row 6inc Total 12sts
- 3 to 8 12sc, chain 40
Cut the yarn and fasten it off.
(check the technique I used to close my amigurumi balls in this post where I share step-by-step pictures and a small video, it is a small post and a 2min video)
For the red and purple amigurumi ball detail
- 1 row 6sc in a magic ring
- 2 row 6inc Total 12sts
- 3 row (1sc, 1inc) repeat 6 times Total 18sts
- 4 to 7 row 18sc
- 8 row (1sc, 1dec) repeat 6 times Total 12sts
- 9 row 12sc, chain 45
Cut the yarn and fasten it off
For the green amigurumi ball detail
- 1 row 6sc in a magic ring
- 2 row 6inc Total 12sts
- 3 row (1sc, 1inc) repeat 6 times Total 18sts
- 4 row (2sc, 1inc) repeat 6 times Total 24sts
- 5 to 8 row 18sc
- 9 row (2sc, 1dec) repeat 6 times Total 18sts
- 10 row (1sc, 1dec) repeat 6 times, chain 50 Total 12sts
Cut the yarn and fasten it off.
TIP: You can mix the length of the chains in each detail in a range of 35 to 50 chains; this is for the height of the detail to be in different positions.
HOLDER
For starting we are going to chain 12 and connect the edges by starting the row in the first stitch of the beginning of the chain and continuing working in rows until the tube that becomes the handler is done.
TIP: Stop to add stuffing every 10 rows, so it is not hard to stuff the complete tube once you are done with the handler.
In red
- 1 to 3 row 12sc
Change to orange
- 4 row 12blsl
- 5 row 12blsc
- 6 to 8 row 12sc
Change to yellow
- 9 row 12blsl
- 10 row 12blsc
- 11 to 13 row 12sc
Change to green
- 14 row 12blsl
- 15 row 12blsc
- 16 to 18 row 12sc
Change to light blue
- 19 row 12blsl
- 20 row 12blsc
- 21 to 23 row 12sc
Change to dark blue
- 24 row 12blsl
- 25 row 12blsc
- 26 to 28 row 12sc
Change to purple
- 29 row 12blsl
- 30 row 12blsc
- 31 to 33 row 12sc
Repeat rows 1 to 33 following the same order of color changes. You will finish with 66 rows in total.
If you are using different colors for this Amigurumi baby rattle pattern, just make sure to have a total of 66 rows before starting to make the Bunny.
BUNNY HEAD
Change to white yarn,
- 67 row (1sc, 1inc) repeat 6 times Total 18sts
- 68 row (2sc, 1inc) repeat 6 times Total 24sts
- 69 row (3sc, 1inc) repeat 6 times Total 30sts
- 70 to 74 row 30sc
- 75 row (3sc, 1dec) repeat 6 times Total 24sts
- 76 row (2sc, 1dec) repeat 6 times Total 18sts
Stop here for finishing stuffing the baby rattle bunny’s head!
- 77 row (1sc, 1dec) repeat 6 times Total 12sts
Cut the yarn leaving a tail for sewing.
Insert the ball details in the tube.
Sew the beginning of the tube with the remaining 12 sts from the bunny, connecting the edges together.
I usually sew two times a row, just to make it sure that is a very tight and strong connection.
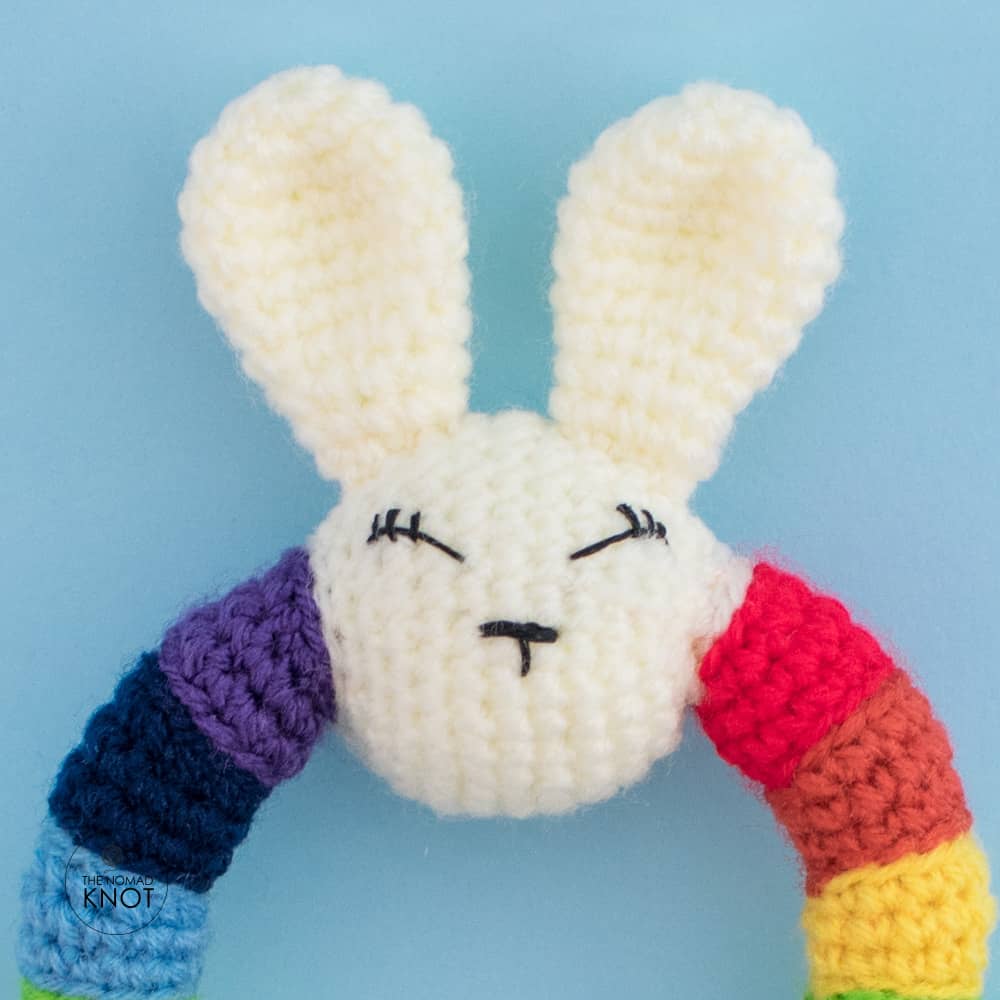
EARS
With white yarn start,
- 1 row 6sc in a magic ring
- 2 row 6inc Total 12sts
- 3 row (1sc, 1inc) repeat 6 times Total 18sts
- 4 and 5 row 18sc
- 6 row (4sc, 1dec) repeat 3 times Total 15sts
- 7 row 15sc
- 8 row (3sc, 1dec) repeat 3 times Total 12sts
- 9 row 12sc
- 10 row (2sc, 1dec) repeat 3 times Total 9sts
- 11 row 9sc
Cut the yarn, fasten it off and leave a tail for sewing. Make two.
Don’t need to put stuffing material. Fold the ear and sew with two rows apart from each other.
With black thread, embroider the sleeping eye and a little snout!
CONGRATULATIONS!
Your crochet rattle toy is ready! Take time to pet yourself!
And if you are ready for more advanced patterns, check out the Etsy shop with more of my creations. All the patterns contain detailed explanations and over 50 pictures with step by step to help you complete your toy! And of course, you can always consult me if you have any doubts! I will be happy to chat with you!
See your next time!
Love,
Ana
Here you can find more of my patterns:
And if you are a complete beginner, check out my free beginner-friendly amigurumi pattern here!

YOU MAY ALSO LIKE
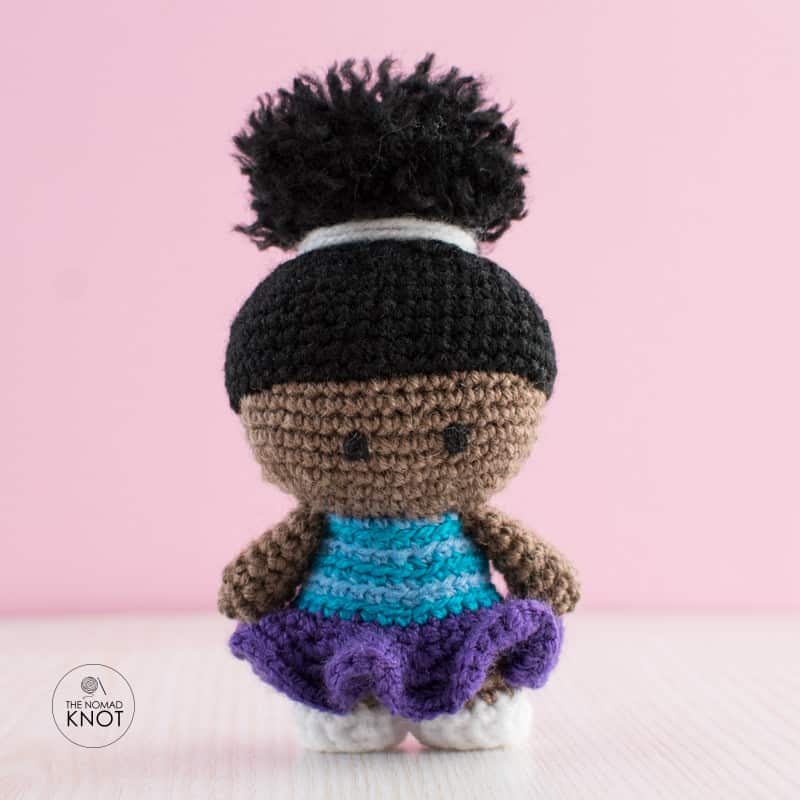
Meet Gigi, the newborn mom! A beautiful amigurumi pattern for a 30cm doll